63 Bathroom Remodel Checklist Tips We Swear By After a Full Renovation
When we started our renovation, we thought we had a solid plan… until we realized how many tiny details actually go into a bathroom. After going through a full home renovation-and, of course, a complete bathroom renovation as part of it (dust, decisions, delays…), I can honestly say that having a real bathroom remodel checklist would have saved us so much stress throughout the project.
Not the generic kind you find online, but a practical, real-life bathroom remodel checklist and remodel checklist based on what actually happens once walls are opened and contractors are in your house at 7am doing real renovation work.

So I’m sharing ours, the things we’re so glad we did, the things we forgot, and the things we would absolutely never skip again. If you’re about to remodel your bathroom, are starting a bathroom remodel, or are even just thinking about remodeling a room in your home, this will help you feel way more prepared and a lot less overwhelmed. Trust me… we’ve been there. haha!

1- Confirm Your Final Floor Plan and the Final Design
We once heard a designer say, “Once the walls are open, every change costs double,” and that line has stuck with us ever since. So we took it seriously. Always remember, once walls are opened and plumbing is exposed, changes get expensive fast. That’s exactly why we sat down with the bathroom design company and our contractors to really think through how we actually move in the space. We talked about where the vanity should sit, how much clearance we truly needed, how the door swings, and whether the shower placement would still make sense long term. We even revisited the door layout and debated whether a pocket door would function better in the room. This wasn’t just about what looked good on paper. It was about daily life. We double-checked measurements, spacing, and even taped out areas on the floor to physically see how it would feel. Confirming the final floor plan and design before construction started saved us from emotional, last-minute decisions later on.
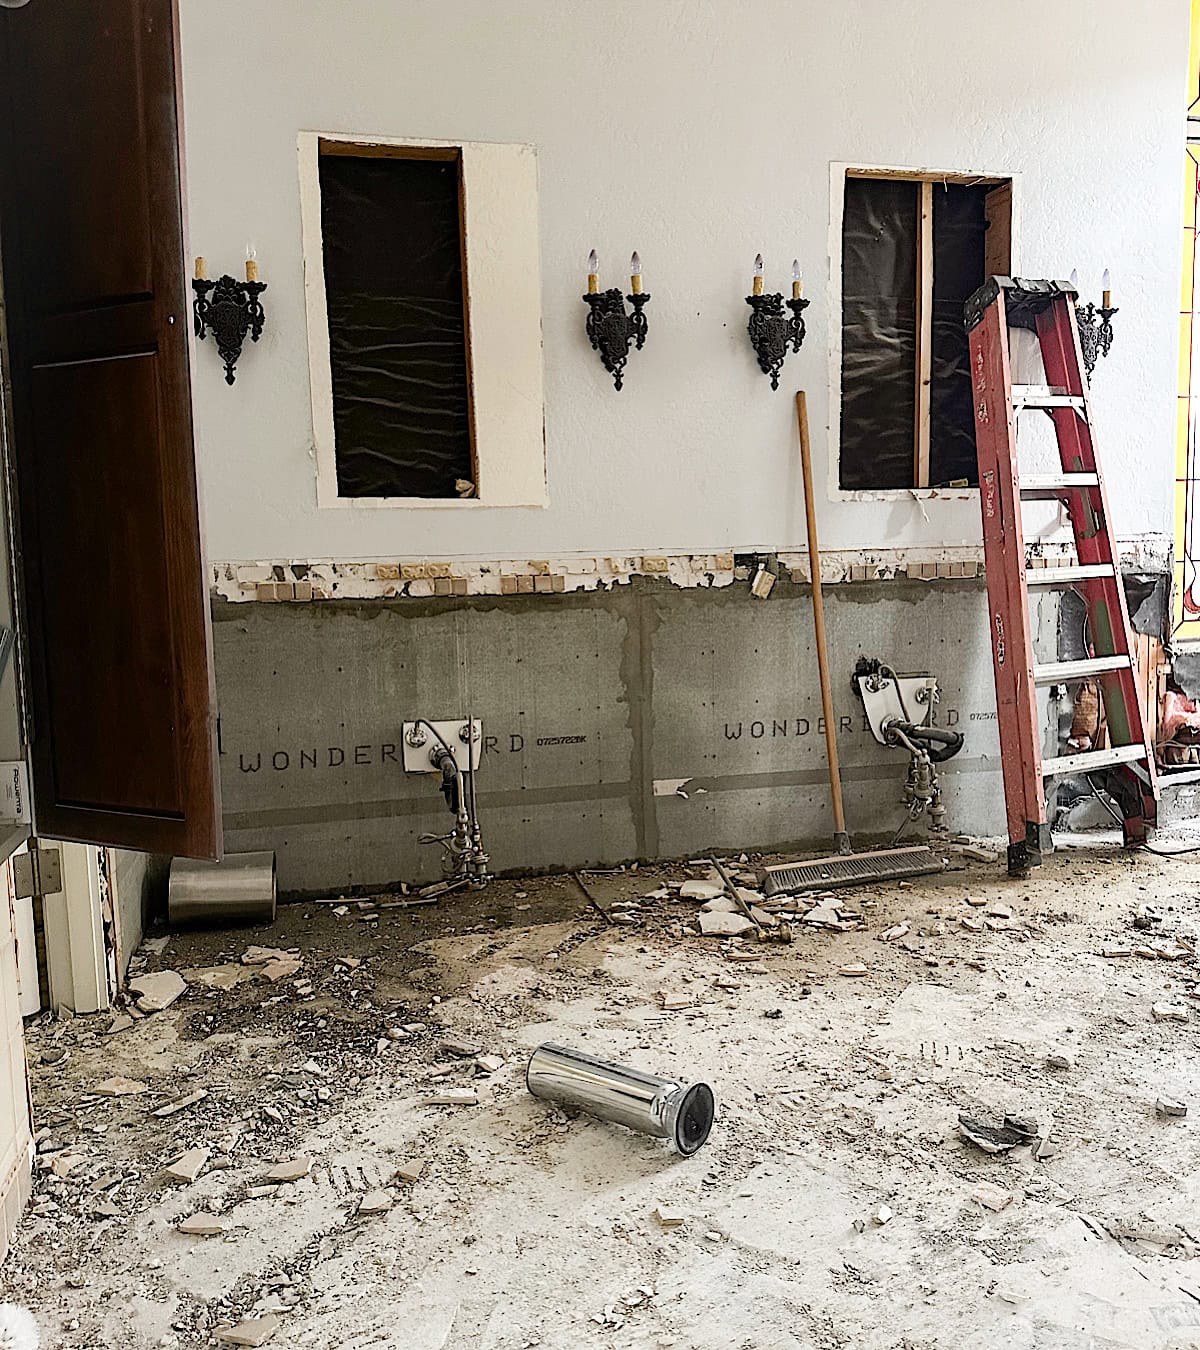
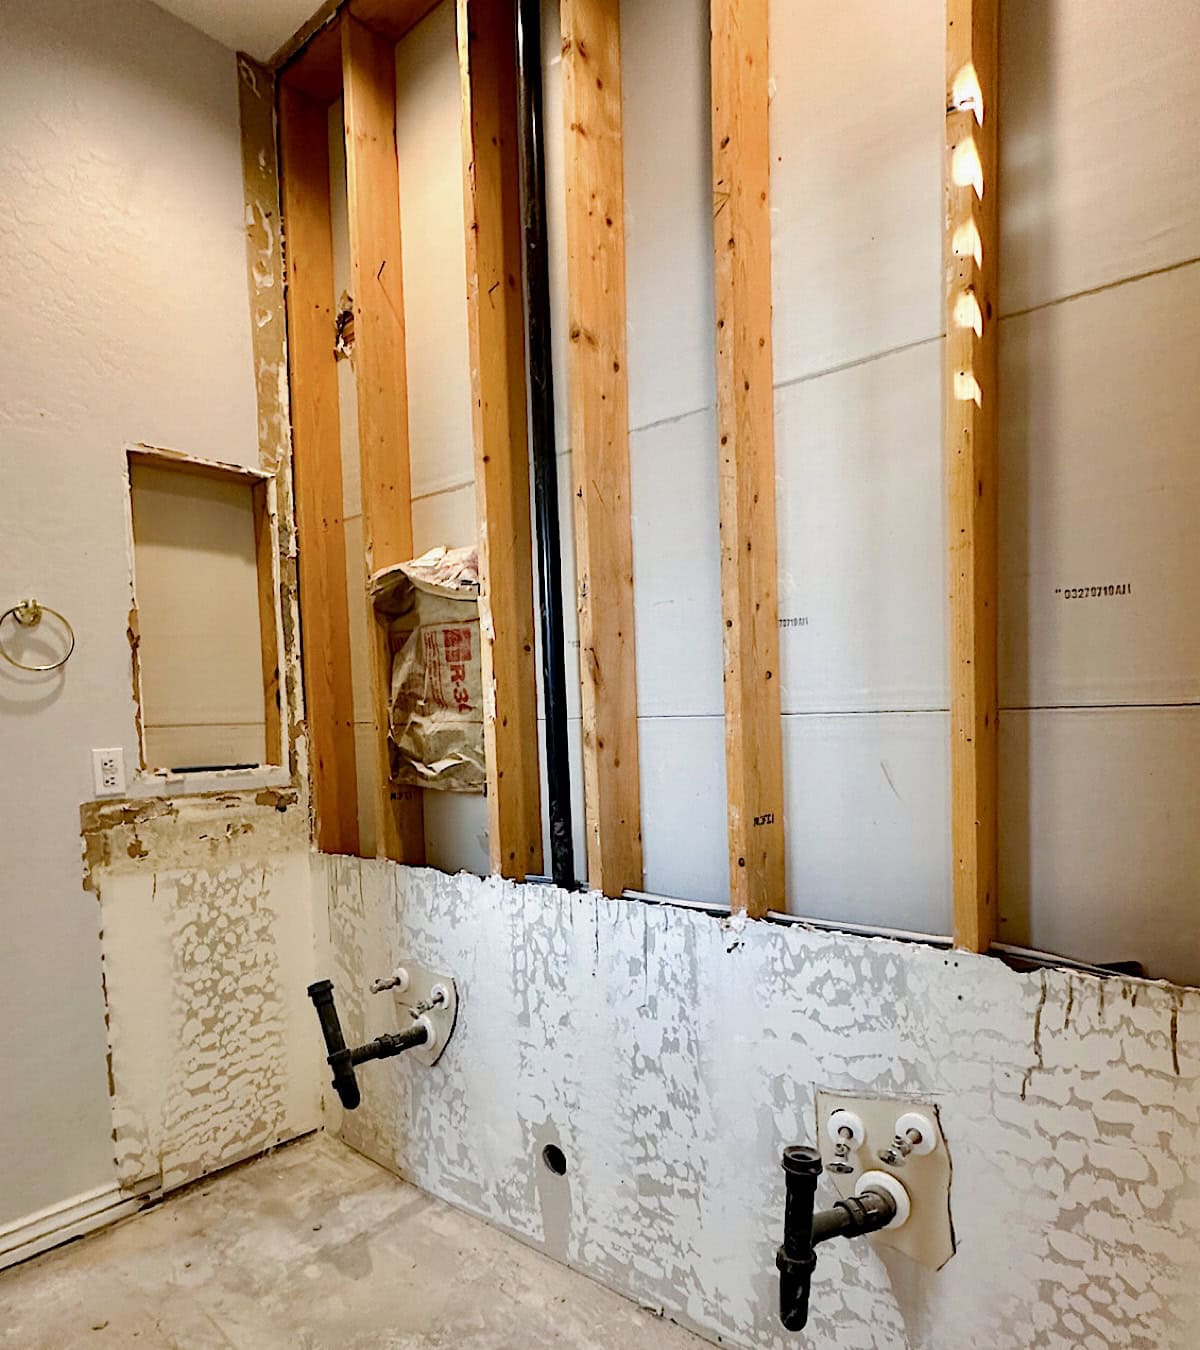
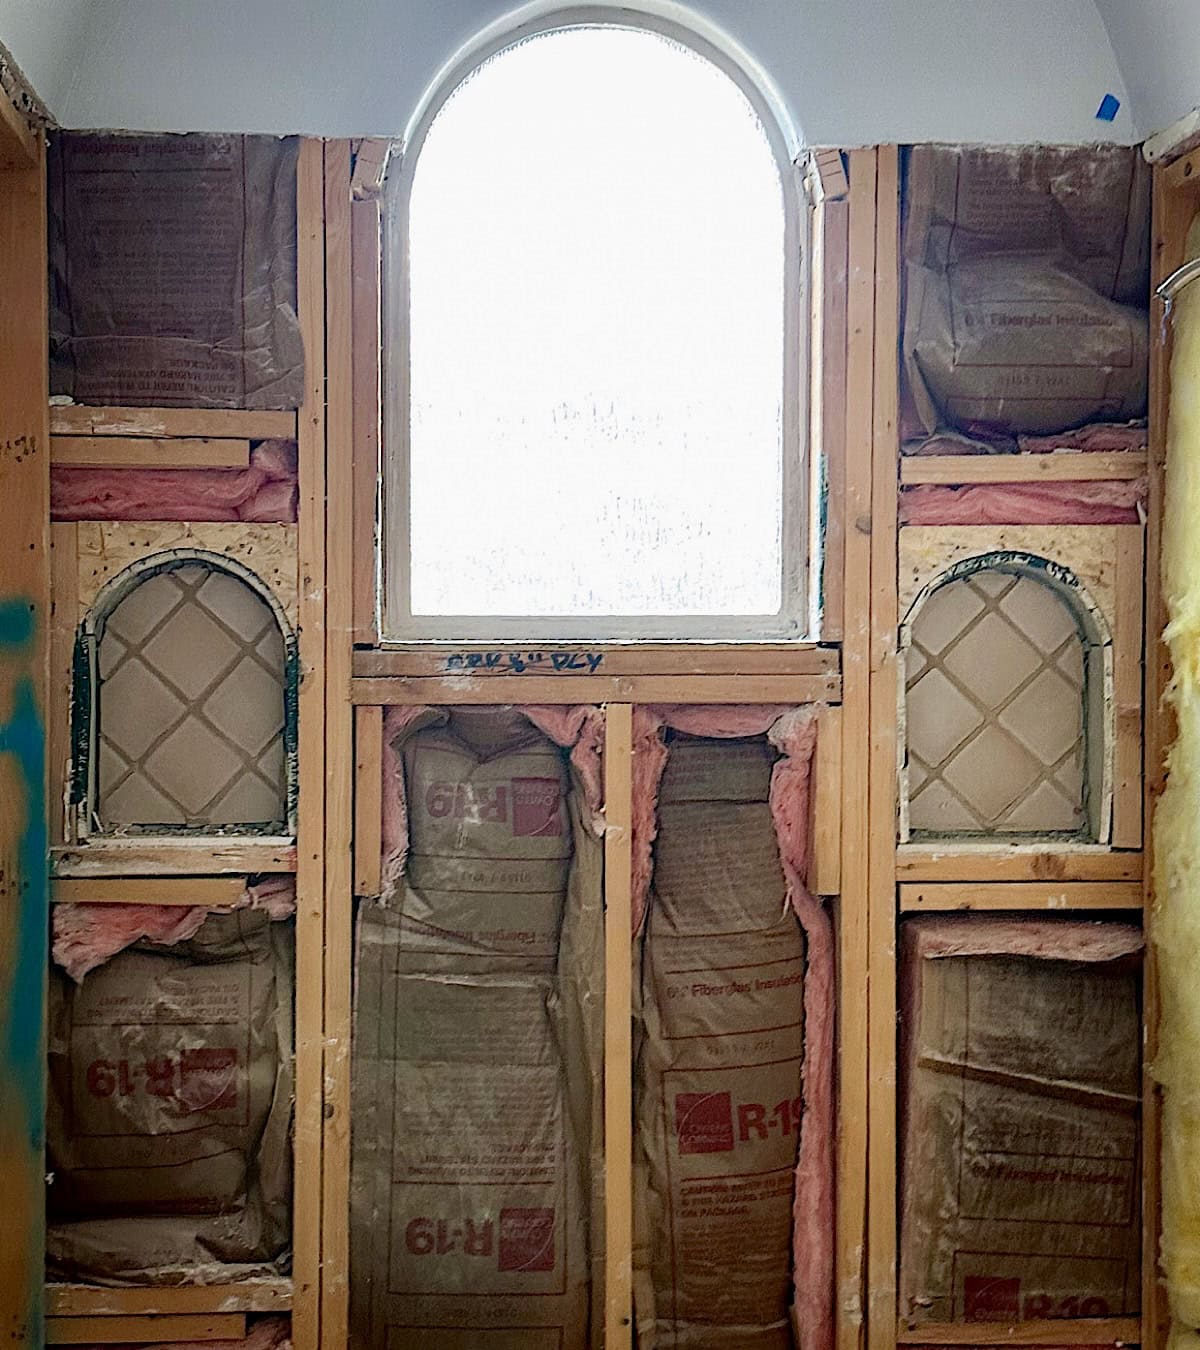
2- Confirm Plumbing Rough-In Locations
This one is huge. Once plumbing lines are set, moving them is not fun (or cheap). We had to confirm exactly where the shower valve would sit, how high we wanted the shower head, where the tub filler would go, and the spacing for double sinks. Even a few inches can make a difference in how things look and function. We also considered future maintenance and repair, ensuring access panels were possible and that nothing was boxed in too tightly. We also kept safety in mind and planned grab bar placement, even if we didn’t install it right away. I would never assume the contractor “just knows” where things should go. We walked through every single plumbing point together before they closed the walls.
3- Confirm the Electrical Plan and Switch Placement
Lighting can completely transform a bathroom, and we didn’t want to get it wrong. We had to think beyond just ceiling lights. Where should switches go? Do we want separate switches for sconces and overhead lighting? Should the shower light be on its own dimmer? We also thought about nighttime use, not wanting to turn on every light at 2 am. We mapped out exactly where switches would be, so they would be intuitive and easy to reach. Trust me, you don’t want to realize after drywall is up that your light switch is in an awkward spot. In a bathroom remodel, this electrical planning is part of the real work that makes the whole project feel finished.

4- Add Dedicated GFCI Outlets
Bathrooms need GFCI outlets for safety, and we made sure every required outlet was properly protected. But we didn’t stop at just the minimum. We added enough outlets so we wouldn’t be fighting over plugs for hair tools, electric toothbrushes, and skincare devices. It’s one of those small details that make everyday life smoother. This is something I would never skip again because running extension cords in a brand-new bathroom is not the vibe.
5- Plan Outlet Placement Inside Vanity Drawers
Luckily, the vanity we chose already came with outlets built inside the drawers. Originally, we had planned to add outlet placement inside a couple of the drawers ourselves (we ended up not needing to since it was already included), but I still highly recommend it if yours doesn’t come that way. Planning an outlet inside a vanity drawer keeps hair tools plugged in while remaining completely hidden. No cords everywhere. No clutter all over the countertop. It sounds like a small detail, but it makes the bathroom feel so much more organized and elevated. Just make sure you plan it early, because it affects both cabinetry and electrical placement. It’s one of those practical luxury details that makes a real difference in everyday life.
6- Decide on Shower, Tub, or Combo
This decision really depends on your lifestyle. For us, we had to think long-term, resale value, future needs, and how we actually use the space. Do you want a big walk-in shower? A freestanding soaking tub? Or both? A shower-tub combo saves space, but it doesn’t give that same spa feel. We weighed the pros and cons carefully. In the end, it wasn’t just about aesthetics; it was about function and what made sense for our daily routine. Once you decide this, so many other design choices fall into place.
7- Choose Freestanding vs Built-In Tub
Freestanding tubs are gorgeous and definitely give that spa, magazine look, but you really have to think about space and cleaning. We love our freestanding tub. However, we had to measure carefully to ensure the tub wouldn’t feel cramped or awkward in the wet room we were designing. A built-in tub can feel more seamless and practical, especially if you want extra ledge space or easier maintenance. We also thought about plumbing placement and how the tub filler would look. In the end, this isn’t just a style decision; it affects layout, cleaning, and how open the room feels.
8- Confirm Shower Size and Dimensions
Bigger is not always better… but too small is definitely a mistake. We made sure to physically stand in the taped-out shower area before finalizing dimensions. Could we move comfortably? Was there enough elbow room? We also considered ceiling height and how everything would feel once tile and fixtures were installed. Confirming the shower size early is key because once framing is complete, changing it is complicated and expensive. This is one of those things you really want to be 100% sure about.
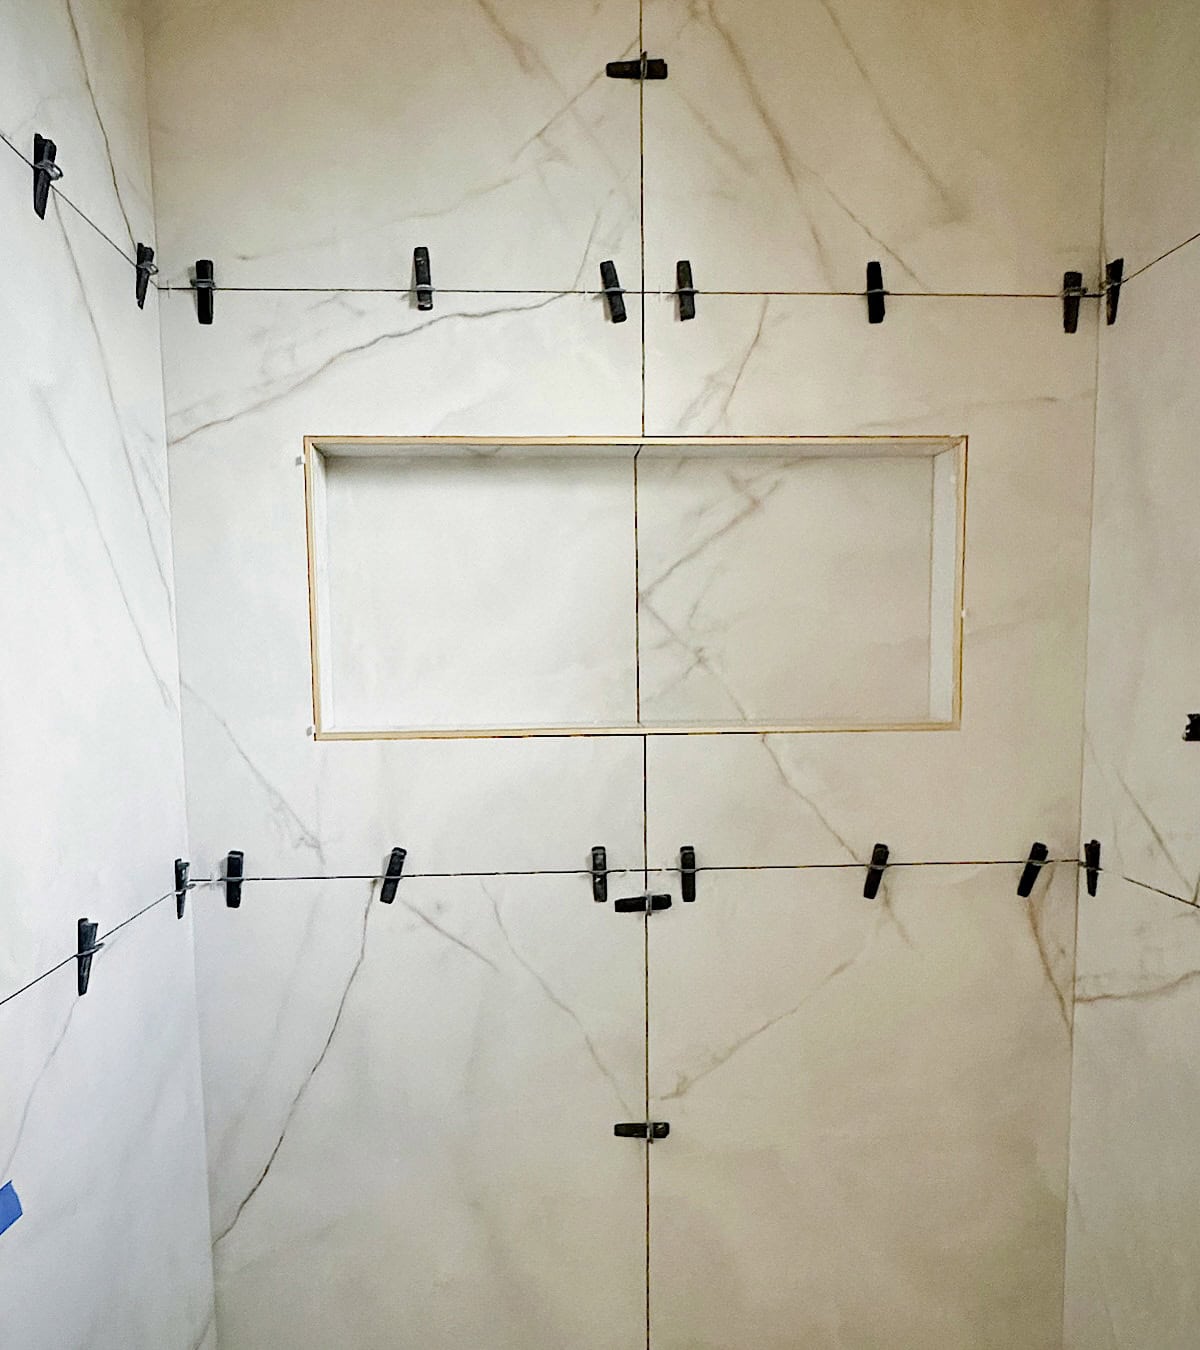
9- Plan the Shower Niche Size and Height
I’m so glad we didn’t just randomly place our shower niche. The height matters more than people realize. Too low and it looks awkward. Too high and it’s not practical. We measured our shampoo and conditioner bottles (yes, actually measured them) to make sure the niche would fit everything comfortably. We also intentionally centered it in the tile layout so it didn’t look visually off. Planning the niche size and height in advance made it look custom rather than an afterthought.
10- Decide on Double Niche vs Single Niche
This really depends on how much storage you need. A single niche works if you’re minimal, but if two people are sharing the shower, it fills up fast. We debated this because we didn’t want it to look too busy, but we also didn’t want bottles everywhere. A double niche can feel more balanced and functional, especially in a larger shower. It’s one of those small upgrades that make everyday use easier.
11- Add a Shower Bench (Built-In or Floating)
We didn’t build a shower bench because we wanted a sleeker, cleaner look for our space. However, I personally love shower benches. They’re not just for sitting; they’re great for shaving, extra storage, or even just adding a subtle design element that makes a shower feel more custom. A built-in bench feels seamless and solid, while a floating bench can look lighter and more modern. In the end, it’s about balance, adding comfort without crowding the area.
12- Plan Shower Curb vs Curbless Entry
This one affects both look and function. A curbless entry feels clean, open, and very high-end, but it requires precise slope planning for drainage. We had long conversations about waterproofing and making sure water wouldn’t travel where it shouldn’t. A traditional curb is easier to install and provides a clear boundary, but it doesn’t have the same seamless feel. We had to weigh design against practicality and think long term. Whatever you choose, make sure drainage and waterproofing are done perfectly; that part is not negotiable.

13- Confirm Glass Enclosure Style
Glass might seem like a small detail, but it completely changes how open the bathroom feels. Since we were designing a wet room, we opted for two larger glass panels on each side of the wet area rather than a full enclosure. It gave us that open, seamless look while still helping contain water where it needed to stay. But this really depends on your space and your exact measurements. Every layout is different. The placement of the glass affects not only how water is controlled, but also how spacious the shower looks overall. We also considered cleaning, because, let’s be honest, water spots are real. Confirming the enclosure style early helped everything else fall into place, especially the tile layout and overall design flow.
14- Choose Framed vs Frameless Shower Glass
We chose frameless glass because it feels clean and modern, and it definitely gives that seamless look. It is usually more expensive and requires precise installation, but the openness it creates is worth it for us. Framed glass can feel more traditional and is structurally a bit more forgiving. We went back and forth because this decision really affects both the budget and the overall style. In the end, we chose what worked best with the design we were going for. Just make sure whatever you choose complements your tile and hardware finishes, so everything feels cohesive.
15- Select Vanity Size and Configuration
This is where real life matters more than aesthetics. We had to think about how much storage we actually need, how many people use the bathroom, and whether double sinks made sense. A vanity that looks beautiful but lacks storage becomes frustrating fast. We measured carefully to make sure it didn’t overcrowd the space while still giving us enough counter space. Think about drawer space, not just how it looks in a showroom.

16- Decide on a Floating vs Floor-Mounted Vanity
Floating vanities look lighter and more modern, and they can definitely make the room feel bigger. But they don’t always offer the same deep storage as a floor-mounted option. For that reason, we didn’t go with a floating vanity and instead chose a floor-mounted one. We also had to consider plumbing placement and proper wall support, which can add complexity. A floor-mounted vanity feels more substantial and classic, and it better fits our storage needs. This choice really depends on your style and how much storage you need; just don’t pick it based only on Pinterest or Instagram photos. haha!
17- Plan Drawer Organizers
This sounds small, but it makes a huge difference. We didn’t want a brand-new bathroom filled with cluttered drawers. So we planned inserts for makeup, hair tools, and everyday items. It’s much easier to design this before cabinetry is finalized. Organized drawers make the space feel calmer and more intentional. It’s one of those behind-the-scenes details that you appreciate every single day.
18- Measure for Custom Cabinetry
Even if you’re not going fully custom, measurements have to be exact. We measured width, depth, and height multiple times and double-checked wall angles because not every wall is perfectly straight. Custom cabinetry allows you to maximize every inch, especially in bathrooms where space is limited. Rushing this step can lead to gaps, awkward spacing, or installation delays. This is not the place to guess.

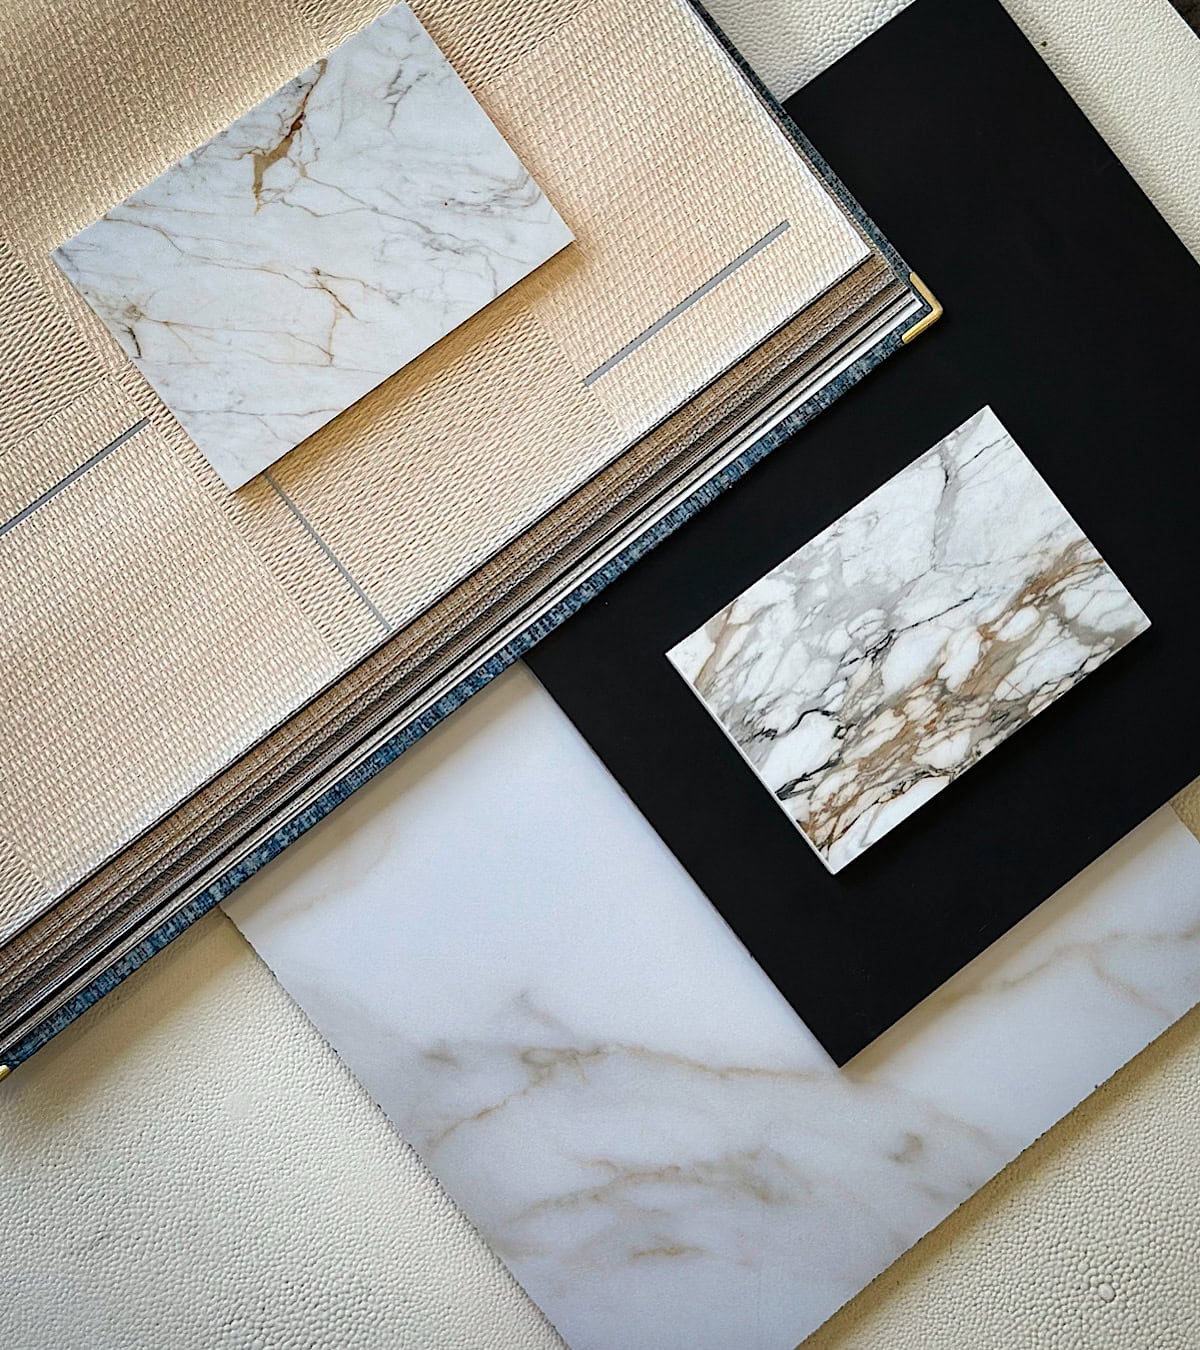
19- Choose Countertop Material
Countertops need to be beautiful but also durable. We had to think about water resistance, maintenance, and how the material would look next to our tile and cabinetry. Marble is stunning but requires more care. Quartz is low-maintenance and durable. We also looked at edge profiles and thickness, as these small details affect the final look. This decision ties everything together visually, so we made sure it felt timeless rather than trendy.
20- Select Sink Style (Undermount, Vessel, Integrated)
This sounds simple, but sink style completely changes both the look and function of the vanity. We didn’t even debate this one. We had a vessel sink before (sitting on top of the counter) in our kids’ bathroom, and honestly, we hated every minute of it. It was hard to clean, water splashed everywhere, and it just wasn’t functional for everyday use. For this renovation, we made sure to use undermount sinks in all the bathrooms. They feel clean, timeless, and they’re so much easier to wipe down. Vessel sinks look beautiful and more design-forward, but you really have to think about height and splashing, and we were done dealing with that. Integrated sinks give that seamless, modern feel I love, but they’re a long-term commitment since everything is one piece. In the end, we had to balance aesthetics with practicality because this is something you use every single day.
21- Confirm Faucet Mount (Deck vs Wall-Mounted)
Wall-mounted faucets look so sleek and elevated, but they require early planning because plumbing needs to be run inside the wall. Once the tile goes up, you don’t want to be rethinking that decision. Deck-mounted faucets are easier and more flexible, especially if you ever want to change them later. You also have to think about cleaning, too. This is one of those details that seems small but affects both design and function.
22- Select Toilet Model and Rough-In Size
Not glamorous… but very important. We confirmed the rough-in size before ordering anything because not all toilets are the same. The wrong size can create awkward spacing or delay installation. We also thought about comfort height, water efficiency, and overall shape. A sleek, compact design can make a bathroom feel more open. It’s not the most exciting decision, but it’s definitely one you don’t want to rush.
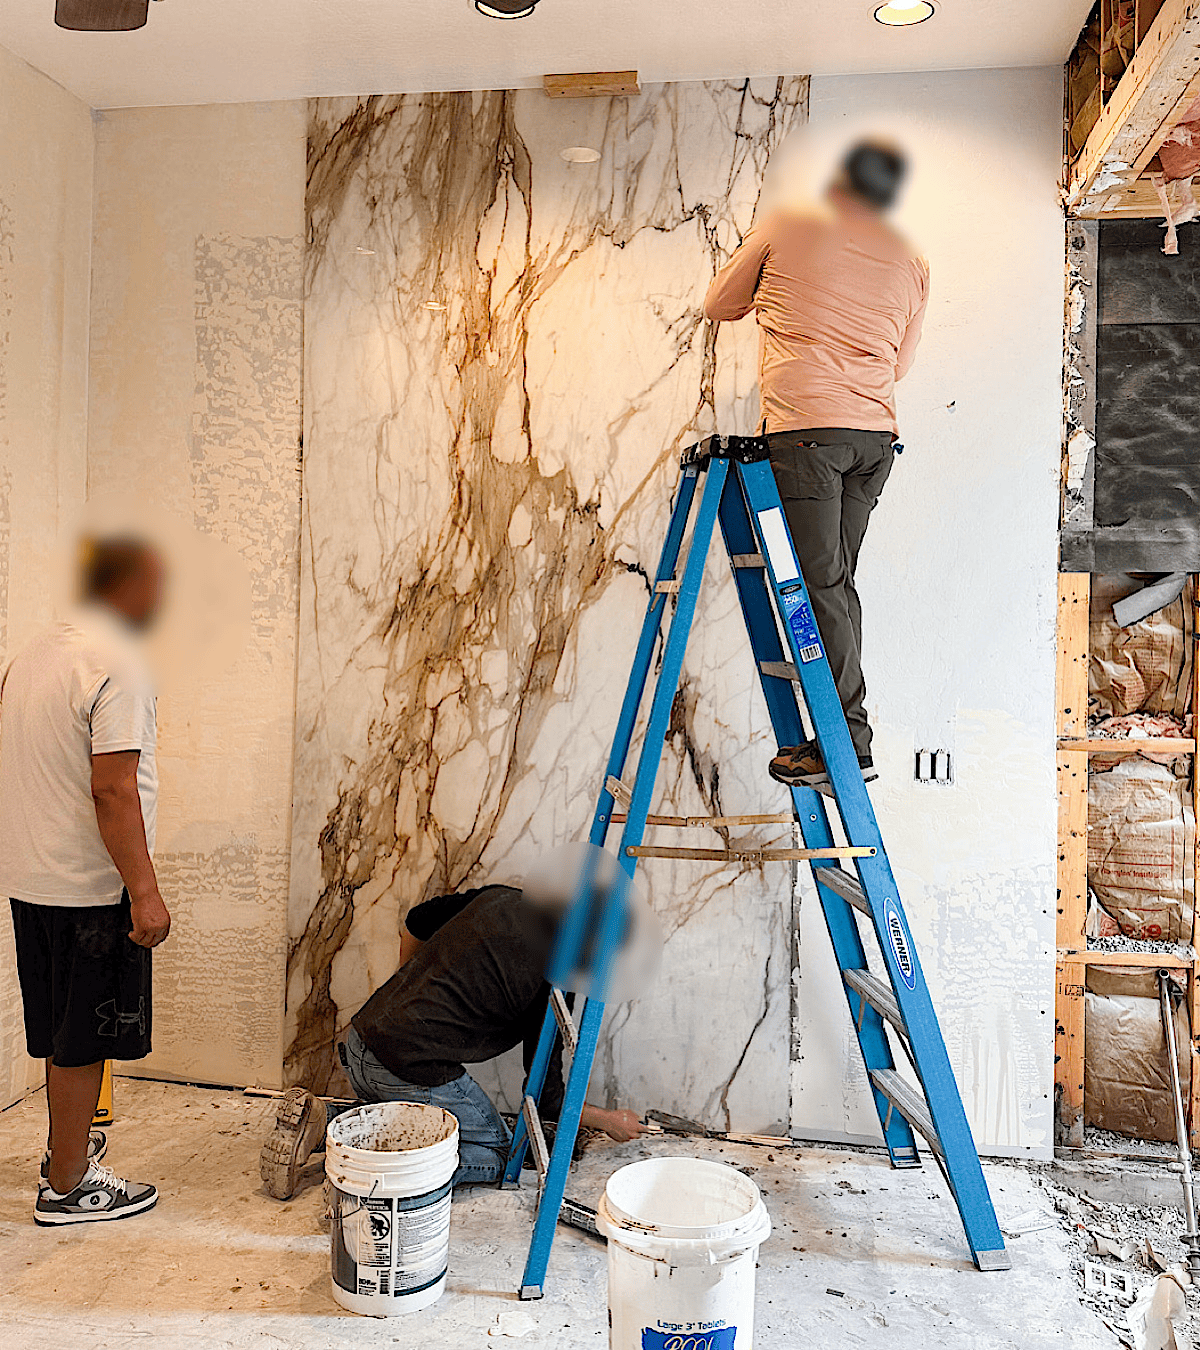
23- Choose Wall Tile
Wall tile sets the tone for the entire bathroom. This is where the personality really shows. We had to think about scale, color, texture, and how it would look in different lighting throughout the day. Large-format tiles feel modern and reduce grout lines, while smaller tiles can add more detail and interest. We decided to go with extra-large wall tile for a cleaner, more modern look. But you really have to choose what fits your space and the design you’re going for, not just what looks good in someone else’s bathroom. We also ordered extra, just in case. Tile decisions can feel overwhelming, but once it’s installed, it truly defines the space.
24- Choose Floor Tile
Floor tile has to be durable and practical, not just pretty. We made sure to choose something with enough texture so it wouldn’t feel slippery, especially when wet. That’s why we went with a matte finish for the floor instead of a glossy one. However, I have to be honest, cleaning a matte finish is MUCH harder than a glossy one. If I could redo it, I would probably only use a matte finish in the wet areas, like inside the shower, and go with something a little smoother for the rest of the bathroom floor. Since we have little kids, we wanted to be extra careful and chose a matte finish for safety… but, to be honest, it’s not my favorite part of the bathroom. Color matters too… lighter floors show less dust, while darker ones can add more drama. We also thought about how the floor tile transitions into other rooms. This is one of those foundational decisions that really impacts the entire look and function of the space.
25- Select Shower Floor Tile
Shower floor tile needs special attention because slope and drainage are crucial. Smaller tiles usually work better here since they follow the slope more easily. We chose something with grip so it felt safe but still beautiful. The grout color also affects how clean it looks over time. This is one area where function absolutely comes before trend; water has to drain properly, no exceptions.
26- Confirm Tile Layout Pattern
Tile layout completely changes the vibe of a bathroom. Straight stack? Offset? Herringbone? Vertical? We had to decide this before installation started because once they begin laying tile, changing your mind is not simple. We also ensured the layout aligned with focal points such as the niche and vanity. Even a few inches off can throw off the entire look. This step really takes patience, but it’s worth thinking through carefully so everything feels intentional. Honestly, my biggest source for our floor layout pattern was Pinterest. That’s where I finally found a design that both Matt and I loved, and I still enjoy it every single day when I walk into the bathroom. So really, go with what works best for your space and what you’ll love long term, not just what’s trending right now.
27- Choose Grout Color
Grout seems like such a minor detail until you see it installed. It can either blend beautifully or stand out in a way you didn’t expect. We held actual grout samples next to the tile under the room’s actual lighting before making a decision. Lighter grout feels softer and more seamless, while darker grout can hide stains a bit better. It really depends on the look you’re going for. This is not something I would ever choose quickly. We ended up going with a lighter grout color since our tiles are all white and beige, and we wanted everything to blend nicely and feel cohesive. So make sure you choose a grout color that complements and blends well with your tile. It makes a bigger difference than you think.
28- Decide on Grout Type (Sanded vs Unsanded)
I didn’t realize there were different types of grout until we were deep into the process. Sanded grout works better for wider grout lines and is more durable, while unsanded grout is smoother and better for tighter spacing or delicate tile. We had to make sure we chose the right type for our tile size and spacing. This is one of those technical decisions that make a big difference in the long term, even if you never see it.
29- Waterproof the Shower Properly (Schluter, RedGard, etc.)
If there’s one thing I would say is completely non-negotiable, it’s proper waterproofing. Tile is not waterproof on its own. The system behind it matters more than the tile itself. We made sure our contractor used a reliable waterproofing system and didn’t cut corners. This is where you don’t try to save money. Water damage behind walls is something you never want to deal with later.
30- Add Waterproofing Under the Entire Wet Zone
We didn’t just focus on the shower walls. We made sure the waterproofing extended under the entire wet zone, including the floors where splashing could occur. Bathrooms deal with humidity and water daily, so protecting the structure underneath is critical. It’s not glamorous, and no one sees it, but it protects your investment. This is one of those invisible steps that gives you peace of mind long after the renovation is finished.

31- Install a Proper Bathroom Ventilation Fan
This is one of those things you don’t think about until you’re dealing with foggy mirrors and humidity. We made sure to install a high-quality ventilation fan that was powerful enough for the room’s size. It’s not just about comfort; it also protects your paint, cabinetry, and tile in the long term. A weak fan will leave moisture sitting in the air, and that’s not something you want in a brand-new bathroom.
32- Confirm the Fan Vent Location to the Exterior
We double-checked that the exhaust fan actually vents outside, not just into the attic. It sounds obvious, but it’s worth confirming. Venting moisture into the wrong place can cause bigger issues later. We made sure the ducting path was direct and properly sealed. It’s one of those behind-the-scenes details that makes a big difference over time.
33- Choose Recessed Lighting
Recessed lights give you that clean ceiling look, but placement really matters. We didn’t want shadows over the vanity or dark corners in the shower. We mapped out where each light would go so the space felt evenly lit. Bathrooms need functional lighting, not just pretty lighting. We also made sure the bulbs were the right warmth, too cool can feel harsh, too warm can distort color.

34- Add Dimmers to Lighting
Adding dimmers was one of the best small upgrades we did. Bright lighting is great when you’re getting ready, but at night, you don’t want the room lit like a hospital. Dimmers let you instantly adjust the mood. It makes the bathroom feel more relaxing and flexible, depending on the time of day. I would absolutely add dimmers again without hesitation.
35- Plan Vanity Sconce Placement
I’m such a big fan of sconces. I think they look classy, elegant, and truly timeless, especially if you choose the right style. Sconces make a huge difference in how flattering your lighting is. Overhead lighting alone can cast shadows on your face, which is definitely not ideal when you’re doing makeup or skincare. We made sure the sconces were placed at the right height, not too high, not too low, and properly centered next to the mirror. Placement matters just as much as the fixture itself.
36- Choose Mirror Size and Height
We didn’t just pick a mirror because it looked pretty. We measured carefully so it felt proportional to both the vanity and the ceiling height. Too small and it looks awkward; too large and it can overpower the space. We also considered who would be using the bathroom and made sure the height made sense for everyday use. Proportion is everything here. I have to admit, finding the right size, shape, and style of mirror that fits well with your bathroom is not easy, in my opinion. It took us some serious searching to find a mirror that worked with our vanities and created a balanced look with the ceiling height. So if you keep looking and can’t find the right dimensions, you can always consider going with a custom mirror.

37- Decide Whether or Not the Medicine Cabinet Is the Right Choice
We chose not to install a medicine cabinet because they’re often seen as “outdated”. However, I have to admit, I kind of wish I had spent more time searching for a sleek, modern medicine cabinet rather than just going with a mirror. A medicine cabinet is such a great little extra storage space, and you don’t realize how much you need it until you don’t have it! Medicine cabinets are incredibly practical, even if they’re not always the prettiest option. If storage is tight, a recessed medicine cabinet can truly be a lifesaver. But if you already have plenty of cabinetry, you might not feel like you need one.
38- Decide on Heated Floors
We didn’t add heated floors because we live in Arizona, and honestly, most of the year, we wouldn’t really need them. But heated floors truly feel like a luxury, and once you start considering them, it’s hard to say no, especially if you live in a cooler climate. There’s something about stepping onto warm tile on a cold morning that just feels next-level comfortable. It adds to the upfront cost, but in the right climate, it can be one of those upgrades that completely elevate the bathroom experience.
39- Decide Between Paint and Wallpaper for Your Bathroom
We went with modern, subtle wallpaper for our bathroom walls, not just in our master bathroom, but also in the kids’ bathrooms and the powder room. There are so many beautiful wallpaper options on the market now that can completely transform a room. Matt was very hesitant at first because he was picturing an “old school” look, but I convinced him otherwise, and now he loves it. The right wallpaper design can make a difference in a space that paint simply can’t. That said, paint still matters. It seems like one of the “easy” decisions, but in a bathroom, lighting changes everything. We tested samples at different times of day because what looks soft and warm in the afternoon can feel totally different at night. This is where patience really pays off; rushing it can throw off the whole feel of the room.

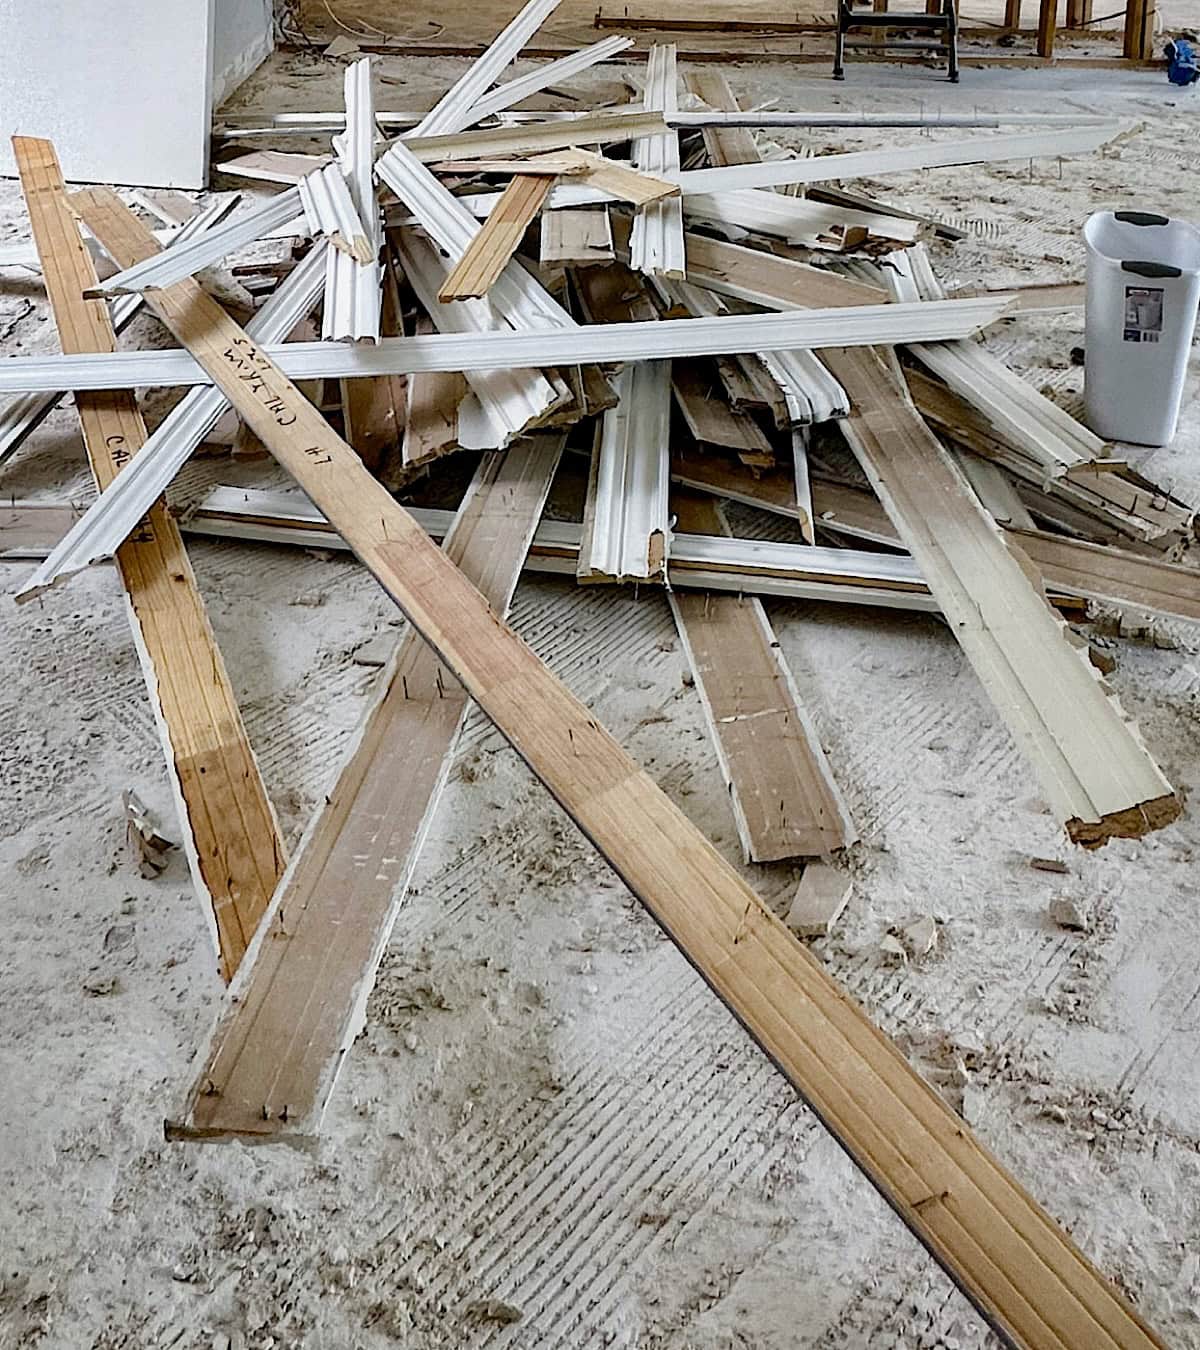
40- Select Trim and Baseboards
Trim and baseboards might not seem exciting, but they frame the entire room. We chose something that felt clean and consistent with the rest of the house. The height and thickness matter more than you think. Too thin can look unfinished, and too bulky can overwhelm the space. Once installed, they really pull everything together and make it feel complete.
41- Confirm Door Swing Direction
This is one of those practical details that’s very easy to overlook during a bathroom remodel. Door swing direction can completely affect how functional the room feels. If the door opens into the vanity, toilet, or main walking path, it can make the space feel tight and awkward, even if the layout itself is good. In smaller bathrooms, especially, the way the door swings can either improve the flow or create daily frustration. It’s important to visualize how the door will operate before installation begins, not after everything is finished. Adjusting it later usually involves extra work and added cost, so it’s a detail worth thinking through carefully from the start.
42- Select Hardware Finish (Brushed Brass, Chrome, Matte Black, etc.)
Choosing the hardware finish is what really ties everything together. All the finishes, faucets, shower fixtures, cabinet pulls, and towel bars should feel cohesive. I’m personally not a big fan of “yellow gold”, but I absolutely LOVE brass. In my opinion, brass looks so elegant and timeless. That’s why we chose brass for all of our hardware finishes and faucets. We loved how it paired with our tile and overall design, so we made sure everything matched beautifully. Mixing finishes can definitely work, but it has to be intentional. We also thought about maintenance, since some finishes show water spots and fingerprints more than others. Once you commit to a finish, it carries throughout the entire space, so it’s important to choose something that feels timeless and aligns with the overall design.

43- Match All Plumbing Finishes
This sounds obvious, but when you’re ordering from different brands and at different times, finishes can vary slightly. We made sure the faucet, shower head, tub filler, drains, and even the toilet flush plate all matched exactly. Brushed brass is not standardized across companies. We compared samples in person because undertones matter. Once everything is installed, mismatched finishes are very noticeable, and not in a good way.
44- Choose Towel Bars and Hook Placement
Towel bars are one of those things people install at the last minute without thinking through. We actually stood in the space and pretended to reach for a towel to make sure the placement felt natural. Too far from the shower, and it’s annoying. Too close, and it looks crowded. We also considered whether we wanted bars, hooks, or a mix of both, depending on how we use the space daily.
45- Add Robe Hooks Behind the Door
Adding robe hooks near the shower was a simple yet practical decision. They keep robes or extra towels within reach without taking up much space, making the bathroom feel more organized overall. It’s one of those small details that really improve everyday routines. I honestly can’t tell you how much I love our little robe and towel hooks, such a tiny addition, but it makes a big difference.
46- Plan Toilet Paper Holder Placement
This might be the least glamorous decision on the list, but placement really matters. You need to make sure it is within easy reach but not awkwardly close to the toilet. It also needed to align visually with the rest of the hardware. Little details like this affect both the function and the overall balance of the room.
47- Plan a Paper Towel and Toilet Paper Storage Closet
Paper products take up more space than you think, especially when you buy them in bulk. Instead of stuffing extra toilet paper under the sink or stacking paper towels wherever they fit, it’s so much better to plan a designated storage spot from the beginning. Whether it’s a small closet, built-in shelving, or even organized baskets inside a cabinet, having a proper place for these everyday essentials keeps the bathroom looking clean and uncluttered. It may not be the most glamorous part of a bathroom remodel, but trust me, you’ll appreciate it every time you don’t have to scramble to find an extra roll.
48- Confirm Storage for Hair Tools
Hair dryers, curling irons, straighteners, they take up more space than you think. We made sure there was a designated spot so they wouldn’t clutter the counter. Whether it’s a deep drawer, vertical divider, or built-in organizer, having a plan keeps the space looking clean.

49- Add Night Light or Toe-Kick Lighting
Adding soft toe-kick lighting or a subtle night light completely changes how the bathroom feels at night. Instead of flipping on bright overhead lights and shocking your eyes, you get this gentle, warm glow that’s just enough to see where you’re going. It’s especially helpful for late-night trips to the bathroom or early mornings when the house is still quiet. It’s one of those quiet luxury details that doesn’t scream for attention but makes a big difference in everyday life.
50- Confirm the Window Privacy Solution
Natural light is beautiful, but privacy is also very important. You need to decide early whether we want frosted glass, window film, Roman shades, or something else. Bathrooms need privacy without blocking light completely. Waiting until the end to think about this can leave you scrambling. It’s better to have a clear plan before installation is complete.
51- Choose Shower Head Style (Rain, Handheld, Combo)
This decision was more important than I expected. A ceiling-mounted rain shower head looks beautiful and feels very spa-like, but our bathroom designers informed us of something I hadn’t really thought about…if you have high ceilings, a ceiling-mounted shower may not rinse your hair as effectively as a wall-mounted shower. The water falls differently and can lose some pressure by the time it reaches you. We took their advice seriously. As much as I loved the clean look of a ceiling-mounted rain head, we prioritized function. You really have to think about everyday use. Washing hair, cleaning the shower, and overall practicality. A combo setup with both a rain head and a handheld can give you the best of both worlds, but always consider your ceiling height and water pressure before deciding.
52- Consider Adding Body Sprays for a True Spa Experience
I honestly can’t tell you how much I LOVE the body sprays we added to our master bathroom. They feel incredible on your back and truly create that spa-like experience at home. It’s one of those upgrades that makes your shower feel so much more relaxing and elevated. That said, body sprays do require extra plumbing and good water pressure, so it’s not just a simple add-on. They also increase cost and installation complexity. It’s definitely one of those “want vs need” decisions you have to be honest about. But if your layout and budget allow it, I can confidently say it’s an upgrade you’ll actually enjoy every single day.
53- Plan Plumbing Pressure Balance Valve
This is one of those behind-the-walls decisions that isn’t glamorous at all, but it’s absolutely critical in a bathroom renovation. A pressure balance valve keeps your water temperature consistent, even if someone flushes a toilet or turns on a faucet somewhere else in the house. Without it, you can get sudden bursts of hot or cold water mid-shower, and that’s not just uncomfortable; it can actually be unsafe, especially for kids. You won’t see it once the tile is installed, but you will absolutely feel the difference if it’s missing. During a bathroom remodel, this is the kind of detail that protects both comfort and safety long term. It’s a small mechanical component, but it makes a big difference in how your shower performs every single day.
54- Choose Drain Style (Linear vs Center)
Drain style changes both the look and the slope of the shower floor. A linear drain feels modern and works especially well for curb-less showers. A center drain is more traditional and often simpler to install. We had to think about the tile layout and how water would flow. It’s one of those details that affects both aesthetics and functionality.

55- Select Drain Finish
Yes, even the drain finish matters. It may seem like such a tiny detail, but in a fully renovated bathroom, small metal elements really stand out. You want to make sure your drain finish matches the rest of our plumbing fixtures, so nothing feels random or out of place. When your faucets, shower fixtures, and hardware are all cohesive, the drain should follow that same design language. It’s easy to overlook because it sits low and feels purely functional, but an unmatched drain can subtly throw off the shower’s overall look.
56- Confirm the Slope of the Shower Floor
This is absolutely critical. The slope needs to guide water properly toward the drain without creating an uneven surface underfoot. We double-checked this before the tile went in because fixing it later would be a nightmare. A proper slope protects everything underneath and keeps water where it belongs.
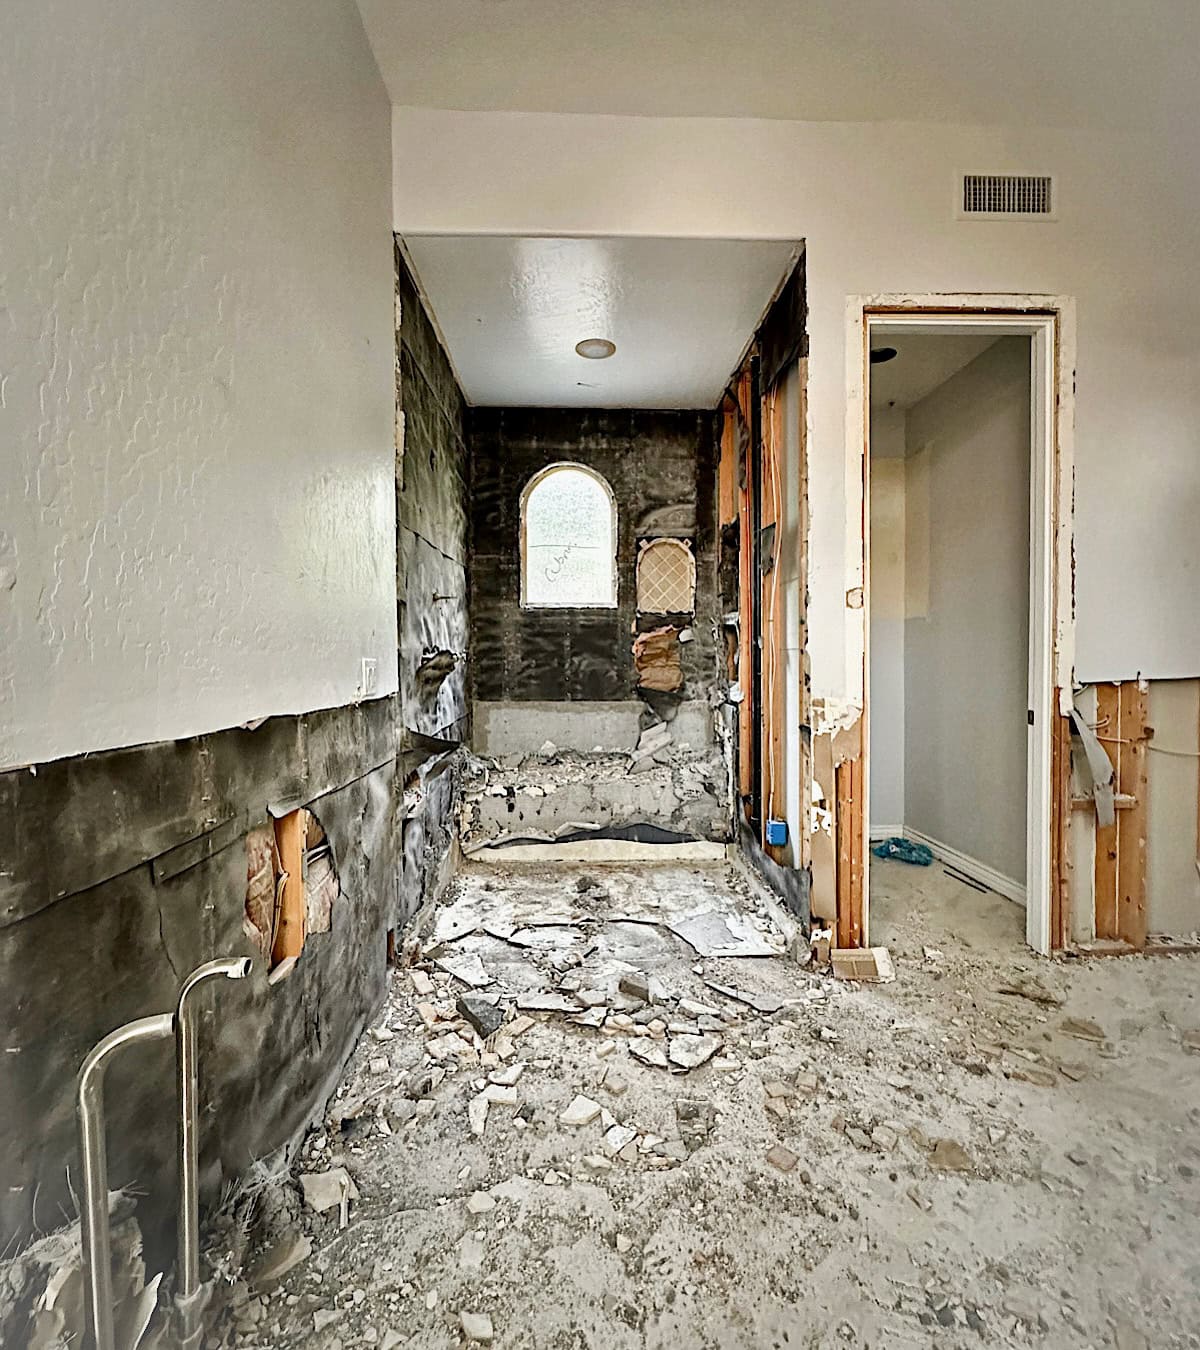
57- Budget for Unexpected Plumbing Issues
If there’s one thing a full home renovation teaches you, it’s that once the walls open, surprises almost always show up. You might discover old pipes that need replacing, outdated valves, improper venting, or plumbing that isn’t up to current code. None of it is visible before the demo, and once it’s exposed, it usually needs to be addressed immediately. That’s why building a cushion into your renovation budget is so important. Plumbing updates aren’t the “fun” part of a bathroom remodel, but they’re critical to doing the job properly.

58- Budget for Tile Overage (10–15%)
We quickly learned you should never order tile down to the exact square footage. There are always cuts, breakage, or small miscalculations. We budgeted for at least 10–15% extra. Running out of tile during a project is stressful, especially if it’s backordered. That small buffer gave us peace of mind and kept the project moving.
59- Order Extra Tiles for Future Repairs
Even after the project was done, we kept extra tiles stored away. If something chips or cracks years later, you’ll be so grateful you have the exact match. Tile lots can change, and colors can vary slightly over time. It’s one of those things you hope you never need, but if you do, you’ll be glad you planned ahead.
60- Confirm Timeline with Contractor
Renovation timelines almost always shift, but we made sure to have a clear schedule upfront. We talked through start dates, milestones, and the order of events. Knowing the sequence, demo, plumbing, electrical, tile, cabinetry, helped us mentally prepare. Even if delays happen, having an outline makes the process feel more manageable.
61- Confirm Delivery Dates
Order everything, and I mean EVERY SINGLE THING, before you start demo, and make sure it has actually arrived and is safely stored. I can’t tell you how many delays we experienced because of late plumbing deliveries, order changes, or cancellations. It was SO frustrating. One small missing piece can hold up the entire bathroom remodel. I highly encourage you not to start anything until all your materials are in. Trust me on this. Fixtures, tile, vanities, everything needs to arrive on time. Even something as simple as a missing faucet can delay progress.

62- Final Walk-Through & Punch List
Before officially calling the bathroom remodel complete, take the time to do a very detailed final walk-through. This is your chance to slow down and really look at everything: tile alignment, grout lines, paint edges, caulking, hardware placement, lighting, plumbing fixtures, and overall installation quality. Open every drawer. Turn on every faucet. Flush the toilet. Check the shower door. Don’t assume everything is perfect just because it looks good at first glance. As you go, create a punch list. A simple list of small fixes or touch-ups that need attention. It might be minor paint corrections, adjusting a cabinet door, tightening hardware, or re-caulking an edge. Writing it all down keeps things organized and ensures nothing gets forgotten. This step isn’t about being overly picky; it’s about finishing the project properly and making sure the final result truly reflects the investment you just made.
63- Deep Clean Before Move-In
This was honestly my favorite part! haha! The moment when all the hard work finally paid off. After months of decisions, dust, noise, and constant movement, doing that deep clean felt like the official “we made it” moment. Before fully moving back in, our cleaning crew thoroughly cleaned everything. Renovation dust finds its way everywhere. Inside drawers, on shelves, in corners, and even inside vents. It settles in places you wouldn’t even expect. Starting fresh in a completely clean space makes the bathroom feel truly finished and brand new. It’s the moment when the chaos disappears, and you finally get to enjoy the space you worked so hard to create.
Bottom Line

If there’s one thing going through a full home renovation, and especially a full bathroom renovation, taught me, it’s this: the little details are never little. A bathroom remodel isn’t just about choosing pretty tile or a beautiful vanity. It’s about planning, double-checking, asking questions, and thinking through how you actually live in the space every single day.
A real bathroom remodel checklist saves you from emotional decisions, unnecessary delays, and expensive mistakes. It keeps the project grounded when things feel overwhelming. From plumbing placement to lighting, from door swing direction to grout color, every small choice adds up. And once walls are closed and tile is installed, changing things is no longer simple.
The truth is, bathroom remodeling is a big financial and mental investment. But when you take your time, plan carefully, and focus on both design and function, the result is worth it. Your bathroom becomes more than just another room in your home. It becomes a space that works better, feels better, and reflects the thought and care you put into it.
Love,
Sherry XOXO