31 Game-Changing Interior Remodel Tips And Ideas From Our Own Renovation
Interior remodeling has been one of the most intense and rewarding chapters of our life lately. In this post, I’m sharing some of the firsthand lessons we learned throughout our full home renovation, what worked, what I’d repeat in a heartbeat, and all the little details that made a big difference.
These 31 interior remodeling tips aren’t just Pinterest saves; they are real decisions that shaped our home. Whether you’re planning a complete renovation, a weekend DIY remodeling project, or you’re already deep in the chaos, I hope this gives you a bit of clarity and maybe saves you from a few of the headaches we encountered along the way.

1- Create A Mood Board for Each Space
This was honestly one of the BEST things I did before we even started remodeling. I didn’t just want a pretty home, I wanted each space to feel a certain way and functional. So I started mood boards for every room: the kitchen, living room, the master bath, the girls’ rooms, even the laundry room. I pulled inspiration from everywhere, Pinterest, Instagram, magazine clippings, random screenshots I had saved for years. Having those boards helped me stay focused when I felt overwhelmed with choices (which happened a lot). It also made it easier to communicate with our designer and contractors. I knew what direction I wanted to go in, and that clarity saved us from so many mistakes and impulse buys. If you’re remodeling, start here, it makes the rest so much smoother.
2- Don’t Be Afraid to Mix in Bold Paint or Wallpaper
We kept most of our home light and neutral, with warm white walls that feel soft and inviting, especially in natural light. But I didn’t want every single room to look the same or feel too flat. So in a couple of spots, we went bold, with bold paint and statement wallpaper, and I’m so glad we did. You don’t need to go all out in every room but choosing one or two spaces for an accent wall or bold wallpaper can add so much personality without throwing off the overall flow of your home. I’ll be sharing more about our wallpaper choices soon but just know, those bolder touches make everything else pop more. It’s all about balance.
3- Mix Matte and Gloss Finishes to Add Character
I didn’t think I’d care much about the finish, until I saw what a big difference it actually makes. We used matte finishes on a lot of walls, cabinets, some tiles and I love how soft and modern everything feels. Matte doesn’t shout for attention, but it still looks beautiful and classy. And I love how it hides fingerprints, which is a must when you have little kids (LOL)! But we didn’t stop there. In a few areas including shower slabs, kitchen countertop, and a few other small spaces, we mixed in glossy finishes to add contrast and give the space some extra personality. The mix of matte and gloss throughout the house really brought in character. Don’t be afraid to play around with it, it’s one of those details that makes a big impact without being over the top.
4- Use Clean, Linear Edges For A Timeless Look
We leaned heavily into clean lines throughout our renovation. From the edge profiles on countertops to the trim and cabinetry, I avoided anything too decorative or fussy. I wanted our home to feel timeless, not just tied to any one trend. Clean, simple edges made every room feel a little more tailored and modern, without losing warmth. It also helped the space feel more open and uncluttered. This one little design principle really tied everything together, and I’d absolutely do it again.
5-Use Wallpaper In A Few Spots For Personality
I’ll admit, I was a little hesitant about wallpaper at first. I kept picturing those ’90s borders and loud prints, LOL! But once I started seeing all the subtle, modern options out there, I was hooked. We used wallpaper on a few accent walls, and it added just the right amount of fun and texture without overpowering the space. It’s honestly one of the easiest ways to make a room feel special. And the best part is that it’s one of the first things people notice when they walk in. If you’re not sure about committing, try it in a smaller room or on just one wall. It really does change the whole vibe (in the best possible way)!
6- Use Arched Doors, Windows, And Openings
This was one of those decisions that made me fall in love with our home all over again. Arches have such a soft, romantic feel and instantly add charm and character. Our house already had several arched doors, windows, and walls, and instead of removing them, we added a few more throughout the house. We actually converted our arched windows to full arched doors leading to the patio to create a beautiful indoor-outdoor living space, especially perfect during Arizona’s beautiful weather. We also removed two walls and added an arch between the dining room and living area, and every time I walk through it, I smile. I know trends come and go, but honestly, I don’t care if the arch trend fades (LOL). I’ll keep ours forever… Arches have been around for centuries, and for good reason.
7-Add Architectural Details Like Molding And Trim
This was something I always loved and couldn’t wait to see come together. We added modern molding throughout the living room, dining room, and around the fireplace, and it instantly made everything feel more polished. Those architectural details completely changed the feel of the space. It went from feeling like a blank canvas to something with real style and edge. Even the simple trim around the windows and doors gave the rooms more presence. It’s one of those things people might not notice right away, but they feel it. It adds depth, warmth, and that quiet sense of luxury that makes a home feel complete.
8-Use Recessed Baseboards For A Sleek Finish
This was one of the most modern upgrades we made, and I’m still obsessed with how clean it looks. Recessed baseboards sit flush with the wall, which means no little ledges for dust or visual clutter. It’s subtle, but it gives the entire space a crisp, minimalist feel that’s so satisfying. It pairs perfectly with our clean lines and modern finishes, and it makes every room feel a little more architectural. It’s a small thing, but it added such a big visual impact.
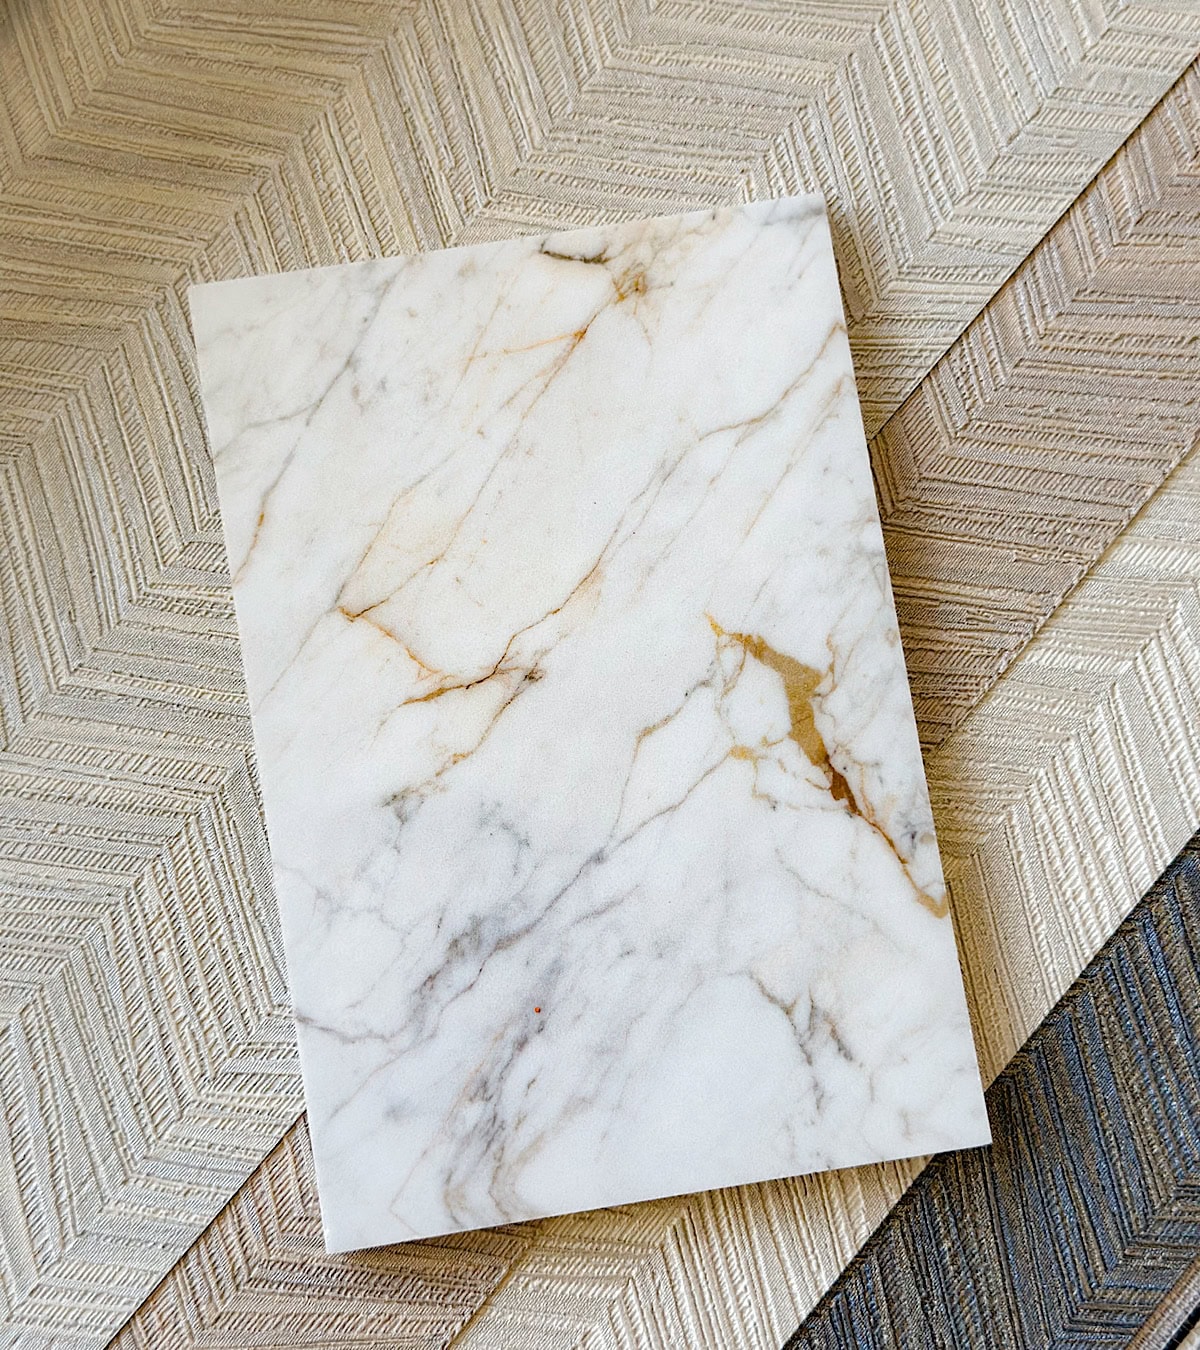
9-Consider Hardwood Floors With A Herringbone Pattern
This was one of those design decisions I have absolutely zero regrets about. We used a herringbone pattern in our main living room, dining room, and kitchen, and it quickly became one of my favorite features in the house. It adds texture, movement, and just the right amount of visual interest without feeling loud or overly trendy. It’s a timeless pattern that’s been around forever but still feels fresh and elegant. If you’re using hardwood, even adding a herringbone accent in a smaller area can make a huge impact. It’s like a little touch of quiet drama underfoot, and it completely changes the feel of the space.
10-Use The Same Flooring Throughout For A Seamless Flow
I can’t even tell you how much of a difference this made. We used to have a mix of flooring, stone or tile in one room, wood in another, and it made the whole house feel chopped up and disconnected. Once we chose one beautiful flooring and ran it throughout the main areas, everything just came together. The space instantly felt more open, cohesive, and peaceful. There’s something so calming about walking through your home without harsh transitions between rooms. We went with wide plank hardwood in a soft champagne tone, and it completely changed the vibe of our house. I’d do it again in a heartbeat. The only places we used different flooring were the bathrooms and laundry room, everywhere else, we kept it consistent, and I’m so glad we did.
11- You Can Never Have Too Much Storage
One thing I’ve definitely learned, no amount of storage is ever enough! LOL! In my opinion, extra storage is a luxury you don’t realize you’re missing until you have it. I lost count of how many times I said, “Let’s add a drawer here,” or “Can we squeeze in another shelf there?” during the reno. We added extra shelving in the pantry, double rods in the closets, and tucked storage into every little nook we could find. Built-ins were a game changer too. It’s not about stuffing cabinets everywhere, it’s about smart, functional storage that actually makes your daily life easier. And now that we’re living in the house, I’m so glad we didn’t cut corners here. It’s made everything feel way more organized and a lot less chaotic.
12- Hide Your Outlets- Especially in Kitchens and Bathrooms
If you can, hide your outlets, especially in the kitchen and bathrooms. We made sure to tuck them under upper cabinets, on both sides of the kitchen island, and even inside the vanities, and it completely changed how clean and polished everything looks. No more random outlets breaking up the backsplash or cluttering the walls. It gives the space a soft, seamless look that’s so much easier on the eyes. It also keeps things feeling neat and clean, like it was professionally designed. If you’re renovating, talk to your electrician early about placement. These little details make a big difference.
13- Don’t Forget Toe-Kick Drawers For Hidden Storage
This is one of those sneaky storage solutions I didn’t even know I needed until our cabinet company suggested it, and I loved the idea. We added toe-kick drawers under our lower kitchen cabinets, and they’re perfect for storing flat items like baking sheets, serving trays, even placemats. It’s space that would’ve been totally wasted otherwise. It’s such a clever way to squeeze out every inch of storage without compromising style. If you’re designing new cabinetry, do not skip this!
14- Add More Outlets Than You Think You’ll Need
Honestly, I lost count of how many times we said “let’s just add one more outlet” during the renovation and now that we’re back in the house, we use every single one. Whether it’s for charging laptops, plugging in holiday decor, or using a mixer in some random kitchen corner, having extra outlets has been a game changer. We even added some in the pantry, under the island, and inside bathroom vanities. It’s one of those things people don’t always think about until it’s too late, because once drywall goes up, you’re stuck. My advice is overdoing the outlets! LOL! You’ll never say, “Ugh, why did we add so many outlets?”
15-Use Timeless Colors For Kitchen Cabinets (Skip Trends)
I went back and forth on cabinet color so many times, like, 100 times. LOL! I was definitely tempted by a few trendy shades, but I kept coming back to something soft, warm, and neutral. I knew I didn’t want to look at our kitchen five years from now and regret not choosing something more timeless. The neutral color combo we landed on feels soft, classy, and elegant (I can’t wait to share once the kitchen is fully done!). It’s not tied to any one trend, and it creates such a calm, welcoming vibe. If I ever want a pop of color, I can always switch up the decor, but the cabinetry will hold up beautifully for years.
16- Go For Panel-Ready Appliances For A Seamless Kitchen
This was one of the best decisions we made for our kitchen. Panel-ready appliances gave us that sleek, built-in look I’ve always loved. The fridge and dishwasher disappear into the cabinetry, and the whole space feels more cohesive and custom. It’s subtle, but when you walk into the kitchen, you notice how clean everything looks. There’s no visual break from bulky stainless steel, and it just feels more elevated. I know it’s not a must-have for everyone, but if you’re going for a more refined design, this is absolutely worth it.
17- Extend Backsplash (Preferably Slabs) To The Ceiling
We did this behind our range, and all over the kitchen back wall and in my opinion it’s one of the most beautiful design elements in the kitchen. Using a full slab backsplash and running it all the way to the ceiling made everything feel taller, grander, and so much more luxurious. There are no grout lines to deal with, and it adds instant drama in the best way. It also made the space easier to clean, which I didn’t realize would be such a bonus. I know it’s more of a splurge, but if there’s one area to go big in your kitchen, it’s here. It turned out even better than I imagined.
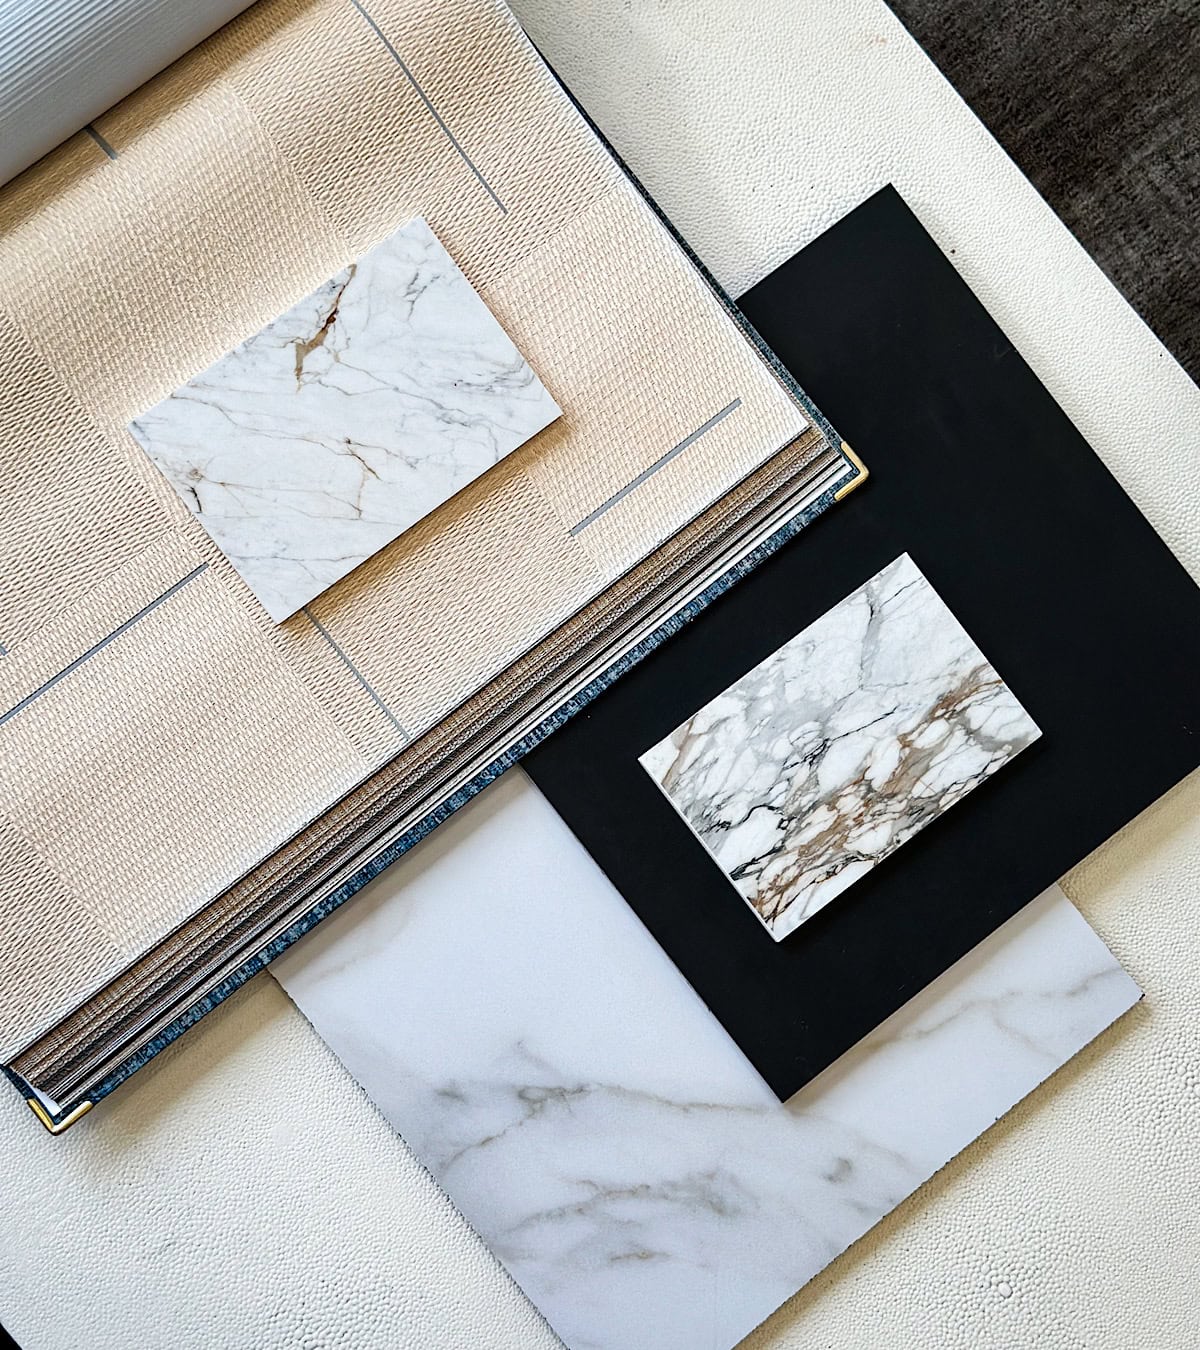
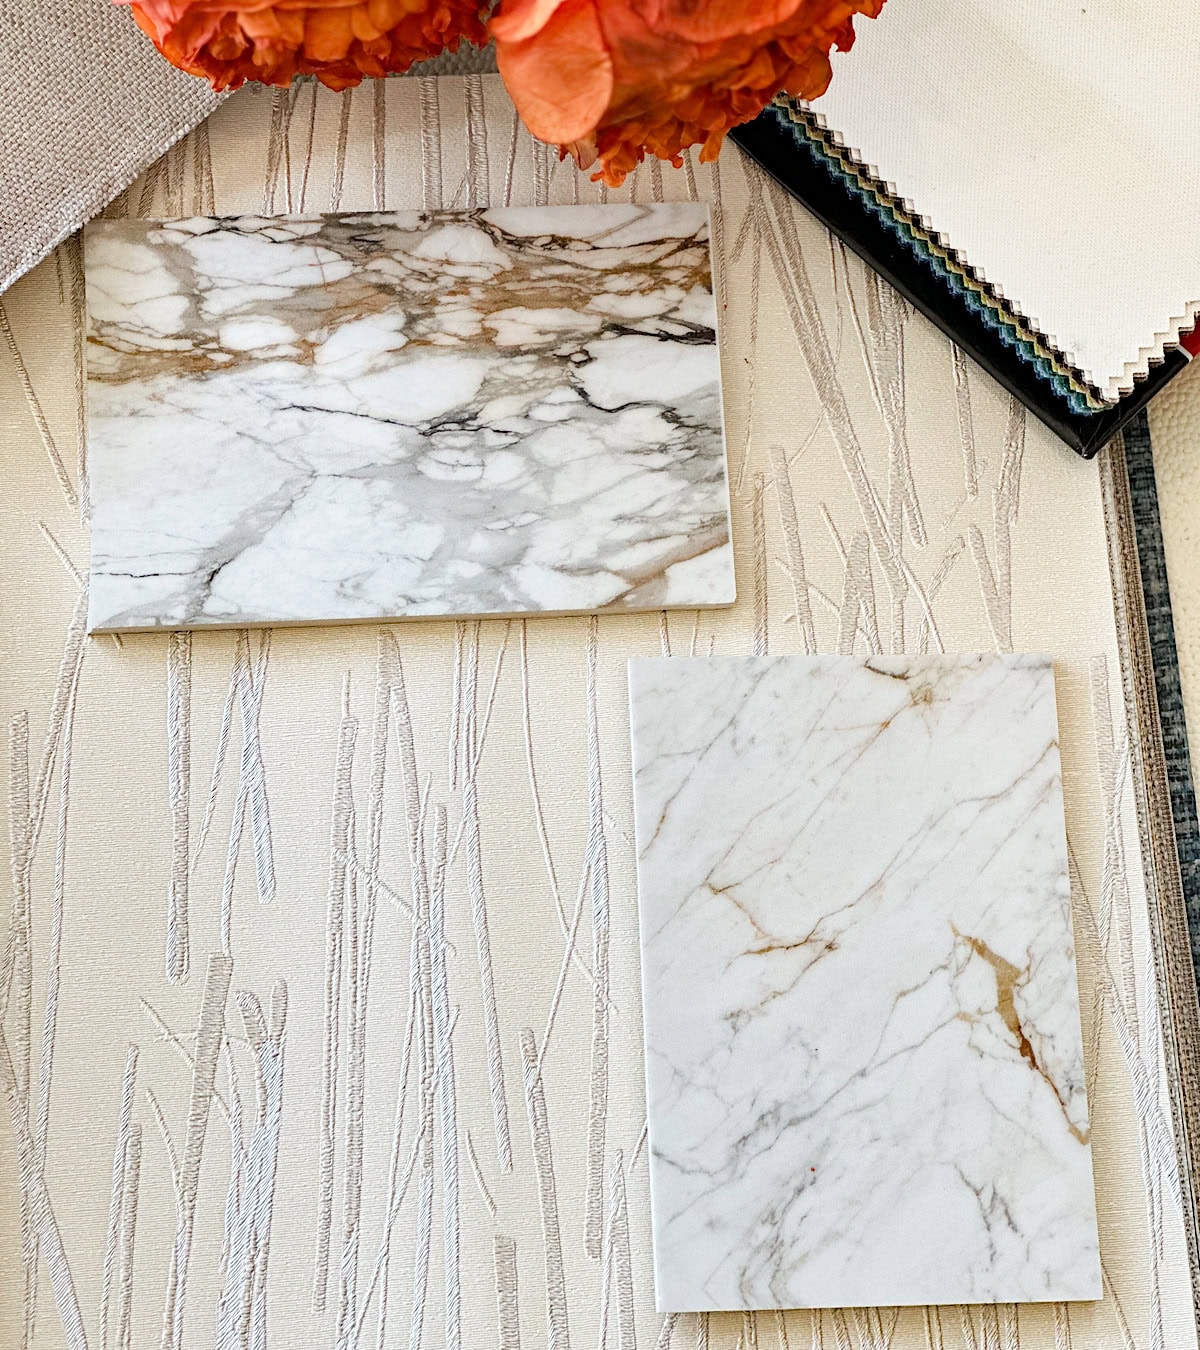
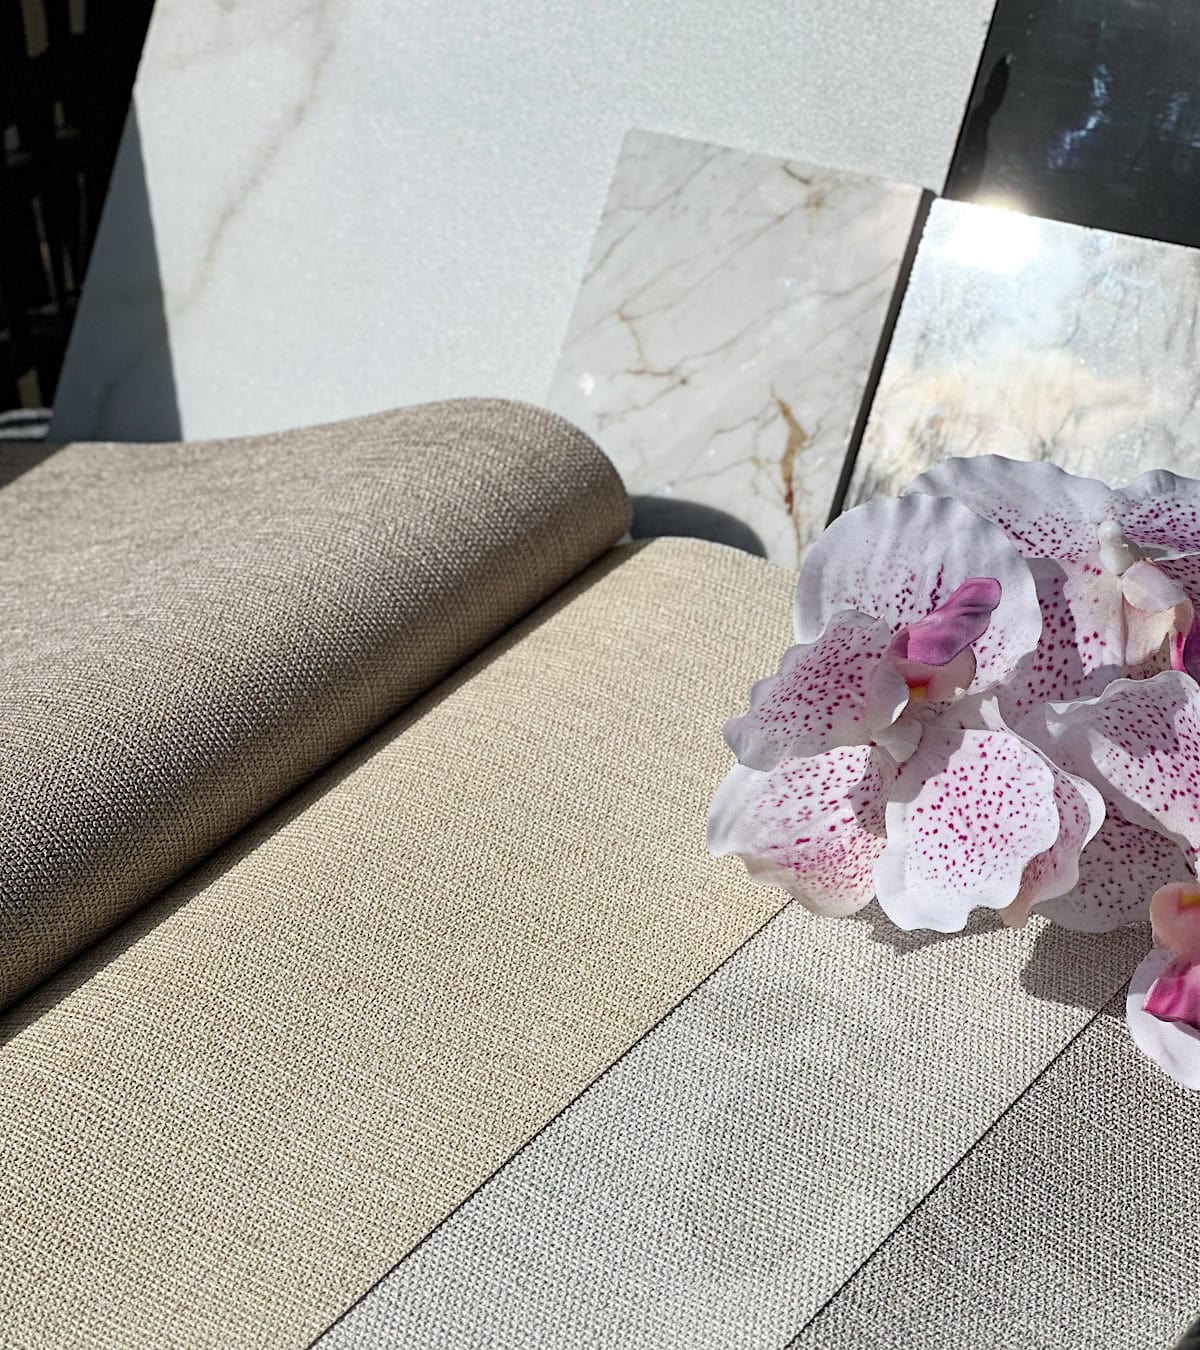
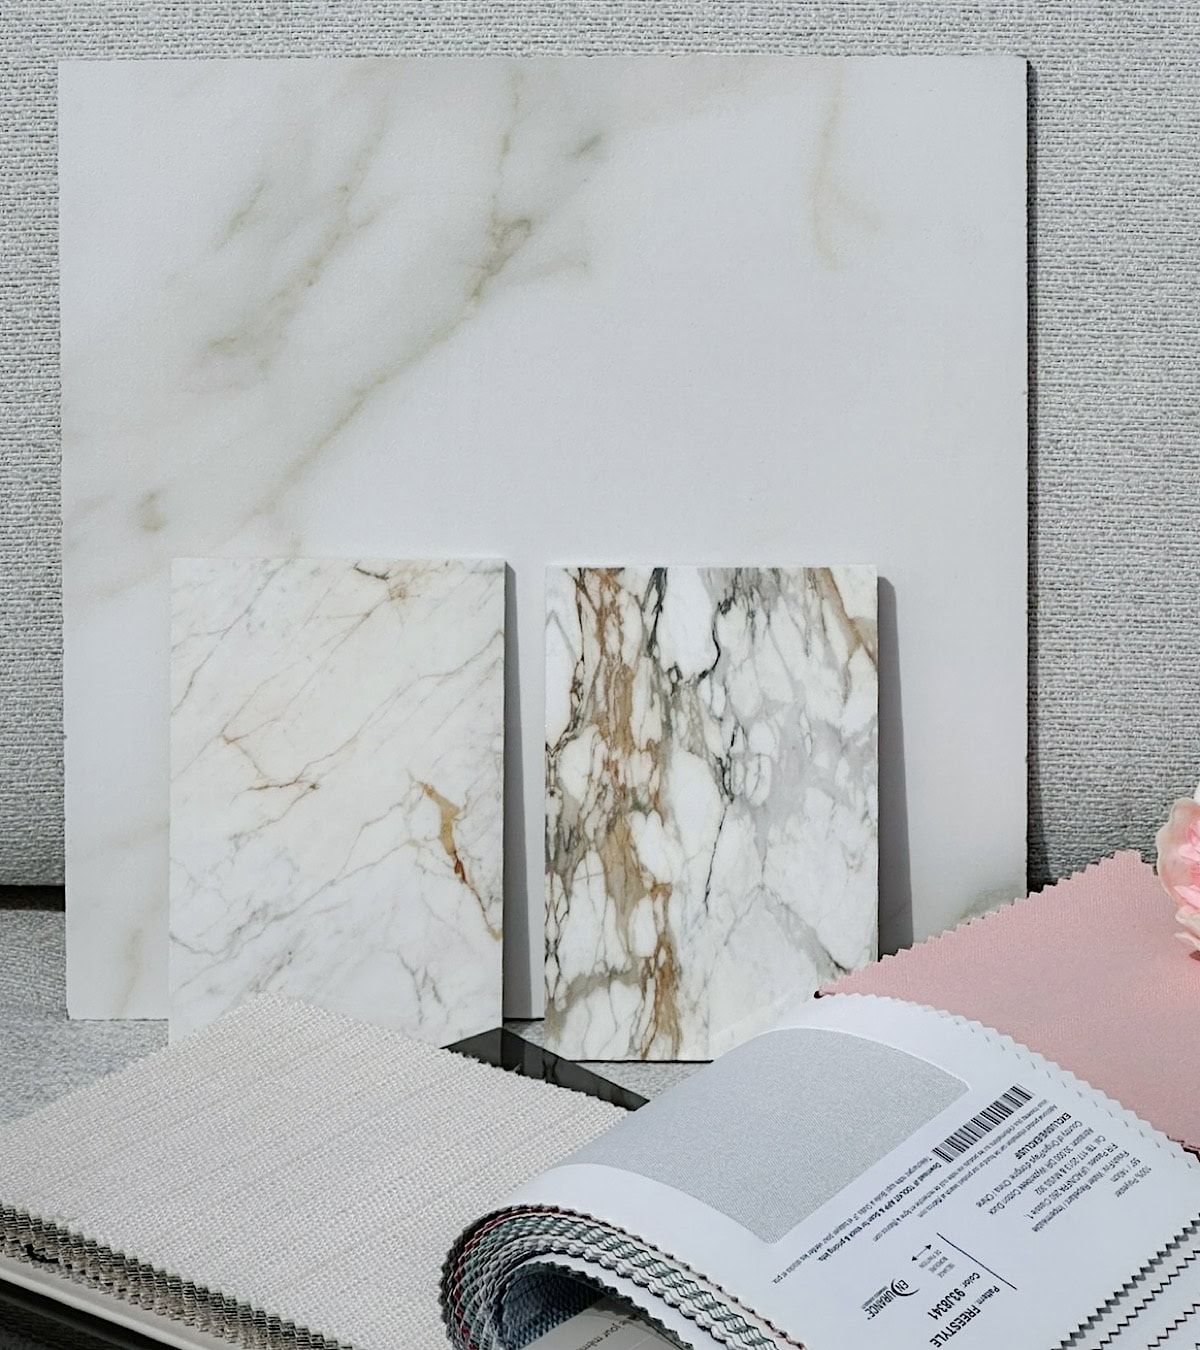
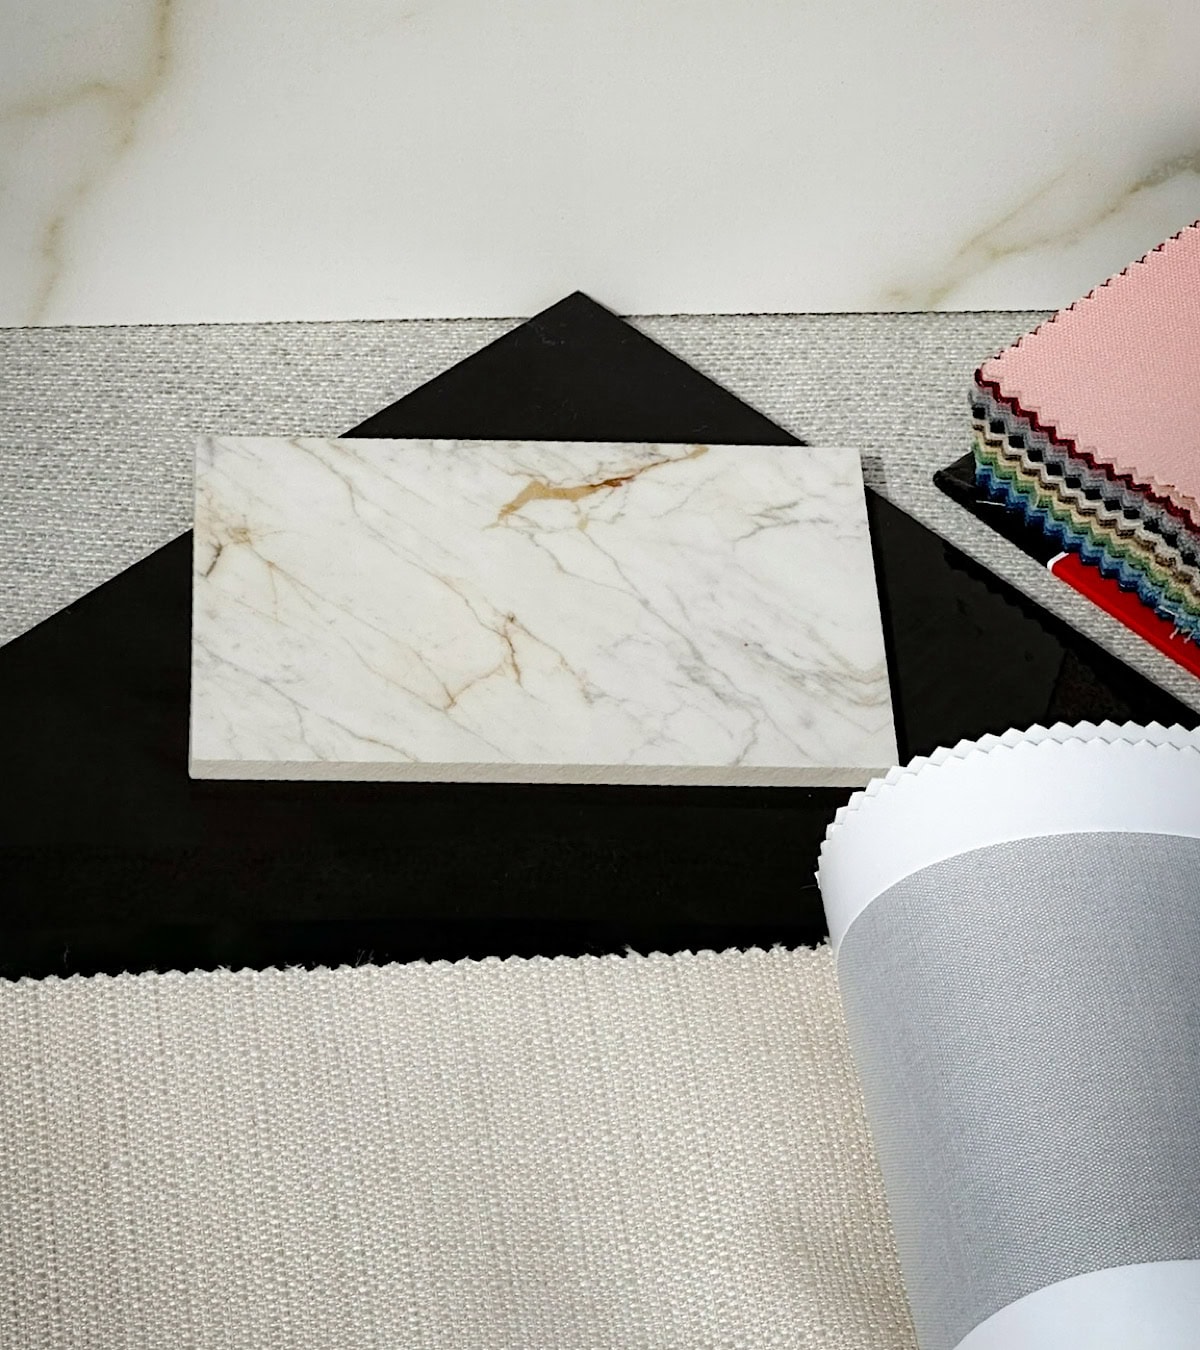
18- Avoid Trendy Tile/Stone On Large Surfaces—Stay Classic
This decision saved us from so many future regrets. There are tons of gorgeous, trendy tiles out there, but I knew I didn’t want to get tired of something that covered an entire wall or floor. For our master bathroom, we went with a large center slab on the back wall behind the bathtub. It’s a big statement piece and I love it. Around it, we used classic accent tiles and added a subtle pop of color on the floor to create contrast. The rest stayed neutral and timeless with patterns and materials I know I won’t get sick of. If I wanted to try something more fun or trendy, I saved it for smaller spots, like the niche or powder room. It gave me flexibility without locking me into something I’d want to rip out in five years. Classic doesn’t mean boring. It means lasting.
19- Add Niches In Showers And Near Toilets For Built-In Storage
I didn’t want those clunky shower caddies or random bottles sitting around, so niches were a must. We added them in every bathroom, inside the showers for shampoo and body wash. They look built-in and intentional instead of like an afterthought. And I loved being able to choose the tile inside the niche, just a little design detail that adds interest without taking up any floor space. It’s one of those things that’s both beautiful and practical.
20- Go Bold And Fun In At Least One Bathroom
This was my chance to play. We kept most of the house soft and neutral (except for the girls’ rooms, which they mostly designed themselves—LOL), but I wanted at least one space to feel like a fun little surprise. The guest washroom was perfect for that. We went bold with color and patterns, and it ended up being one of my favorite spaces in the whole house. Washrooms are great for experimenting because they’re small and contained, so the risk feels low. And honestly, it just makes me happy every time I walk in. If you’re not sure about going bold, try it in a bathroom, it’s the perfect place to have a little fun.
21- Go With Soft-Close Everything
This one’s simple but essential. Every drawer, every cabinet, soft close. It makes the house feel more peaceful, more elevated, and honestly just… better. No slamming, no sudden bangs. Just a smooth, quite close every time. It might seem like a small detail, but when you’re living in the space every day, you notice it. Especially with kids, this has been a game-changer. I will never do another renovation without it.
22- Don’t Underestimate the Power of Beautiful Hardware
This is one of those small interior remodeling decisions that makes a huge impact. Door and cabinet hardware are like the jewelry of your home, and the right pieces completely elevate the space. We chose styles that feel timeless and classy, and they made our cabinetry, and doors look so much more finished. You touch these every day, so they should feel good in your hand and look beautiful too. I spent more time picking hardware than I’d like to admit, but it was worth every second. Trust me, skip the cheap stuff and go for something that feels solid and well-made. It’s one of those details that’s totally worth the investment.
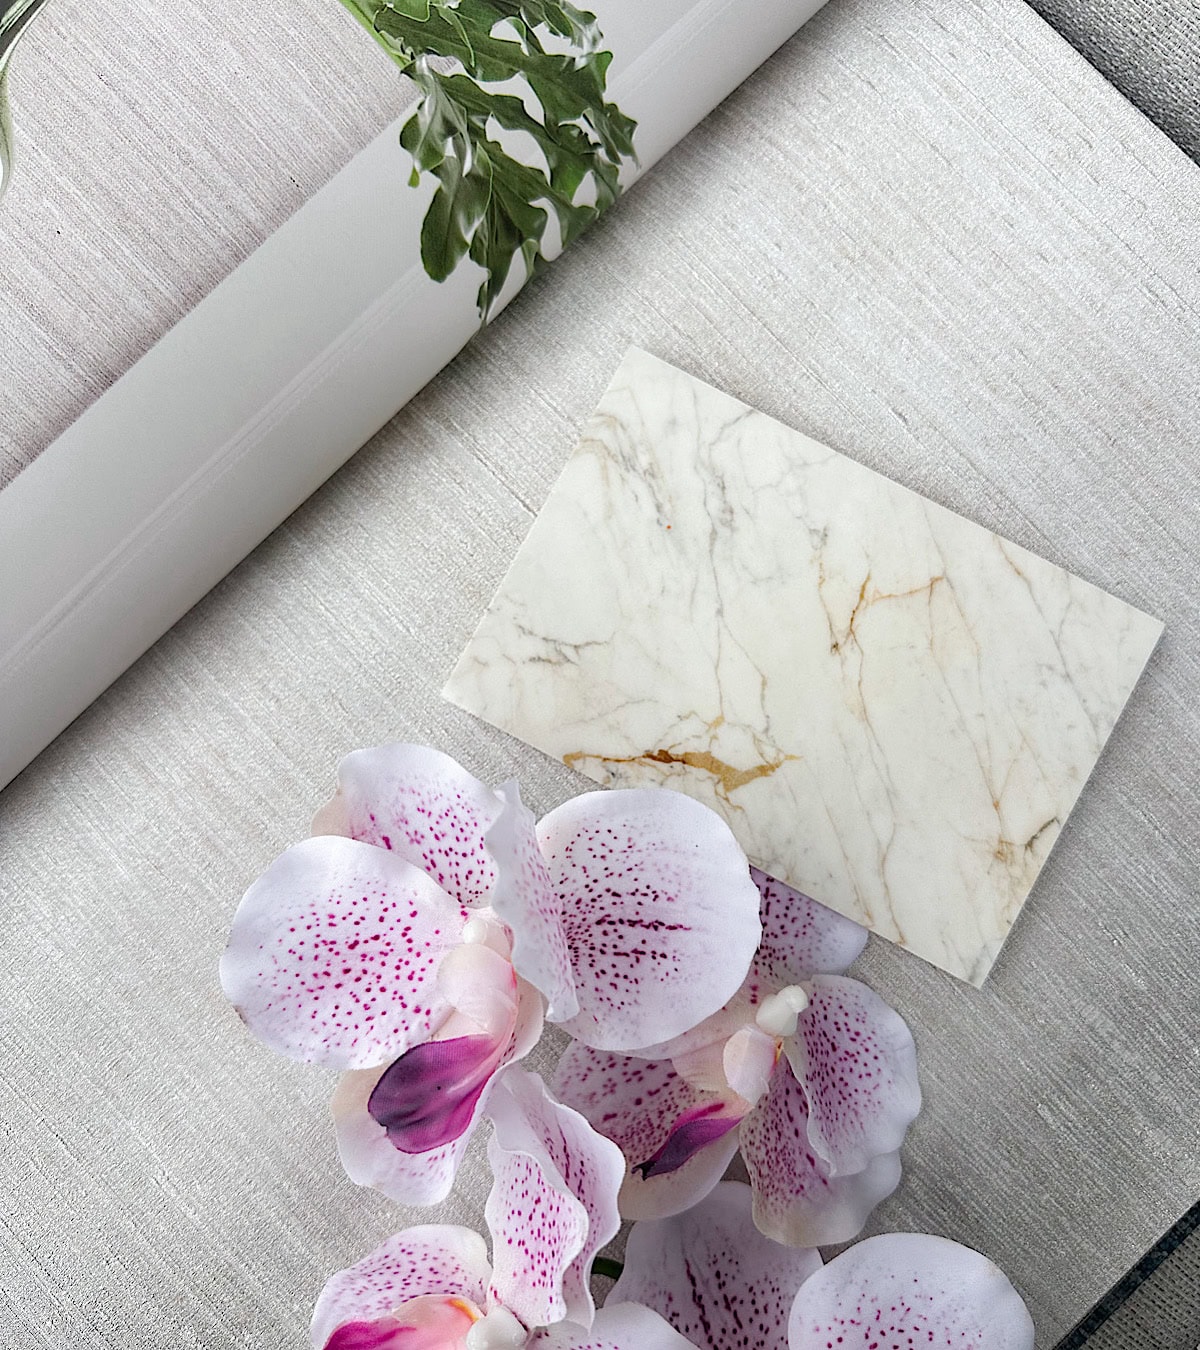
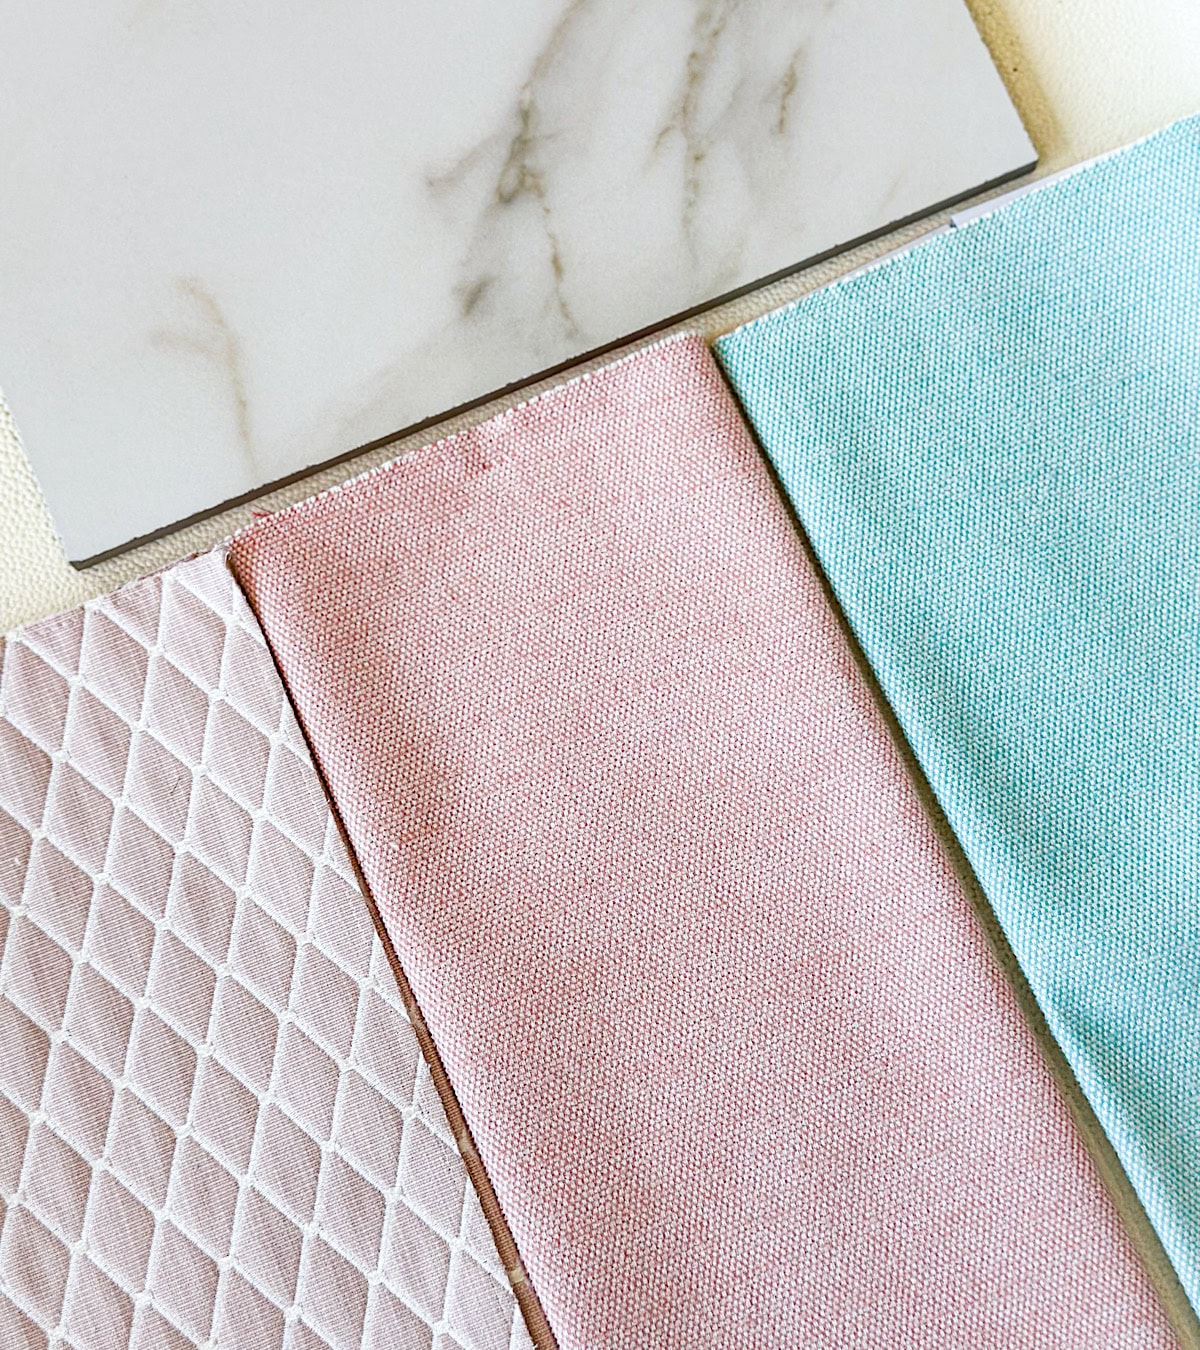
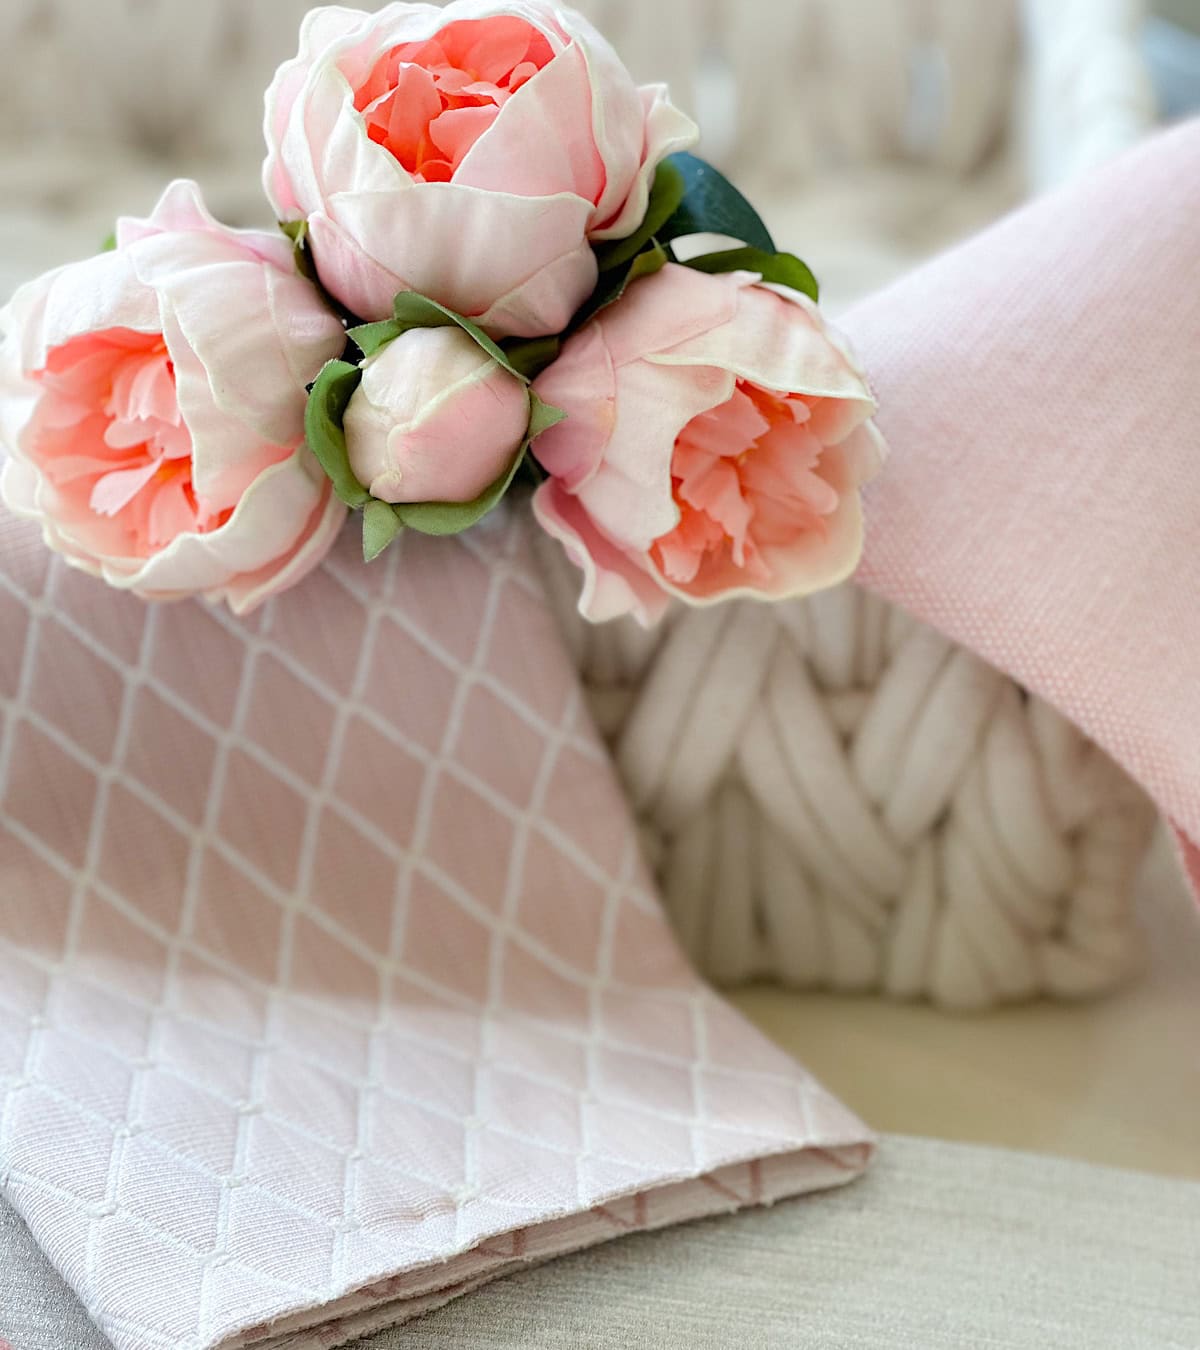
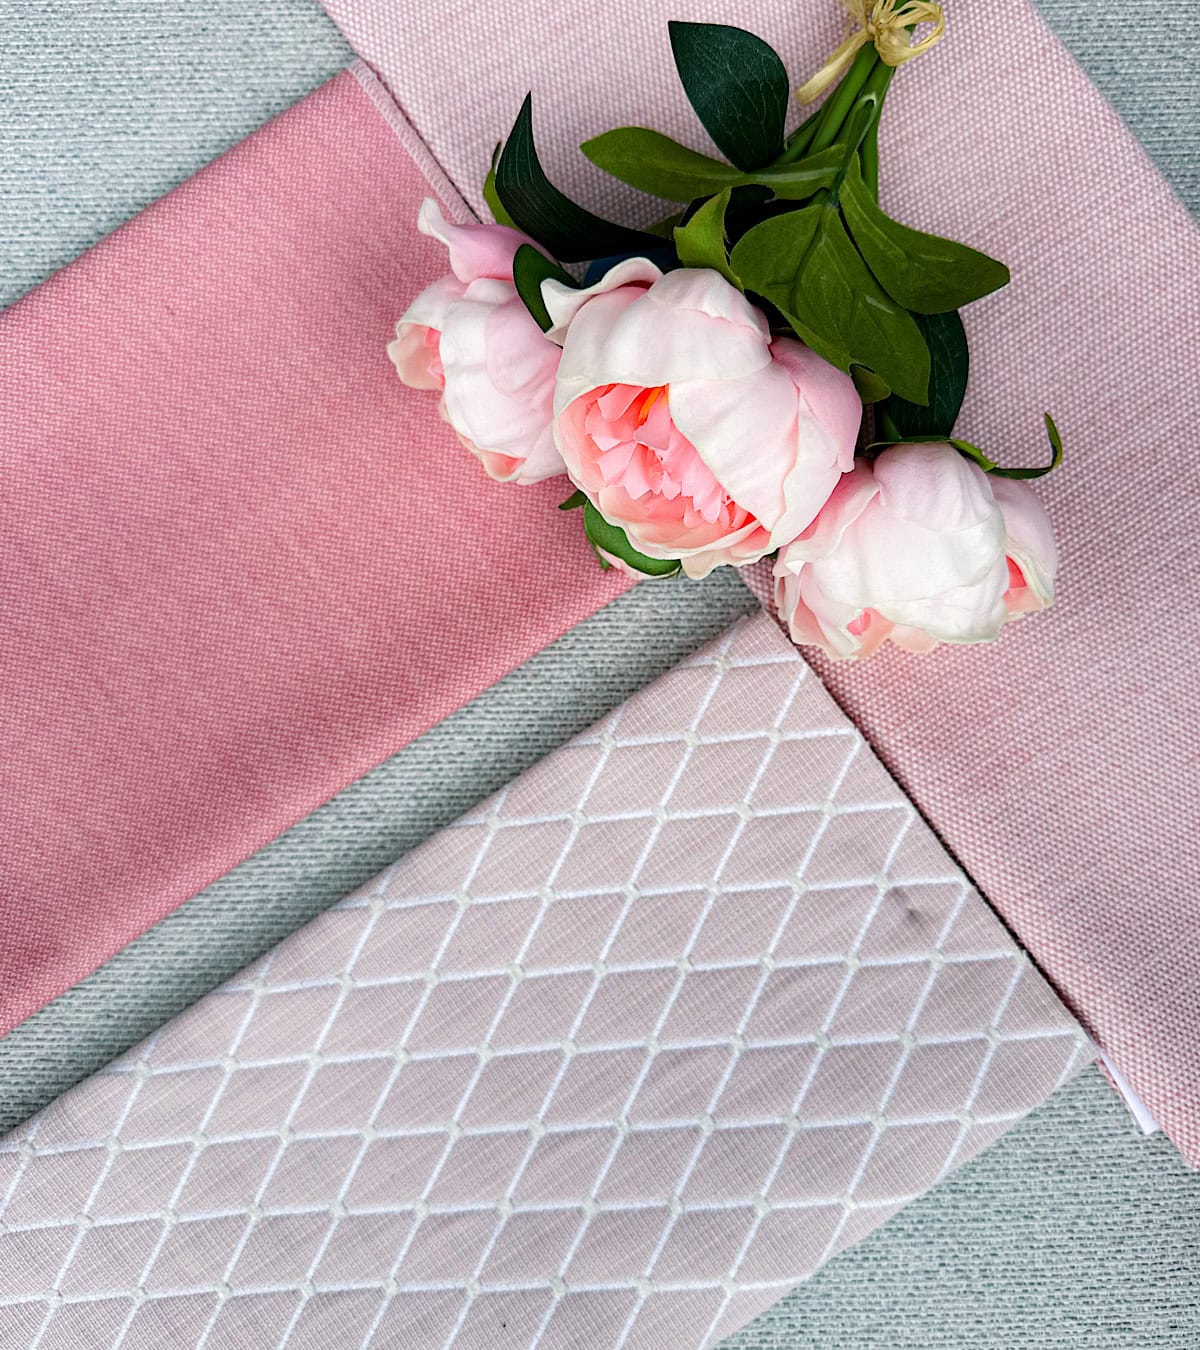
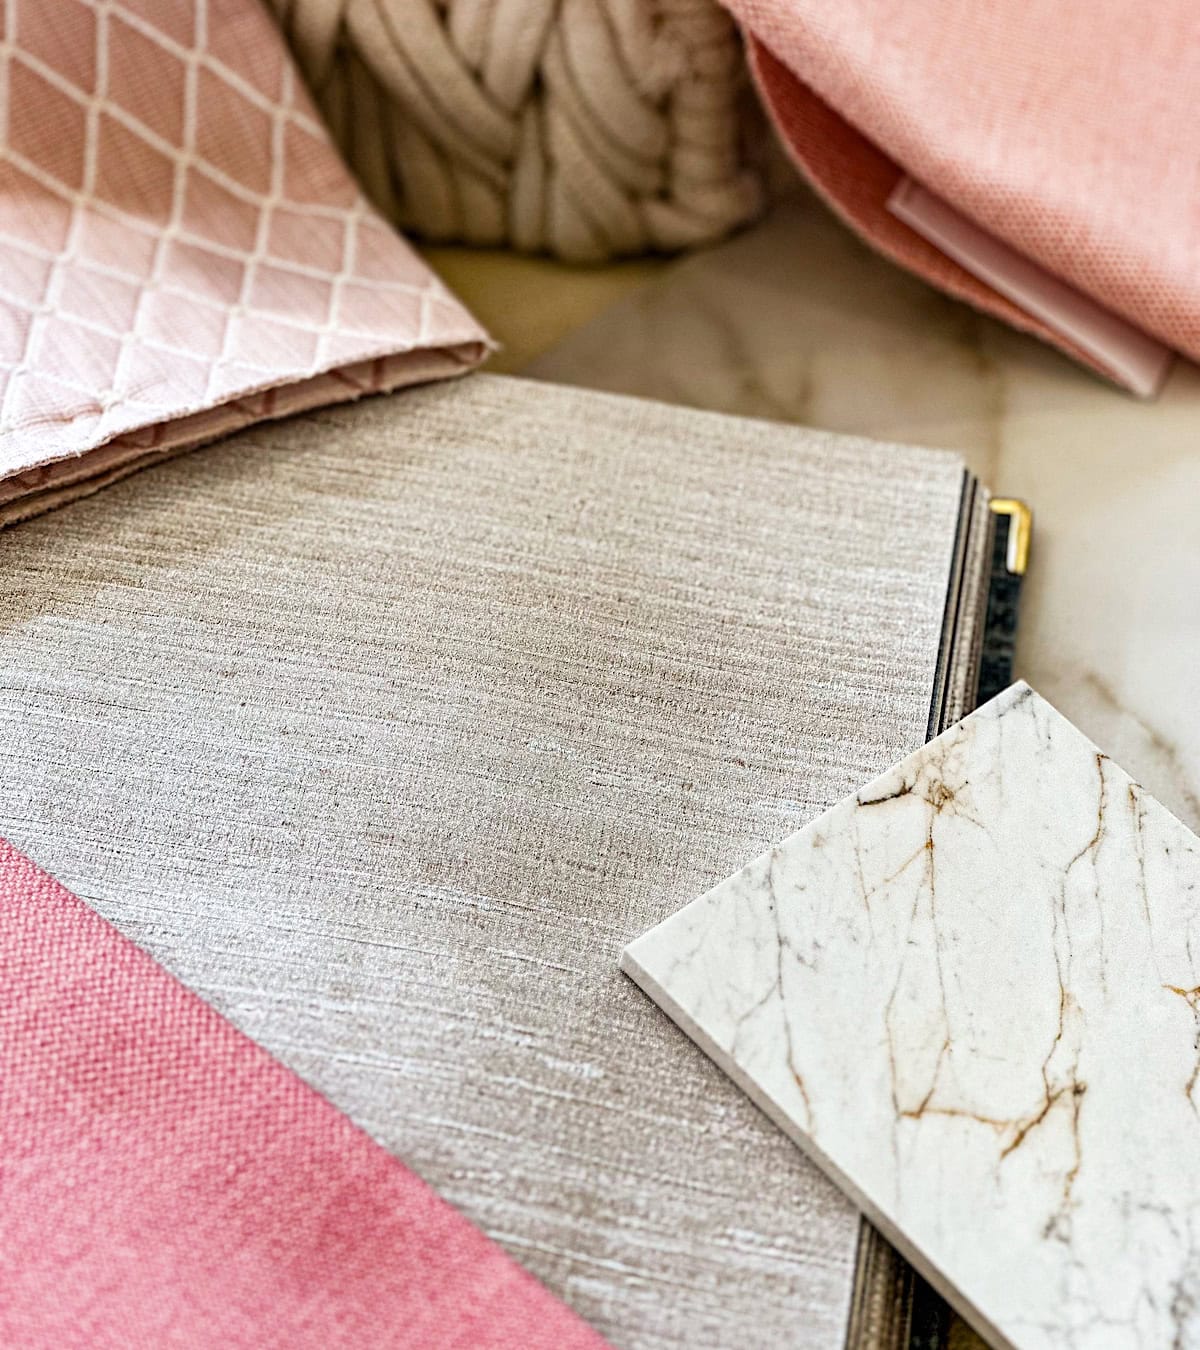
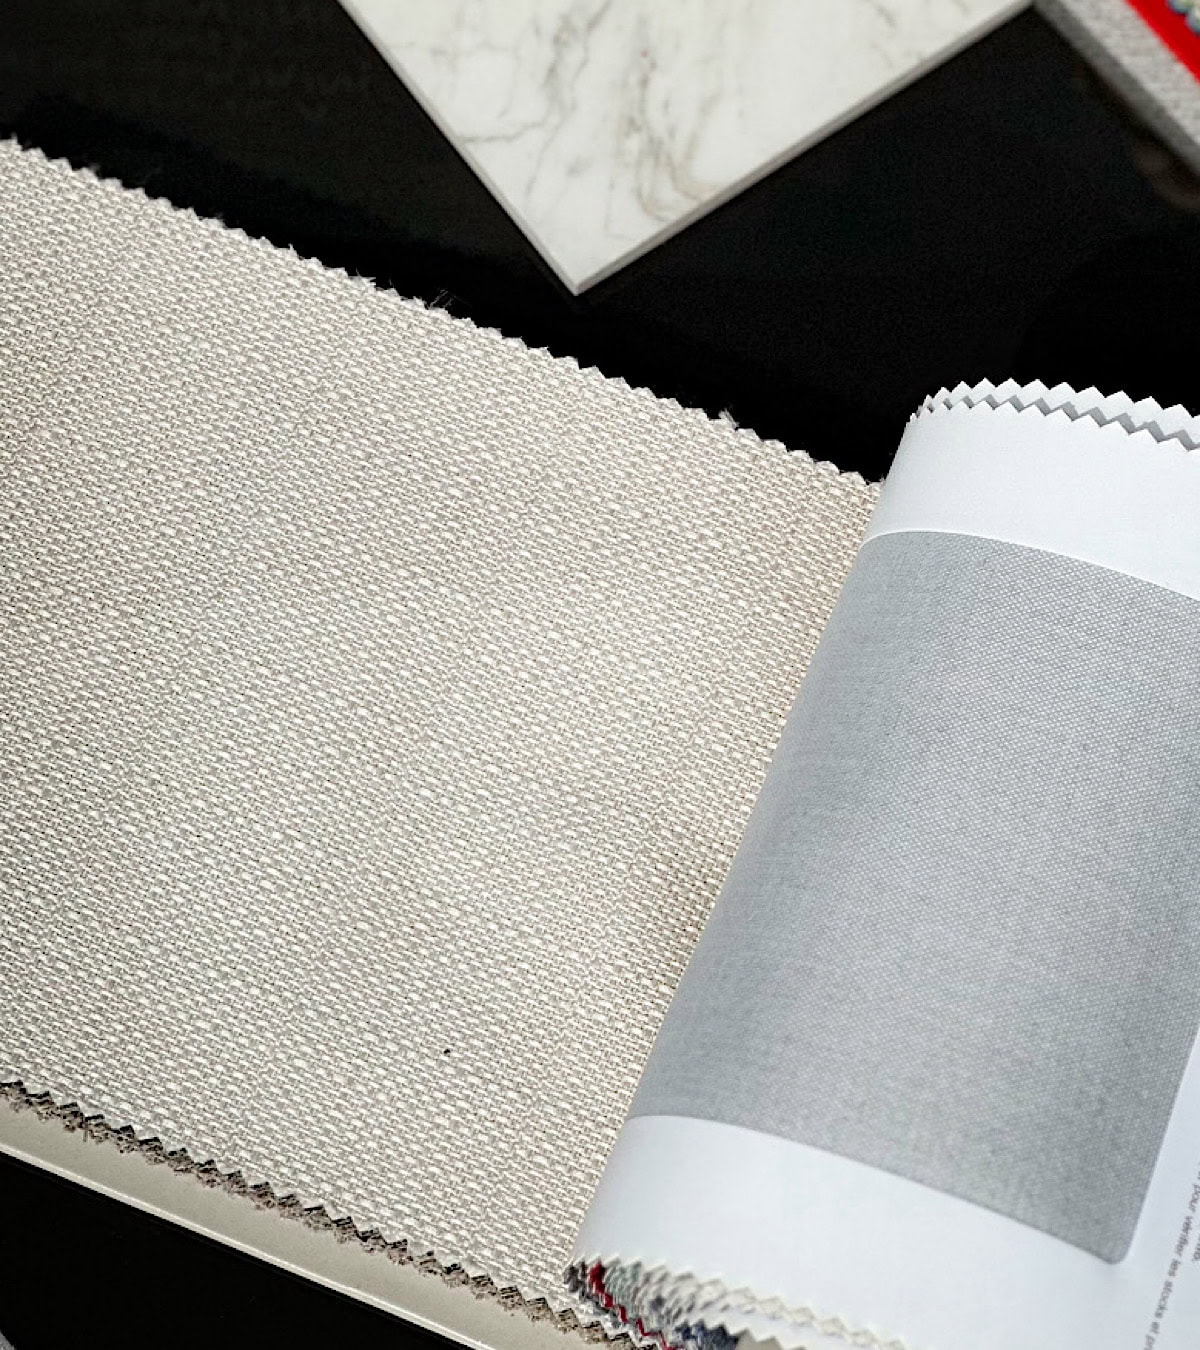
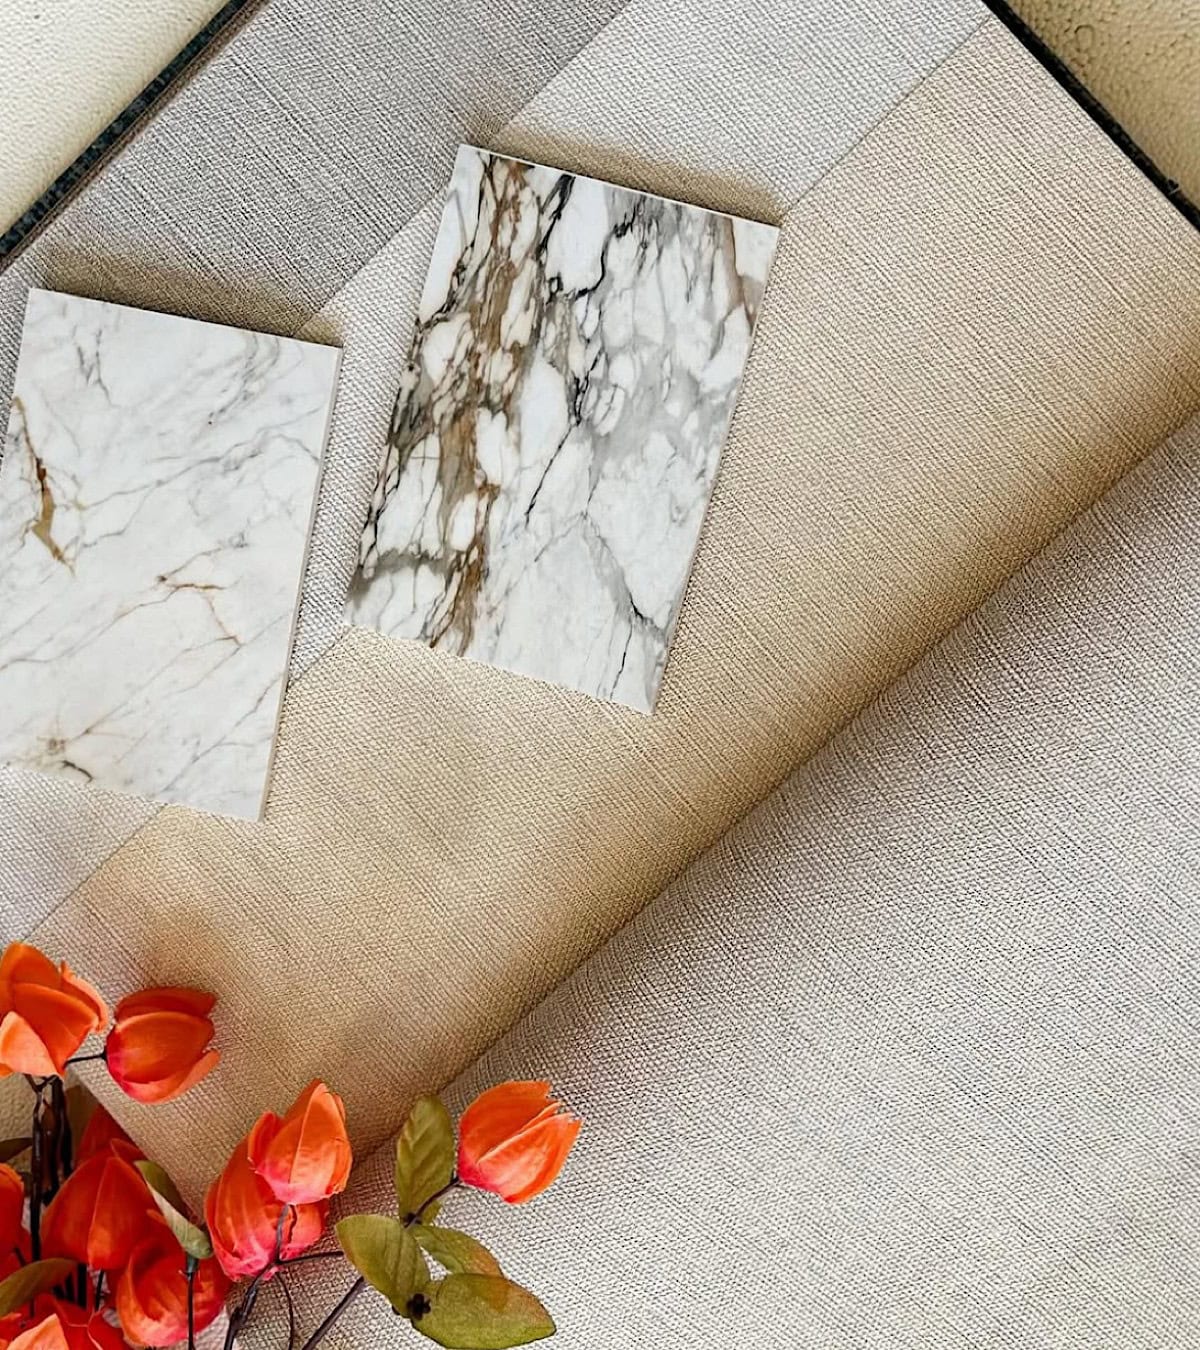
23- Mix Textures, Not Just Colors
I learned this the fun way, adding texture is what makes a space feel layered and rich. We mixed matte walls with natural wood, stone slabs with soft fabric drapes, and smooth cabinetry with fluted details. It created depth without needing to bring in tons of bold colors. Even in a neutral palette, the variation in textures gave each space so much more personality and warmth. Now, when we walk in, we don’t just see the room, we feel it. If you want your interior remodel to feel elevated but still cozy, texture is everything. I highly recommend it!
24- Stick to One Metal Tone for a Cohesive Look
When it came to fixtures, we chose one tone of brass and stayed consistent throughout the house, from the kitchen faucet to the bathroom hardware and even the shower fixtures. Keeping the metal finishes uniform gave everything a more thoughtful, pulled-together feel. It created harmony between rooms and helped the design flow naturally from space to space. Mixing too many metal tones can feel a little chaotic, especially in an open layout. By sticking to one finish, the overall look feels more calm, elegant, and intentional. It’s a small detail, but it made a huge difference in how the house came together.
25- Add Pop-Up Colors to Interior Doors
This was a last-minute decision that turned out to be one of my favorites. We made all of our interior doors black, and it added just the right amount of drama and contrast. Against our neutral walls and warm wood tones, the black doors pop without overwhelming the space. It feels bold but still timeless. It’s such a fun way to bring in personality without committing to a big, permanent color splash on walls or cabinetry. I’d 100% do this in my next interior remodel again.
26- Don’t Ignore the Ceiling
If you want to add some character to your home, don’t forget the ceiling. You can add so much beauty to your ceilings with options like coffered designs, or even simple decorative molding. We added a few decorative moldings in key spaces, and it made such a difference. Ceilings are often overlooked but giving them a little love can completely elevate a room. You can also explore things like custom lighting, wallpaper, or textures like beadboard or shiplap. It’s a great way to draw the eye up and add depth, without needing a major renovation. Small details like these can totally transform how a space feels.
27- Hide TVs Behind Built-Ins for a Clean Look
I wanted the living room to feel calm and clutter-free, not like a giant media center. So instead of letting the TV take over, we built it into the wall and created a flush-mounted, flat surface that blended right in. The fireplace sits directly below it, separated by a sleek, modern mantel to keep the lines clean and intentional. This setup gave the whole space a minimal, polished look without sacrificing function. If that’s not your style, another great option is hiding the TV behind built-in, wall-washed cabinets so it disappears completely when not in use. Either way, the goal is to keep the space from feeling tech-heavy and instead let the design shine. Clean lines and hidden tech go a long way in creating a peaceful living room.
28- Opt For Larger Scale Tile to Minimize Grout Lines
I went back and forth on tile sizes, especially for the bathrooms. In the end, we chose large-scale tiles, and wow, what a difference. Fewer grout lines mean less maintenance, a cleaner look, and a more modern look. It also made our bathroom walls and floors feel more open and luxurious. It’s easier to clean and doesn’t get that grimy grout build-up as quickly. Whether it’s marble, porcelain, or ceramic, going bigger really paid off.
29- Use Coordinated Cabinet Hardware for a Seamless Flow
When it came to hardware, we didn’t want each room to feel like a completely different story. So instead of choosing totally different knobs and pulls for every space, we found a few we loved and used them throughout the house. It created this quiet rhythm from the kitchen to the bathrooms and even the laundry room. Each space still has its own personality, but there’s a subtle consistency that ties everything together. We did switch up the hardware design slightly depending on the room, but we stayed within the same finish family and overall design style. That little bit of coordination made the home feel cohesive and thoughtfully designed, not like it was pieced together over time. It’s one of those details you don’t always notice right away, but you feel it.
30- Consider Having a Wet Room in Your Bathroom
We decided to go with a wet room concept in our master bathroom, and I’m so glad we did. It combined the freestanding tub and the shower into one enclosed area, and not only we loved how the Wetroom turned out, but it made the layout more functional. The entire space feels like a spa. It’s airy, open, and easy to clean. If you love soaking in a tub but also want a big walk-in shower without breaking up the room, a wet room is the perfect solution. It was a bold interior remodel choice at first, but it paid off big time.
31- Cove Lighting, LED Strips, and Hidden Glow
Adding cove lighting to the ceilings and LED strip lighting under the kitchen island and cabinetry completely changed the look and feel of our space. The soft, indirect glow created this beautiful warmth throughout the living room, kitchen, and family room. It made everything feel calm, elevated, and thoughtfully designed. No harsh lights, just layers of soft lighting that instantly shift the mood. At night, it feels cozy and clean without trying too hard. Honestly, this lighting setup became one of the most impactful design choices we made. If you’re renovating, don’t skip it.
Final Thoughts!
Looking back, our renovation journey wasn’t always smooth, but every decision, every detail, and every bump along the way led us to a home that feels complete us. If you’re planning your own home remodel, whether it’s a kitchen update, bathroom refresh, or full home renovation, I hope these tips give you a little guidance and a lot of inspiration. Remodeling isn’t just about what’s trending; it’s about creating a space that works for your life. And if you ask me, I say it is worth every bit of chaos in the end.
Love,
Sherry XOXO