Kohler Is Behind Our Spa-Like Wet Room Shower: 11 Tips to Help You Create Yours
To me, two spaces in a home matter more than anything else: the kitchen and the master bathroom. They’re the heart of the house in completely different ways. Yes, they add value when you go to sell, but more importantly, they shape how your home actually feels every single day. And for us, creating a wet room shower in the master bathroom completely changed how the space functions and looks every day.
Disclosure: This post is sponsored by Kohler and Ferguson Home. We ordered every Kohler product for our renovation through Ferguson Home, not just for our master bathroom, but for all the bathrooms and the kitchen as well.

Our master bath was the one room we avoided for years. We did minor remodels around the house and a few surface changes here and there, but the master bathroom was the one space we never touched.
We just knew that if we ever did it, we’d have to redo everything. That room needed way more than a cute rug or a new light fixture. It needed plumbing changes, electrical updates, and a full layout redesign… basically a complete gut-and-rebuild.
Last year, when we finally started our renovation, it felt like the longest process of my life. LOL! Anyone who’s renovated knows exactly what I mean. It’s exciting, but it’s also a lot of planning, decision-making, and living in chaos. But I always knew one thing: if we were ever going to redo this bathroom, I wanted it to have a wet room shower.
I’ve dreamed of having that open, spa-like feeling for so long, the kind where you walk in and immediately feel calmer, like your own little retreat at home.
And yes, wet rooms definitely take more planning, and they work best when you have a layout that makes sense. But you also don’t need a giant bathroom to create one, you really don’t. It’s all about how the space is designed and what you prioritize.
I’ve seen super small, narrow wet rooms that still looked so charming and surprisingly functional. Some of them were barely the width of a hallway, yet they felt intentional and so well thought-out. It just proves that when the layout is smart, the materials are chosen well, and every inch is used with a purpose, even the tiniest space can feel elevated and spa-like.
11 Easy Tips That Turned Our Old Bathroom Into a Spa-Like Wet Room Shower
In this post, I’m sharing 11 easy tips we used to turn our previous (very) boring bathroom into a spa-like wet room, and how you can do the exact same thing, no matter what size bathroom you’re working with. I’ll also be sharing a separate blog post with all the before-and-after photos of our master bathroom so you can see exactly how we changed everything.
1- Plan Your Layout First (And No, You Don’t Need a Designer)

When it comes to creating a beautiful bathroom or a spa-like wet room shower, the very first thing you should consider is the layout. And yes, you can 100% do this without a designer. Exactly like what we did!
We originally started our renovation working with a designer. He was a wonderful person, a professional, and a great designer. But after the first phase, we ended up moving forward without a designer for the rest of the house… long story!
So I took the lead on designing every corner of the space. I shared all my ideas with Matt, and we talked through what layout and overall feel worked for both of us. The vision, from the colors and style to the wet-room bathroom layout, was something I had in mind from the start.
Honestly, that’s why I always say you don’t need a top designer (or any designer at all) to create your dream space (bathroom, kitchen, living room, or anything). If you know the look you’re going for, and you’ve lived in your home long enough to understand what works, what bothers you, and what you wish you could change, you already have everything you need to start planning.
For us, the biggest challenge was figuring out how to open up the room and where to place the shower so the space would feel calm, bright, and easy to move around. We had to think about where the plumbing could realistically go, how much wall space we had for the vanity, how much room we needed for the glass, and making sure we could comfortably walk around the bathtub and shower. We also wanted to keep the whole room feeling spacious and comfortable.
Once you understand how your bathroom functions and how you want it to, the rest becomes much easier. And trust me, if we designed our wet room layout ourselves, you can absolutely do it too.
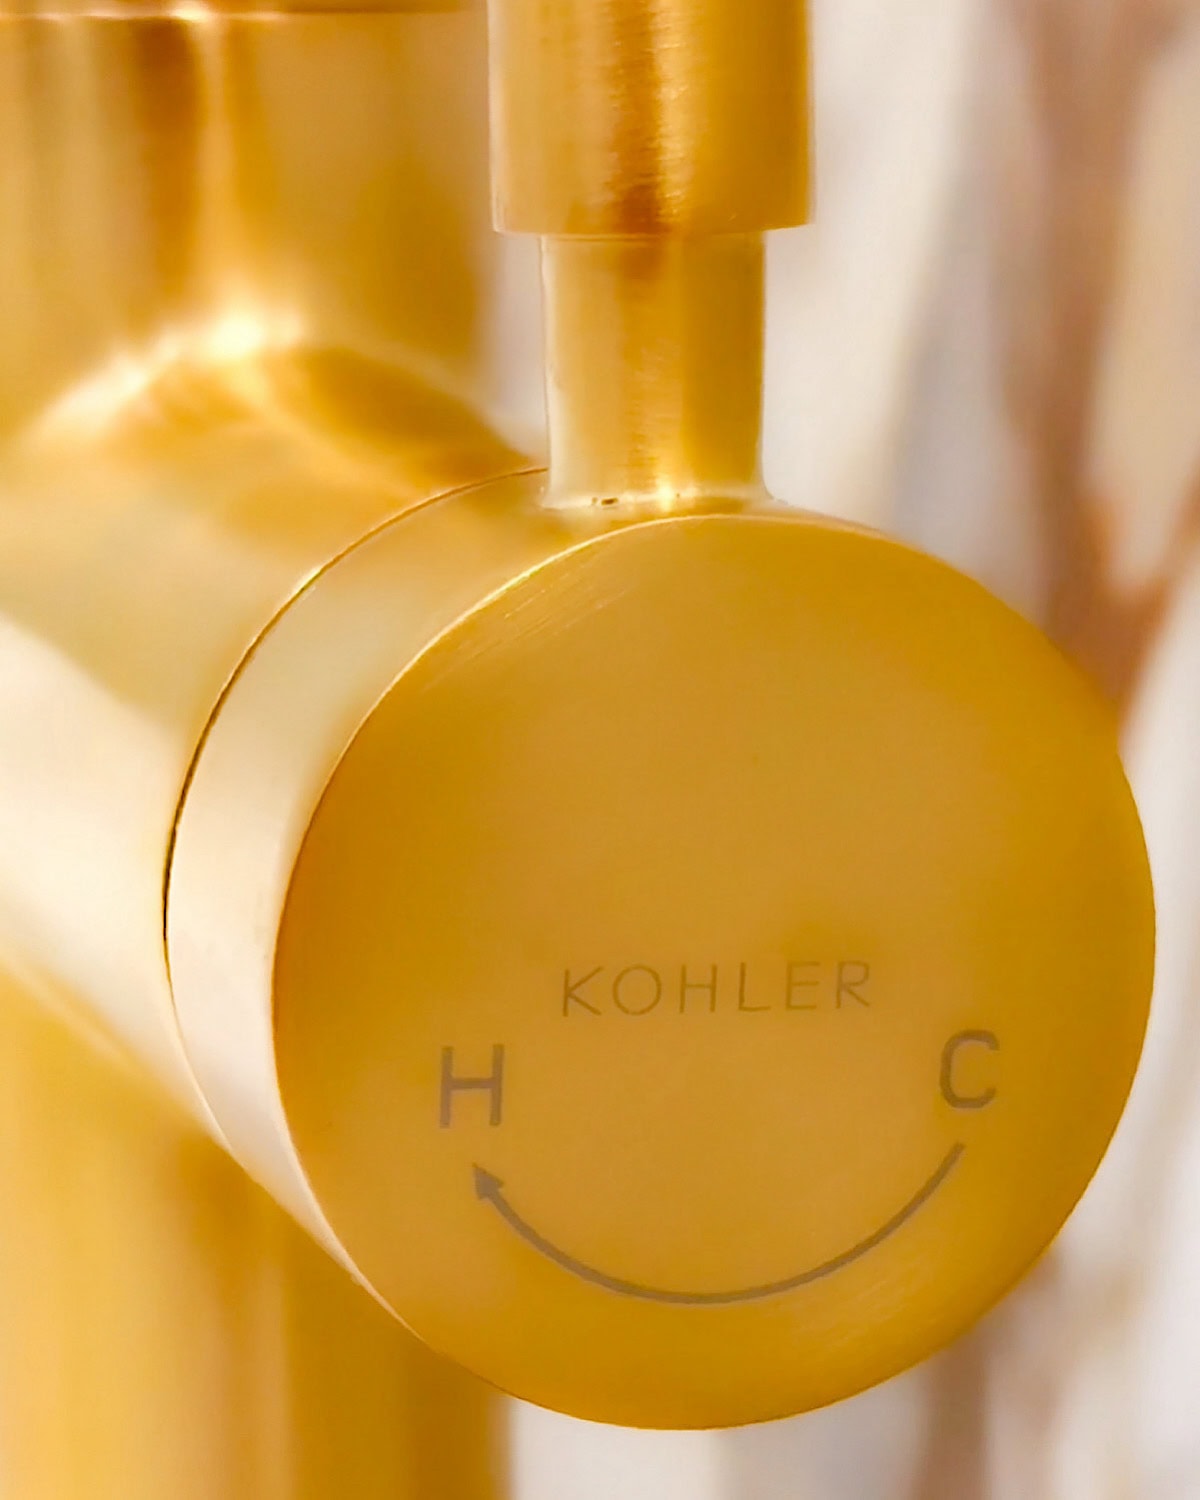
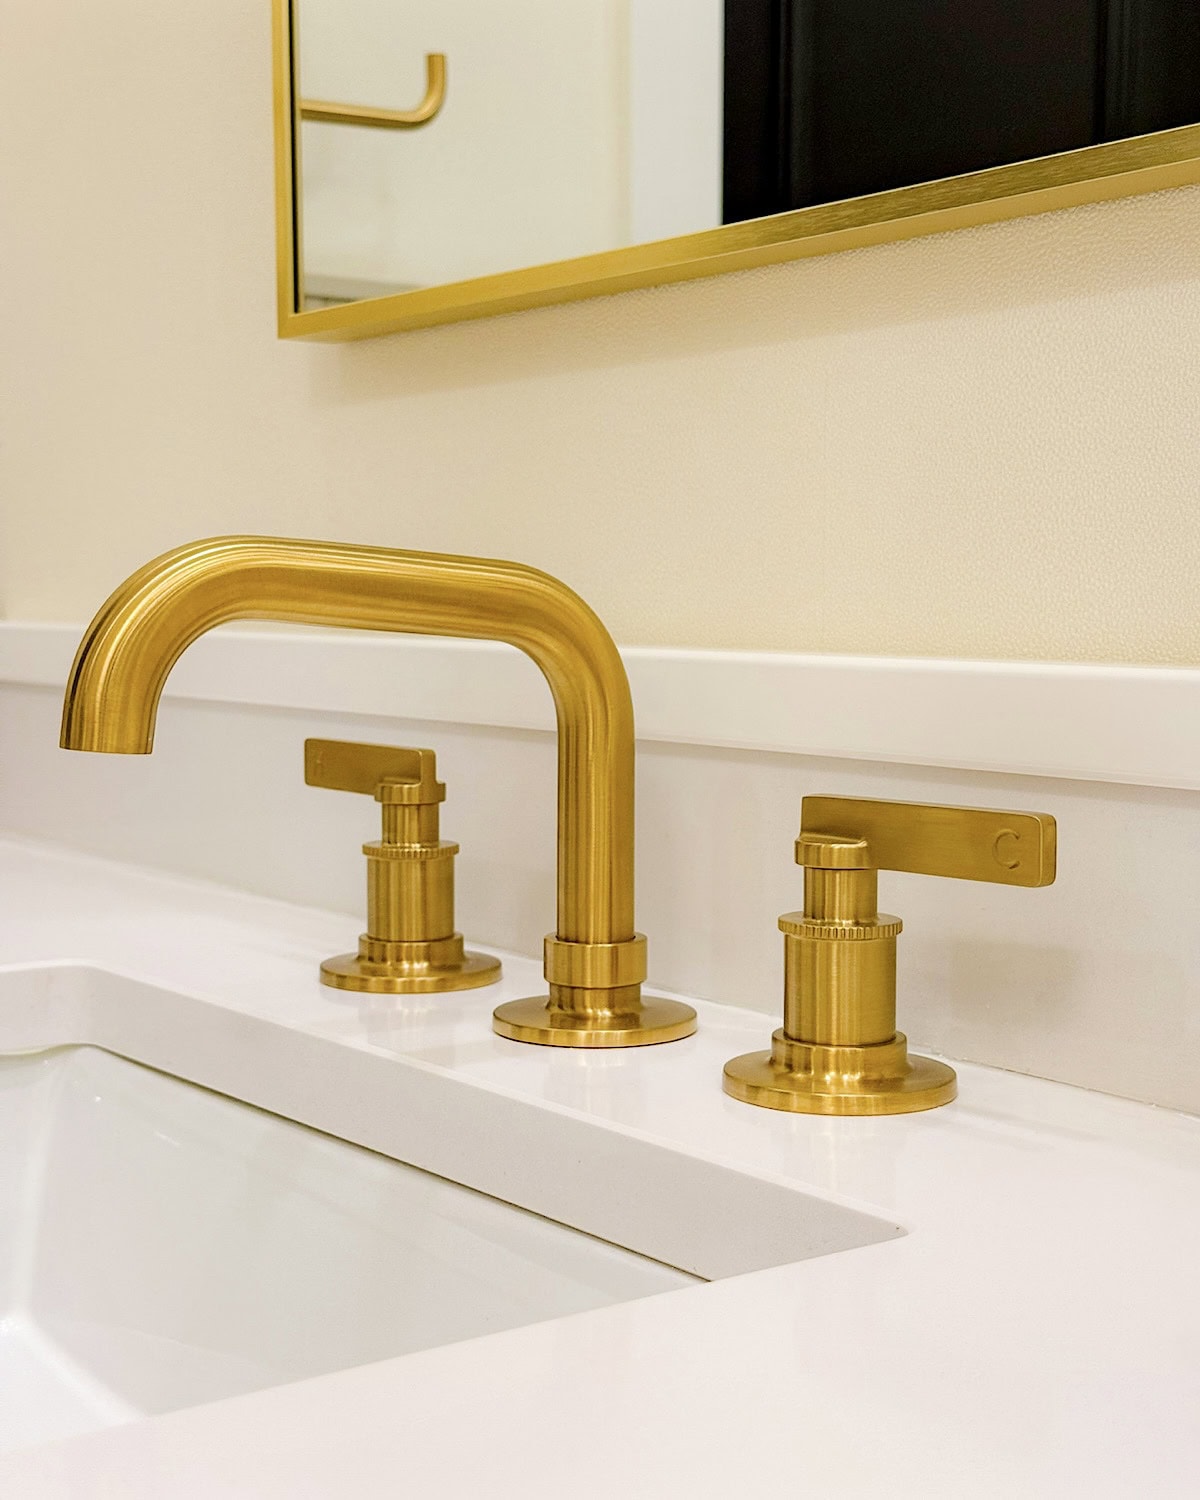
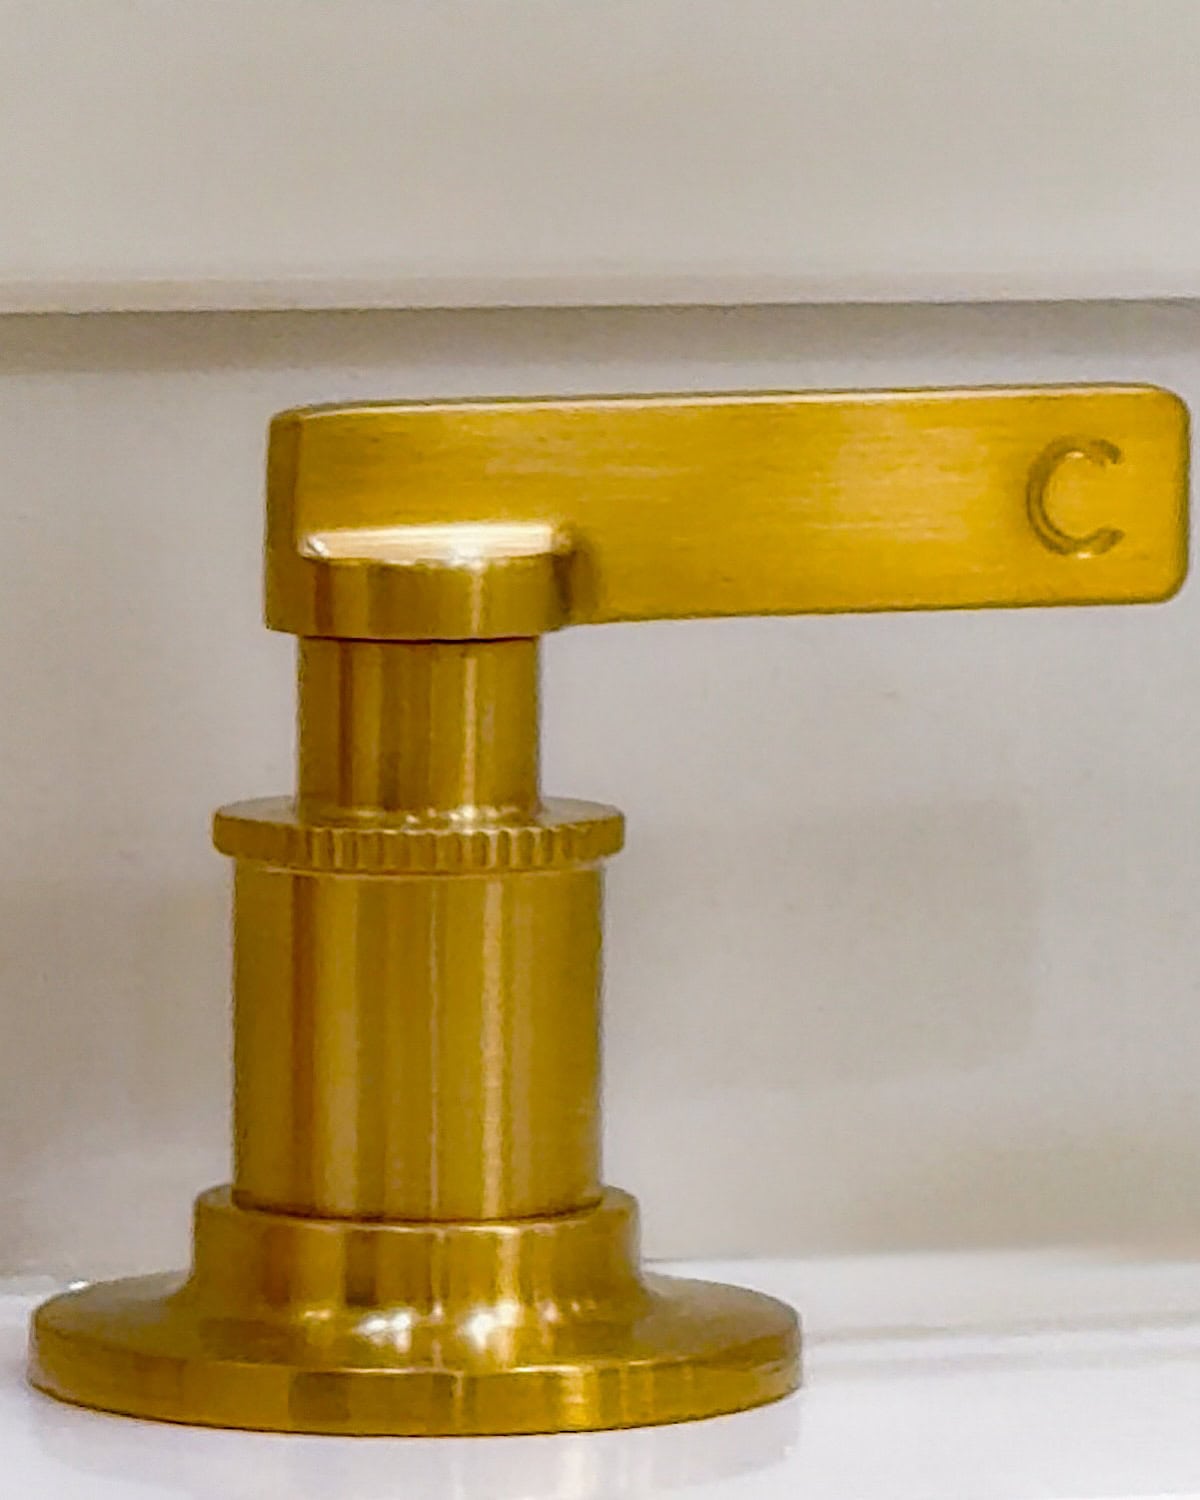
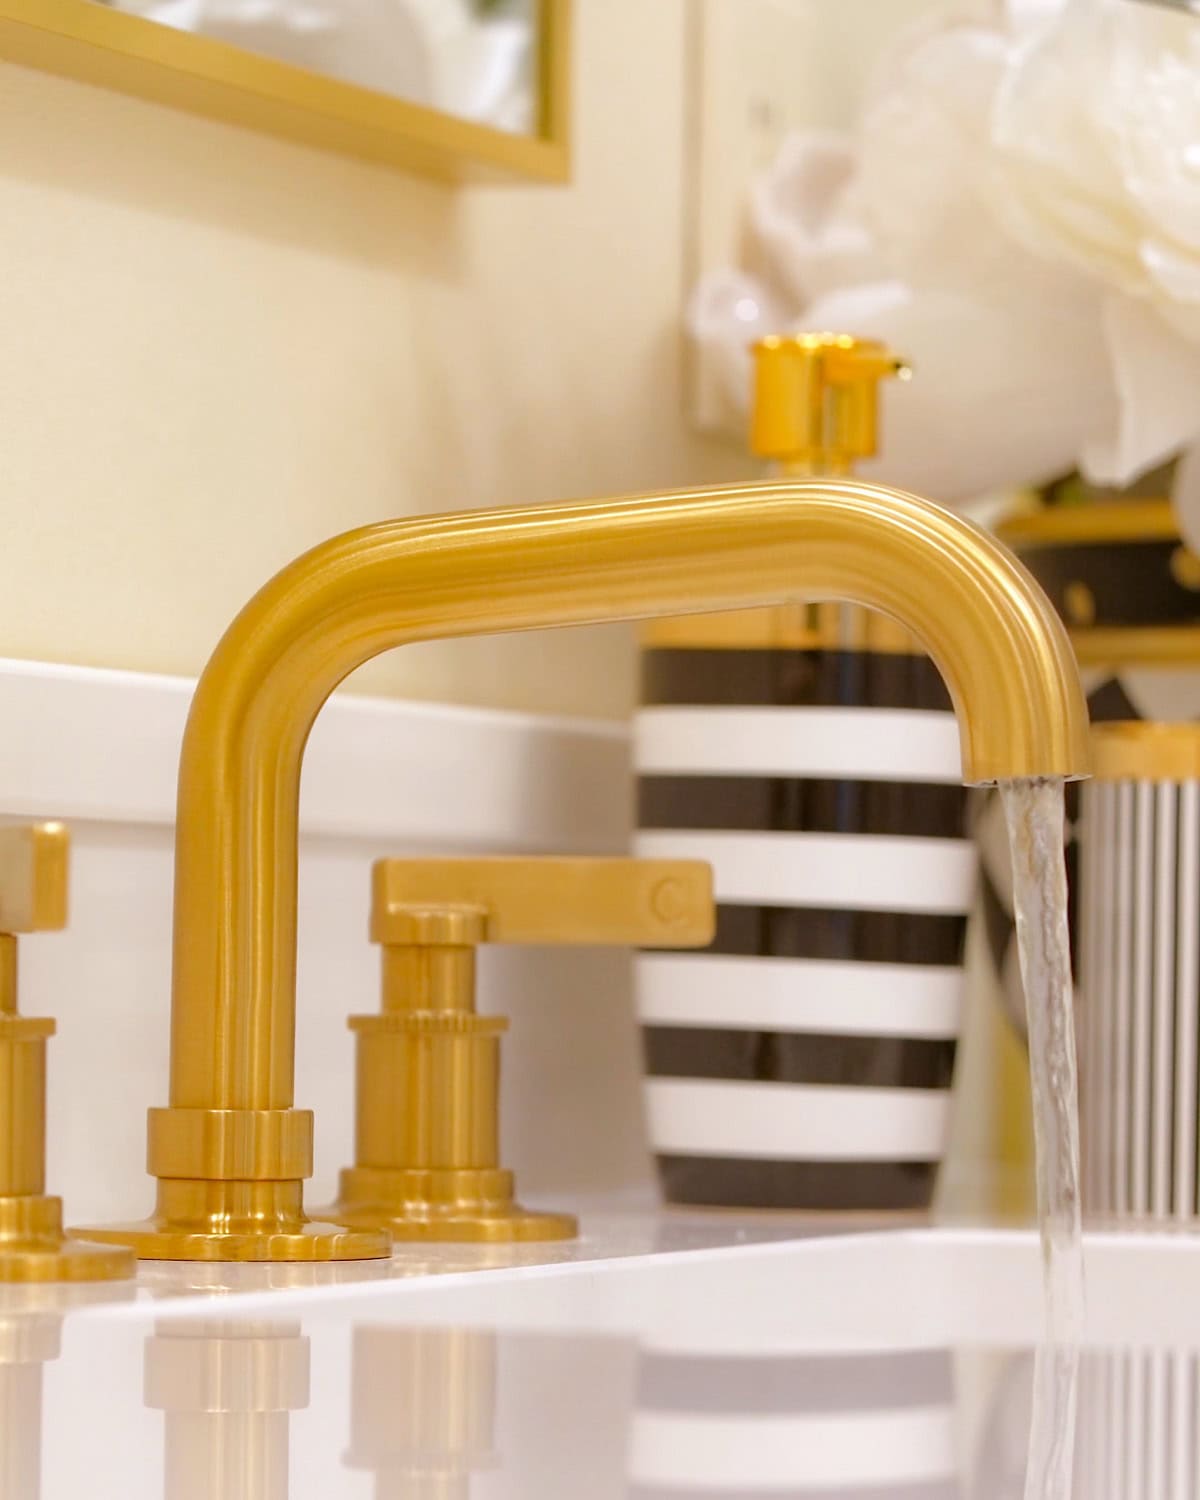
And since this was going to be an open space with wide glass panels, every fixture would be visible the moment you walk in. So we wanted to make sure we chose pieces that looked beautiful and elegant, with a spa-like feel. That’s why we went with Kohler fine fixtures; they truly elevate the whole room.
2. Pinterest and Instagram Reels Are Truly Your Best Friends When Designing (Your Bathroom or Any Other Space)

When I say Pinterest and Instagram Reels were my lifesavers during this entire project, I’m not exaggerating. To be honest, I don’t just use Pinterest for home renovation ideas; I use it pretty much daily. Not only for pinning my blog content, but also when I want to try a new nail design, switch up an outfit, or find inspiration for literally anything in my life. Pinterest is truly the billboard of ideas. I absolutely LOVE it and can’t live without it! Hahaha!
And while I absolutely love Instagram for inspiration too (especially Reels), Pinterest and Instagram Reels together are honestly your best friends when you’re designing any space. Reels give you such a visual, detailed look at things you’re researching.

For example, when I was trying to figure out what kind of glass to use for our wet room shower, whether it should go all the way up to the ceiling, stop at the height of the shower head, or if we even needed a panel at all, I learned so much from Reels shared by designers, architects, and homeowners.

Pinterest gave me all the aesthetic ideas, the color themes, the tile tones, and the overall vibe. But the Reels are what helped me understand the details: how a glass panel works in different wet rooms, the difference between a full panel and a half panel, and how water flows depending on the layout.
Since we already knew we were using Kohler’s fixtures, seeing different layouts helped me understand how their designs fit into different spaces. Of course, YouTube is great too. But personally, I’m not a big YouTube person when it comes to design. I’m much more visual, so Pinterest and Reels are always my go-to.
And the best part is, you don’t need to be a content creator to use them. You can save all your favorite ideas, mix and match the ones you like, and put your own spin on the design, colors, and layout, which is exactly what I did for our master bathroom (and all other spaces while renovating).
3. Pick the Colors You Truly Love, and Remember Neutrals Stay Timeless
When you’re designing any bathroom, or honestly, any space in your home, choosing your color theme is one of the most critical steps. You’re going to look at these colors every single day, and you’re either going to love them… or absolutely hate them. So be very intentional with what you choose.

If you follow me on Instagram, you may remember when I shared all the videos and stories from the builder shows in Las Vegas last year. I went to see the newest trends in home design and décor, and oh my gosh… it is so tempting to fall in love with those trending colors.
Emerald green (which I absolutely LOVE), rich burgundy, deep purple, Tiffany blue, designers were using these massive, bold pop-up walls everywhere. They looked stunning in person, and it made me want to change every wall in my house. Hahaha!
But I had to seriously talk myself out of it, because here’s the truth: those bold colors are trends. They come fast and disappear even faster. And the last thing you want is to spend all that money, time, and energy on a bathroom, only to feel like you need to redo it a few years later when the trend fades and you’re already tired of it.
My biggest suggestion is to avoid going super trendy with wall colors, tile choices, or flooring. Vanities are easy to change later if you want, but walls and floors are a different story. Stick with neutral tones; they are timeless, they age beautifully, and you can always add personality through décor.
And if you feel like neutrals are “too plain,” you can always add a pop of darker shades or a touch of black as an accent. It keeps the space from looking flat or, as Matt calls it, “hospital white” (haha).

The best part about neutrals is that you can decorate however you want, whenever you want. Spring blush pinks, warm holiday décor, pretty fall tones, everything works when the background is neutral.
But when you go dark green, purple, or bright blue, decorating becomes trickier because you’re constantly trying to make everything match the background. So trust me: go with the colors you love, but keep the big elements neutral. It gives you endless freedom.
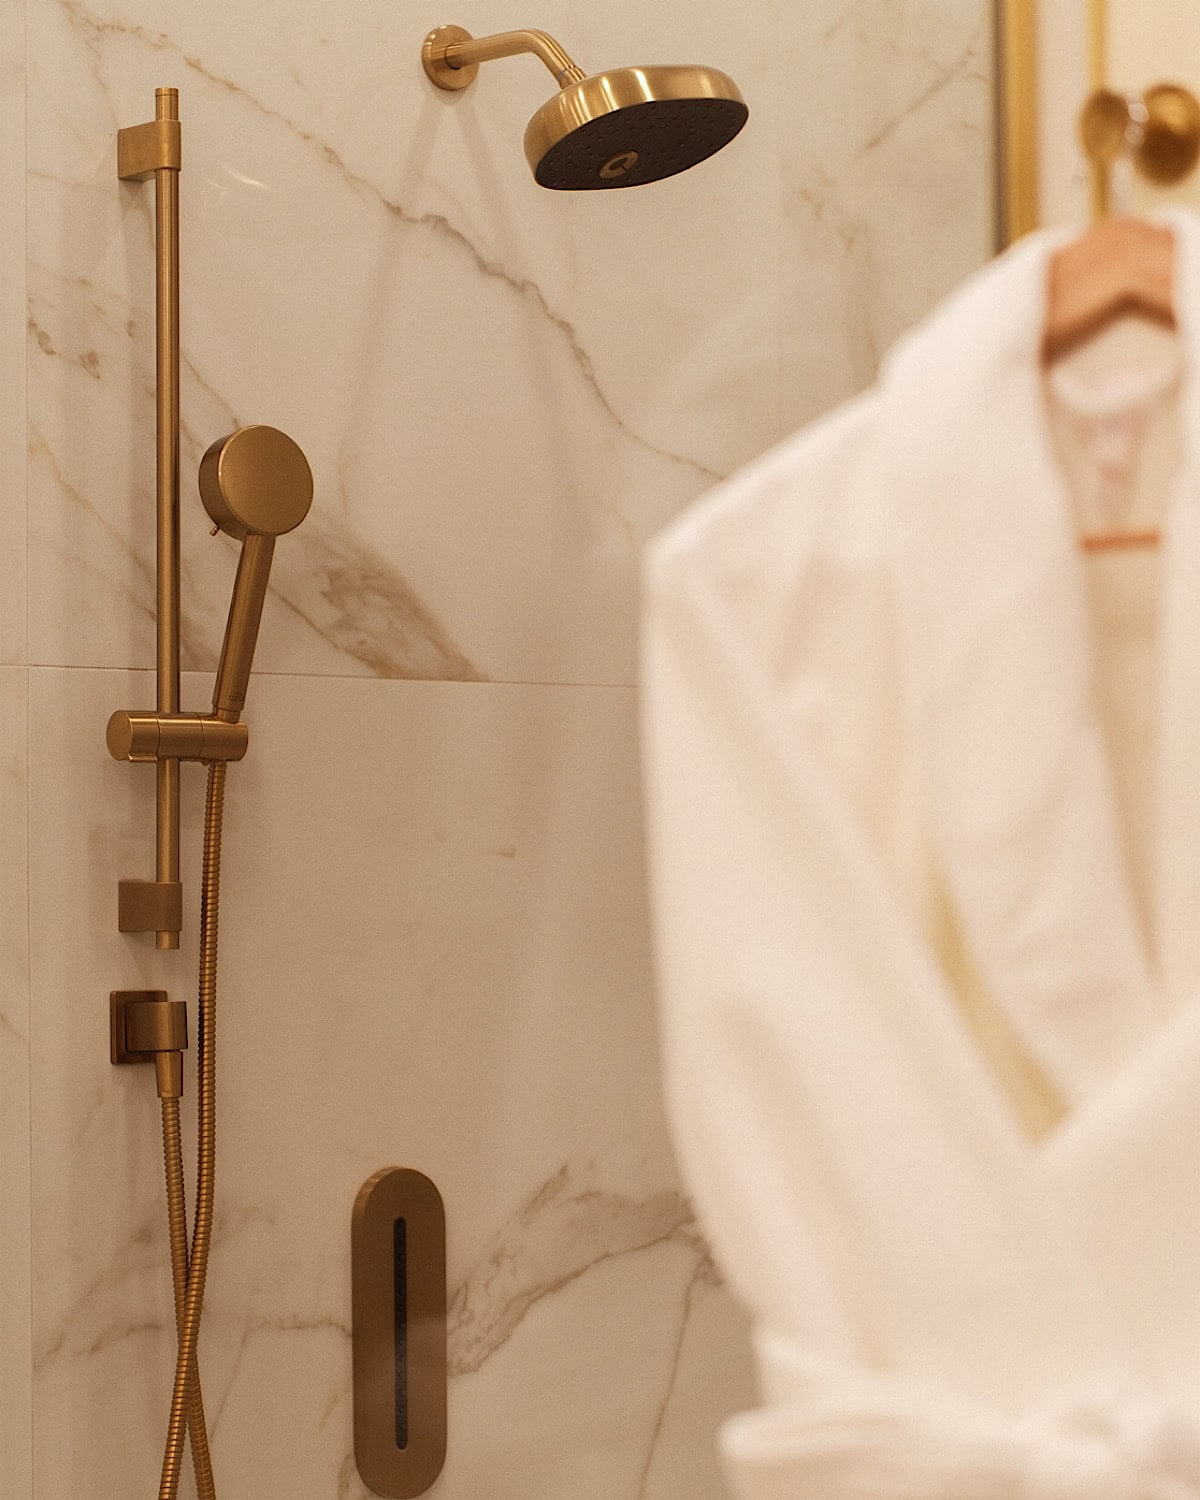
4- Keep the Shower Area Open and Minimal for That Spa Feel
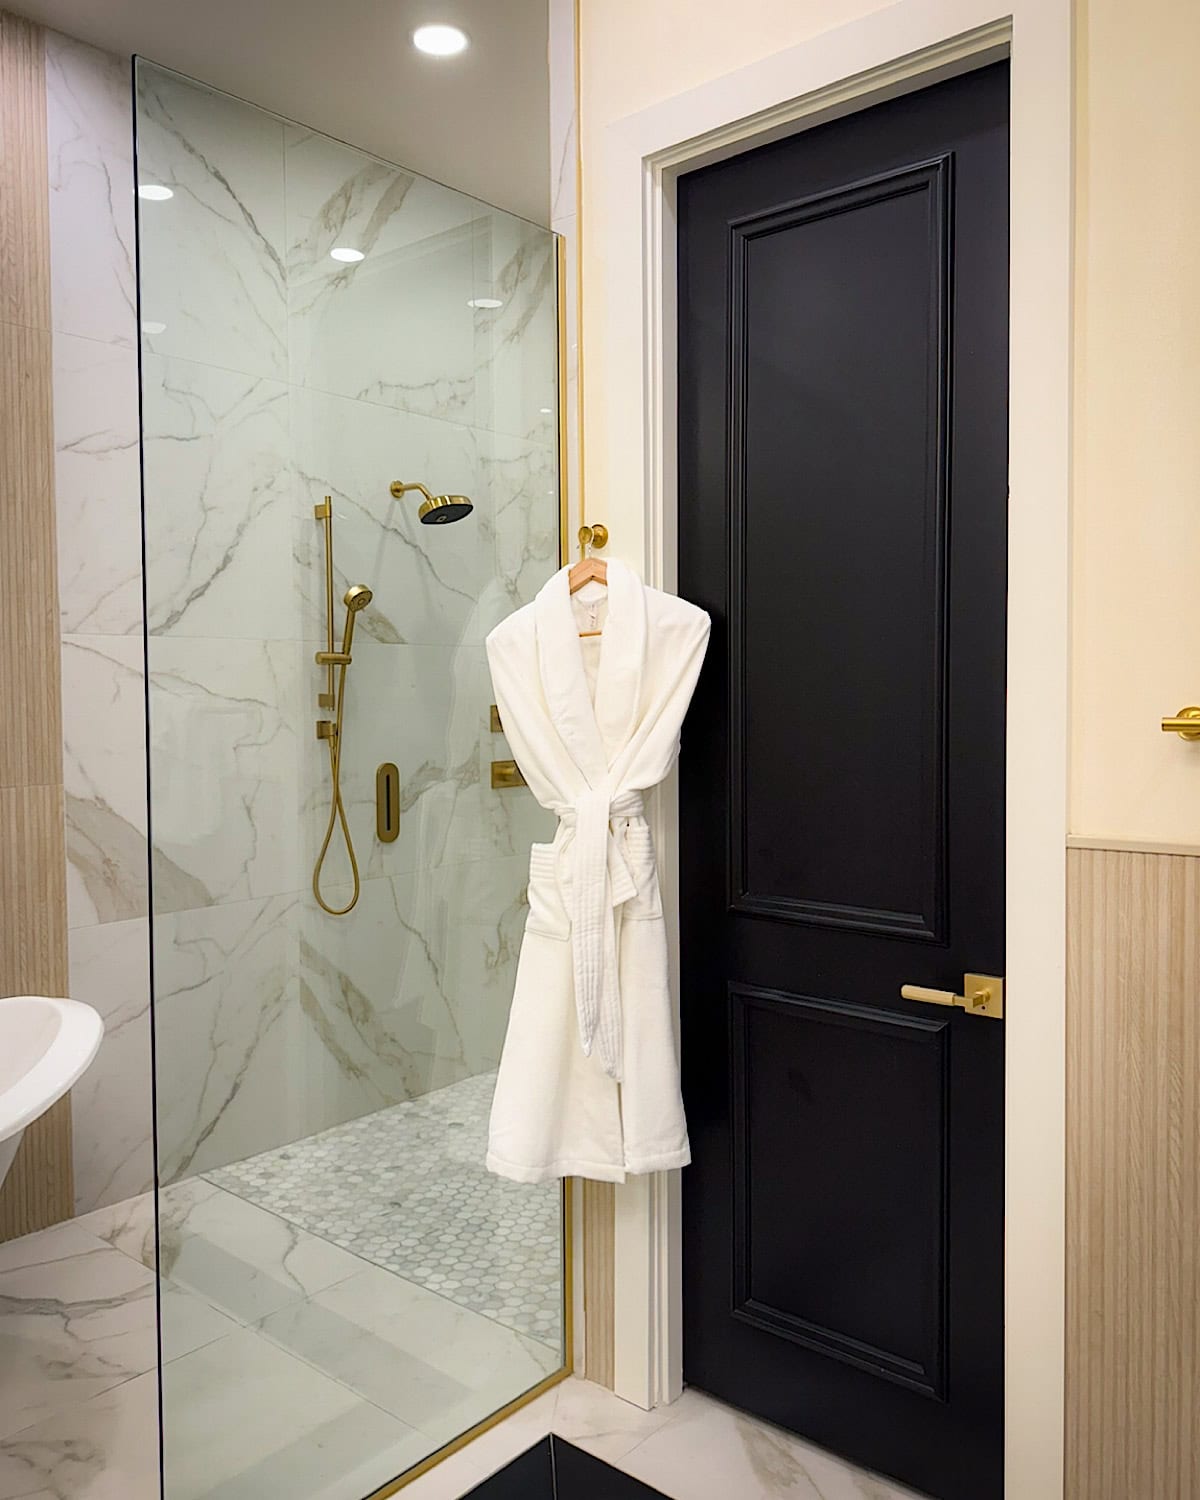
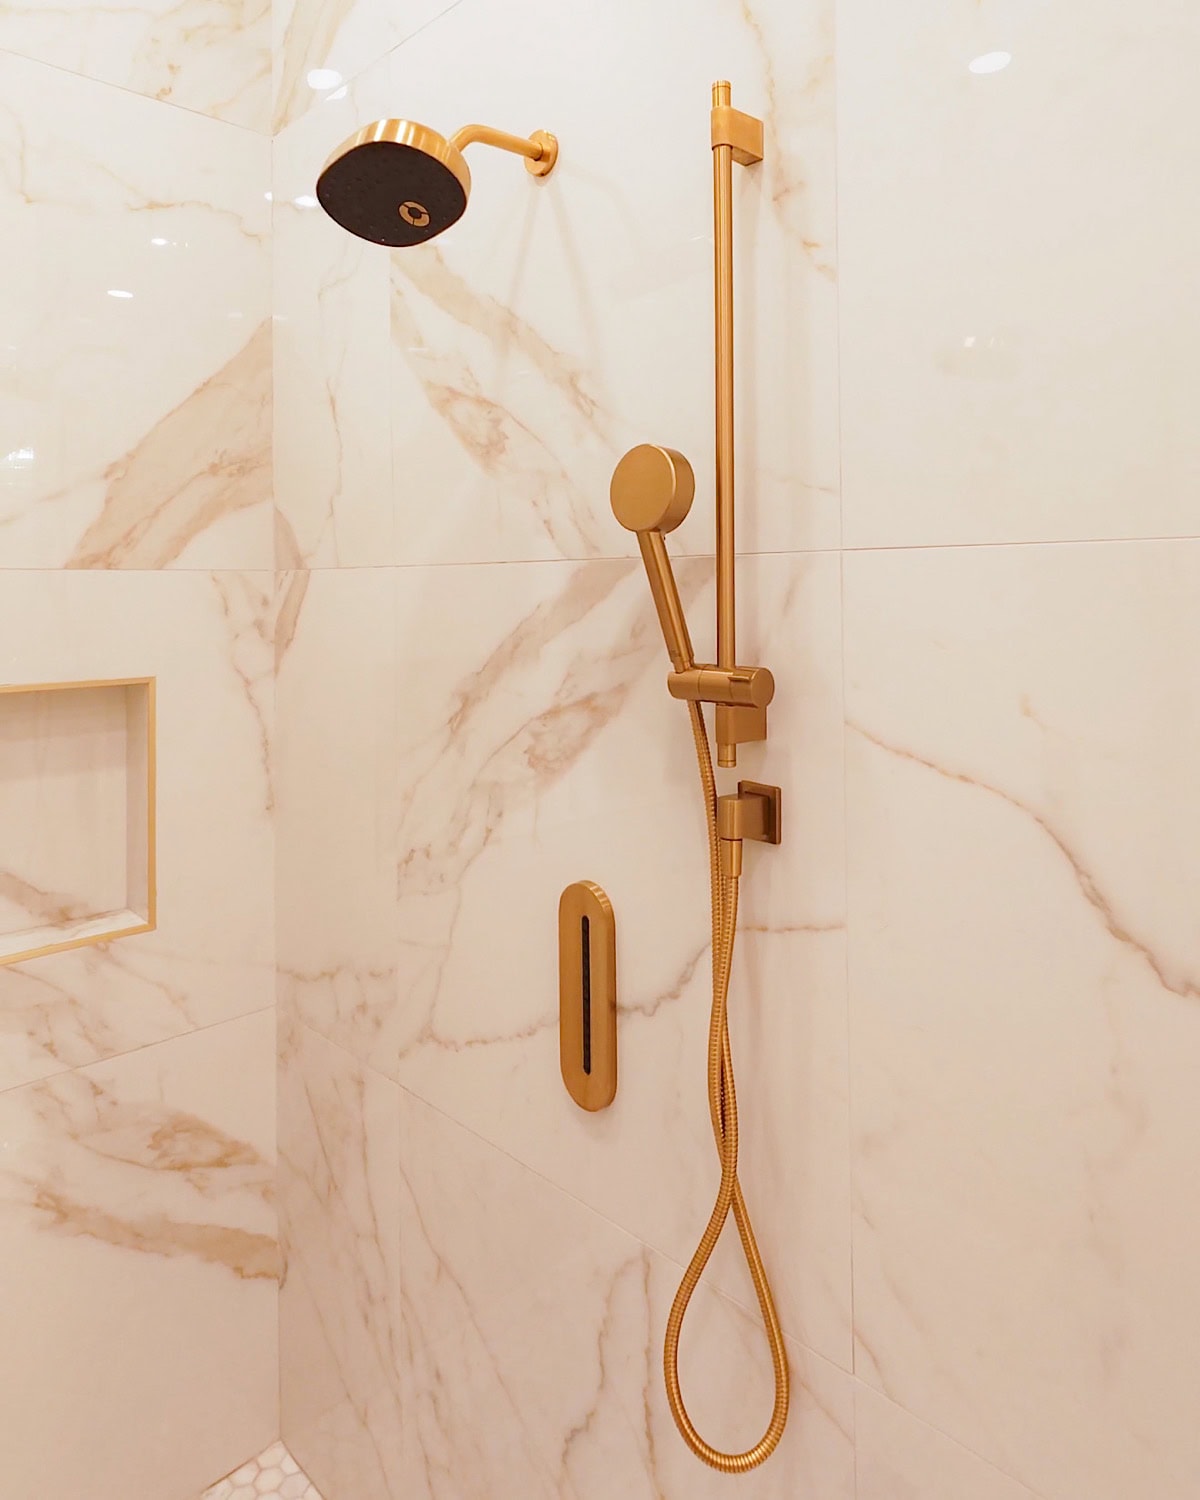
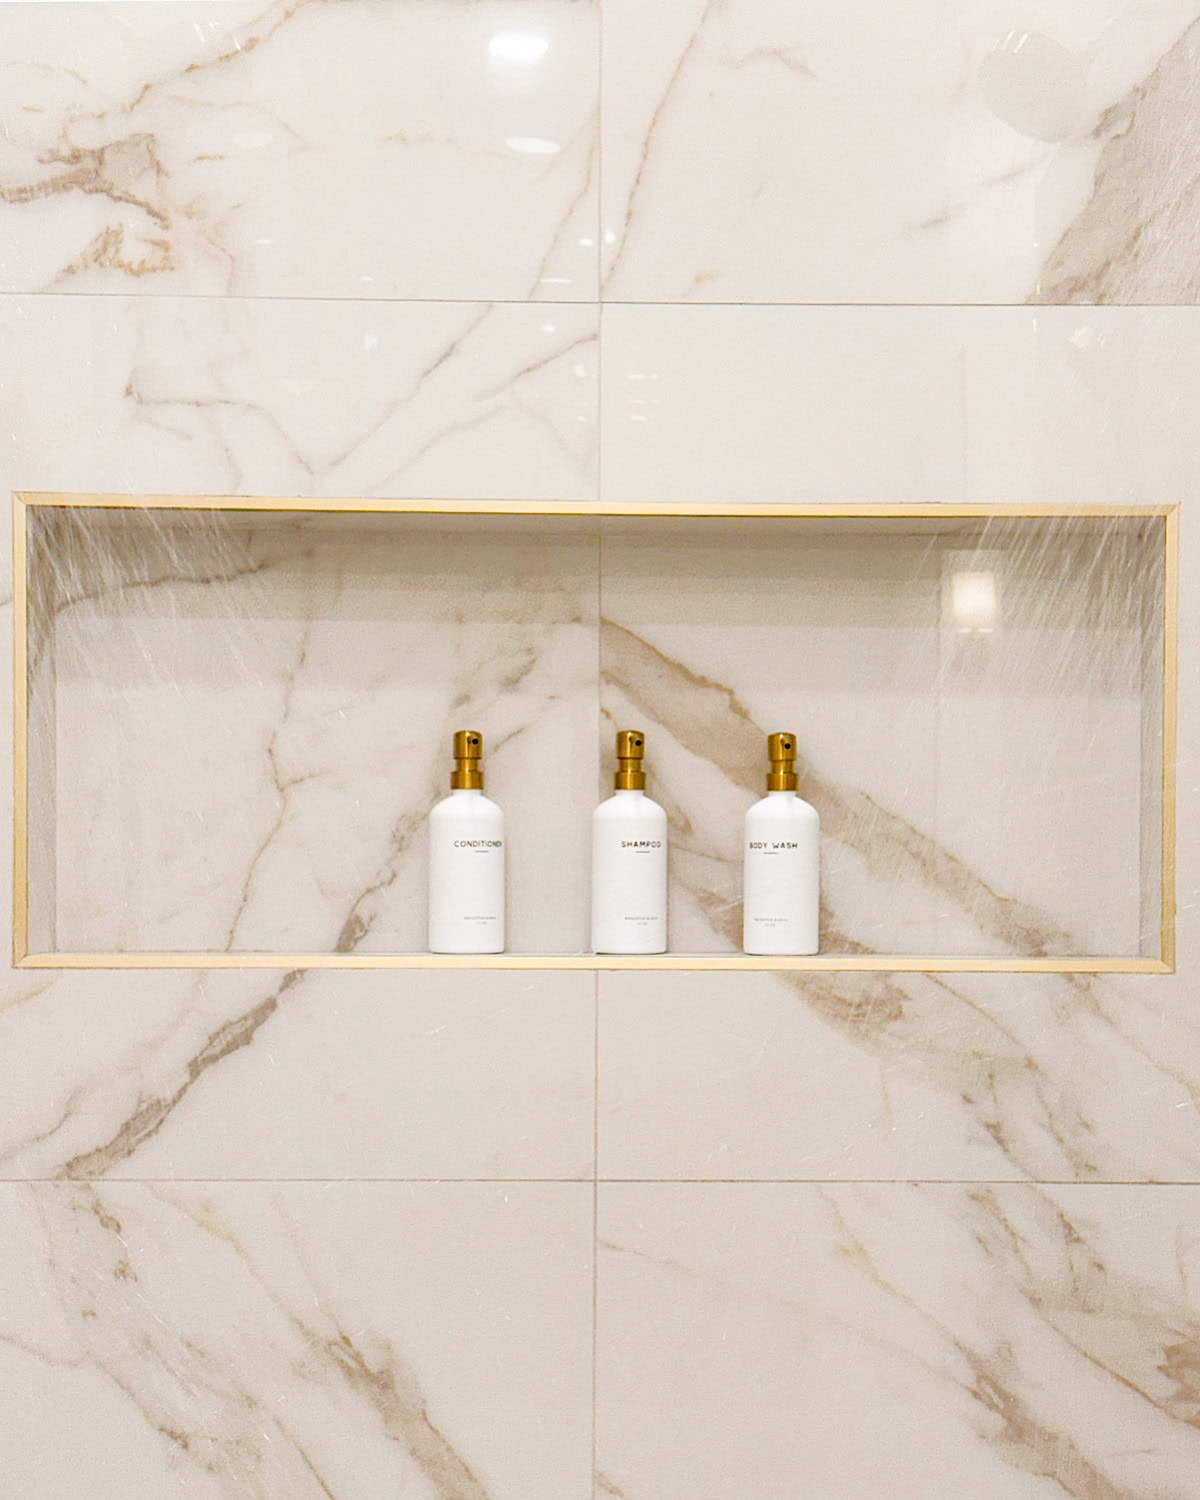
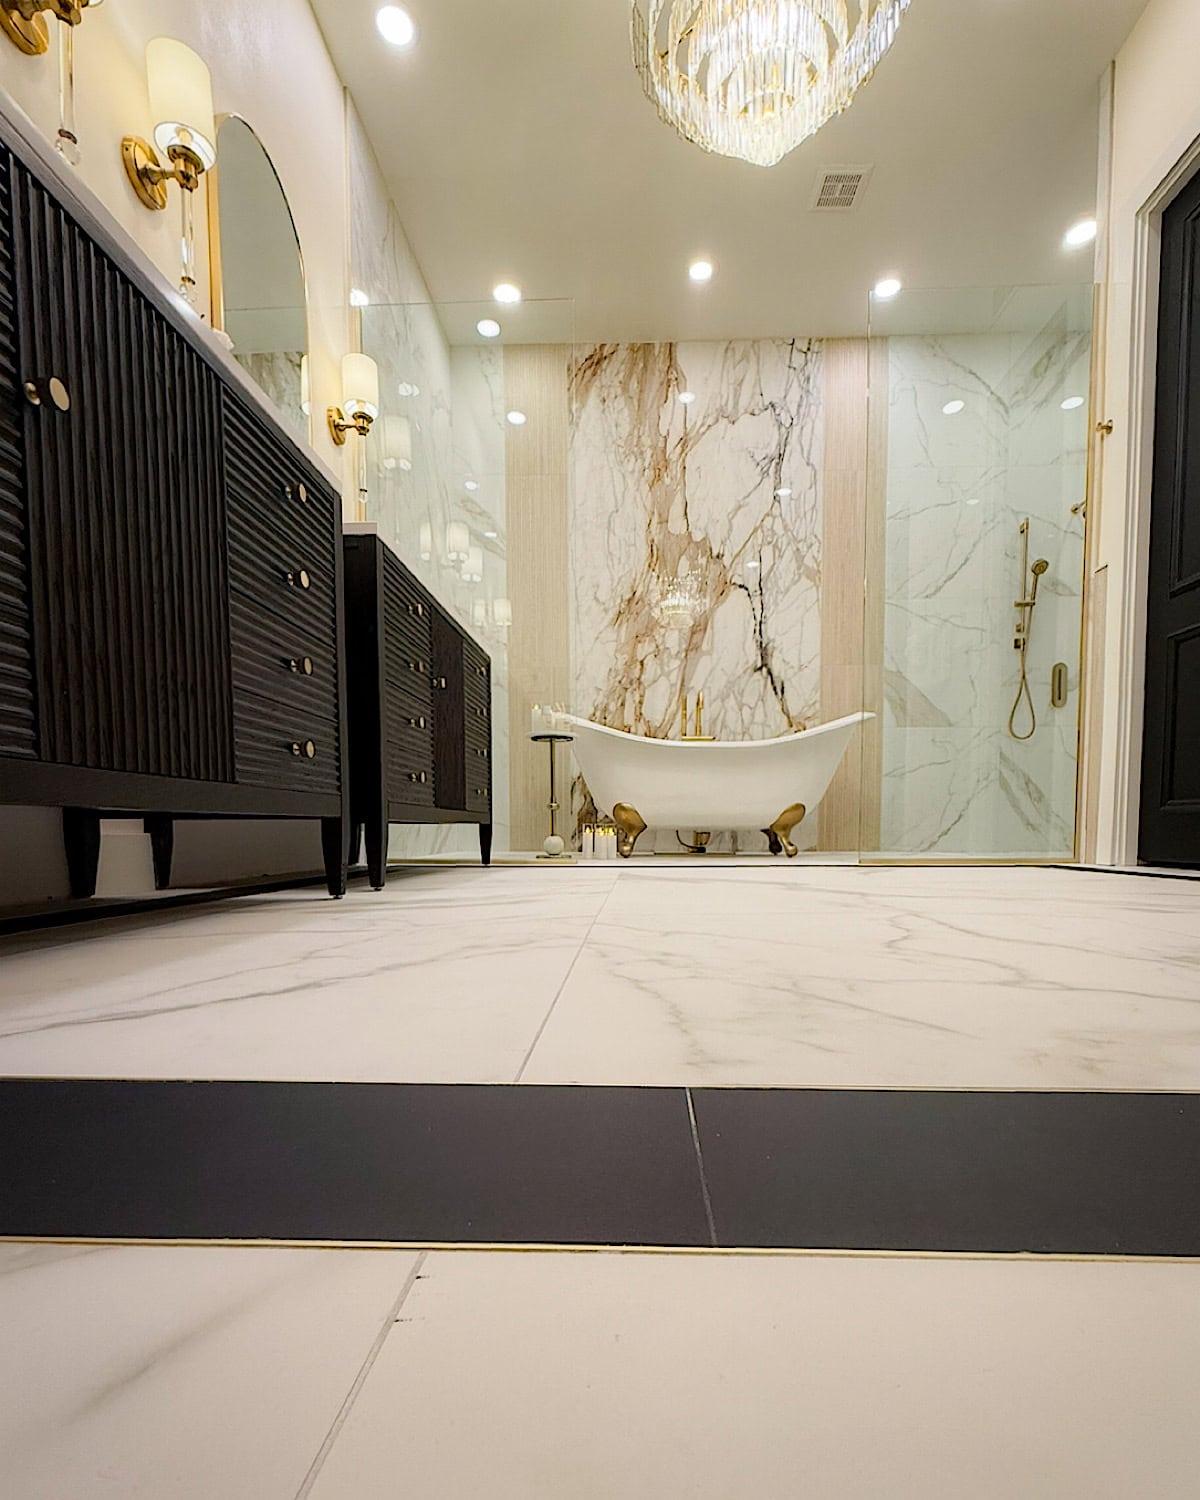
One of the biggest things that makes a wet room feel calming and spa-like is keeping the shower area as open and minimal as possible. The whole beauty of a wet room shower is that you’re removing all the visual clutter. No bulky walls, no heavy shower enclosure, no awkward corners breaking up the room. The more open the space feels, the more peaceful it becomes.
For our bathroom, removing the old shower box and opening everything up completely changed the entire look. The room instantly felt brighter, bigger, and so much more relaxing. This is where the wet room design really shines: it’s all about the view, the simplicity, and how seamlessly the shower blends into the rest of the room.

Minimal doesn’t mean boring; it just means thoughtful. A clean level-entry shower floor, one beautiful glass panel (or none at all), and simple lines make the whole bathroom feel elevated without trying too hard.
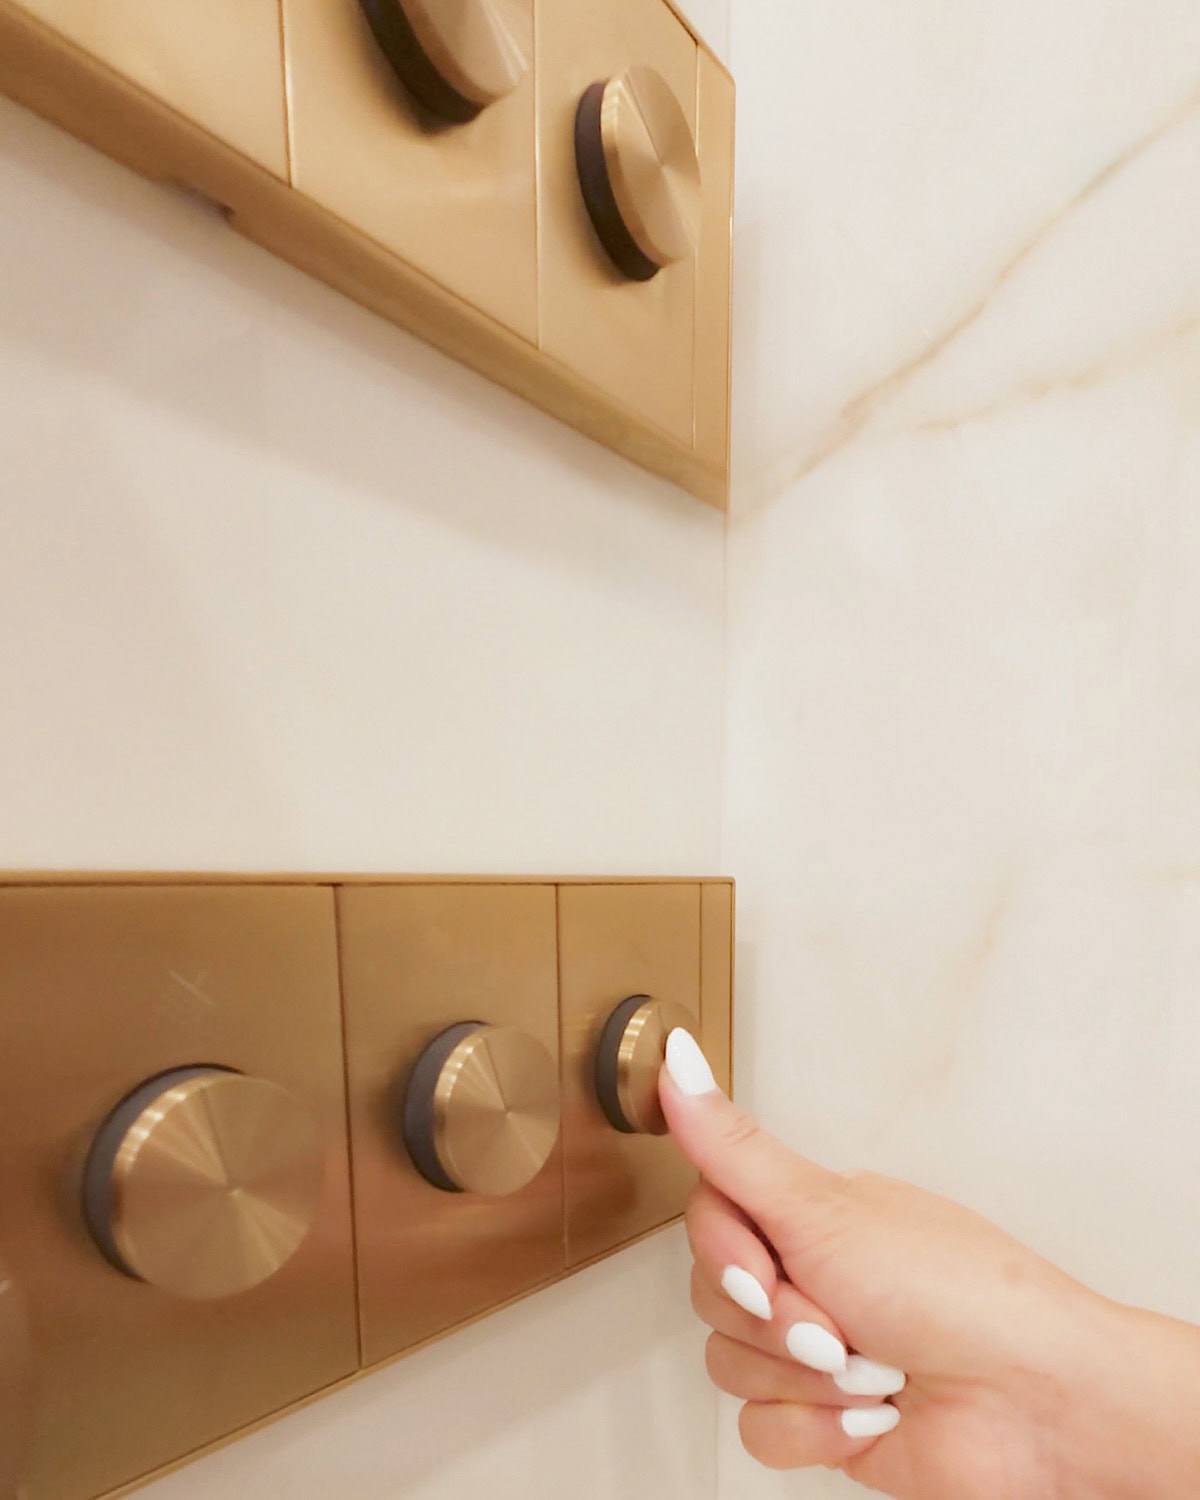
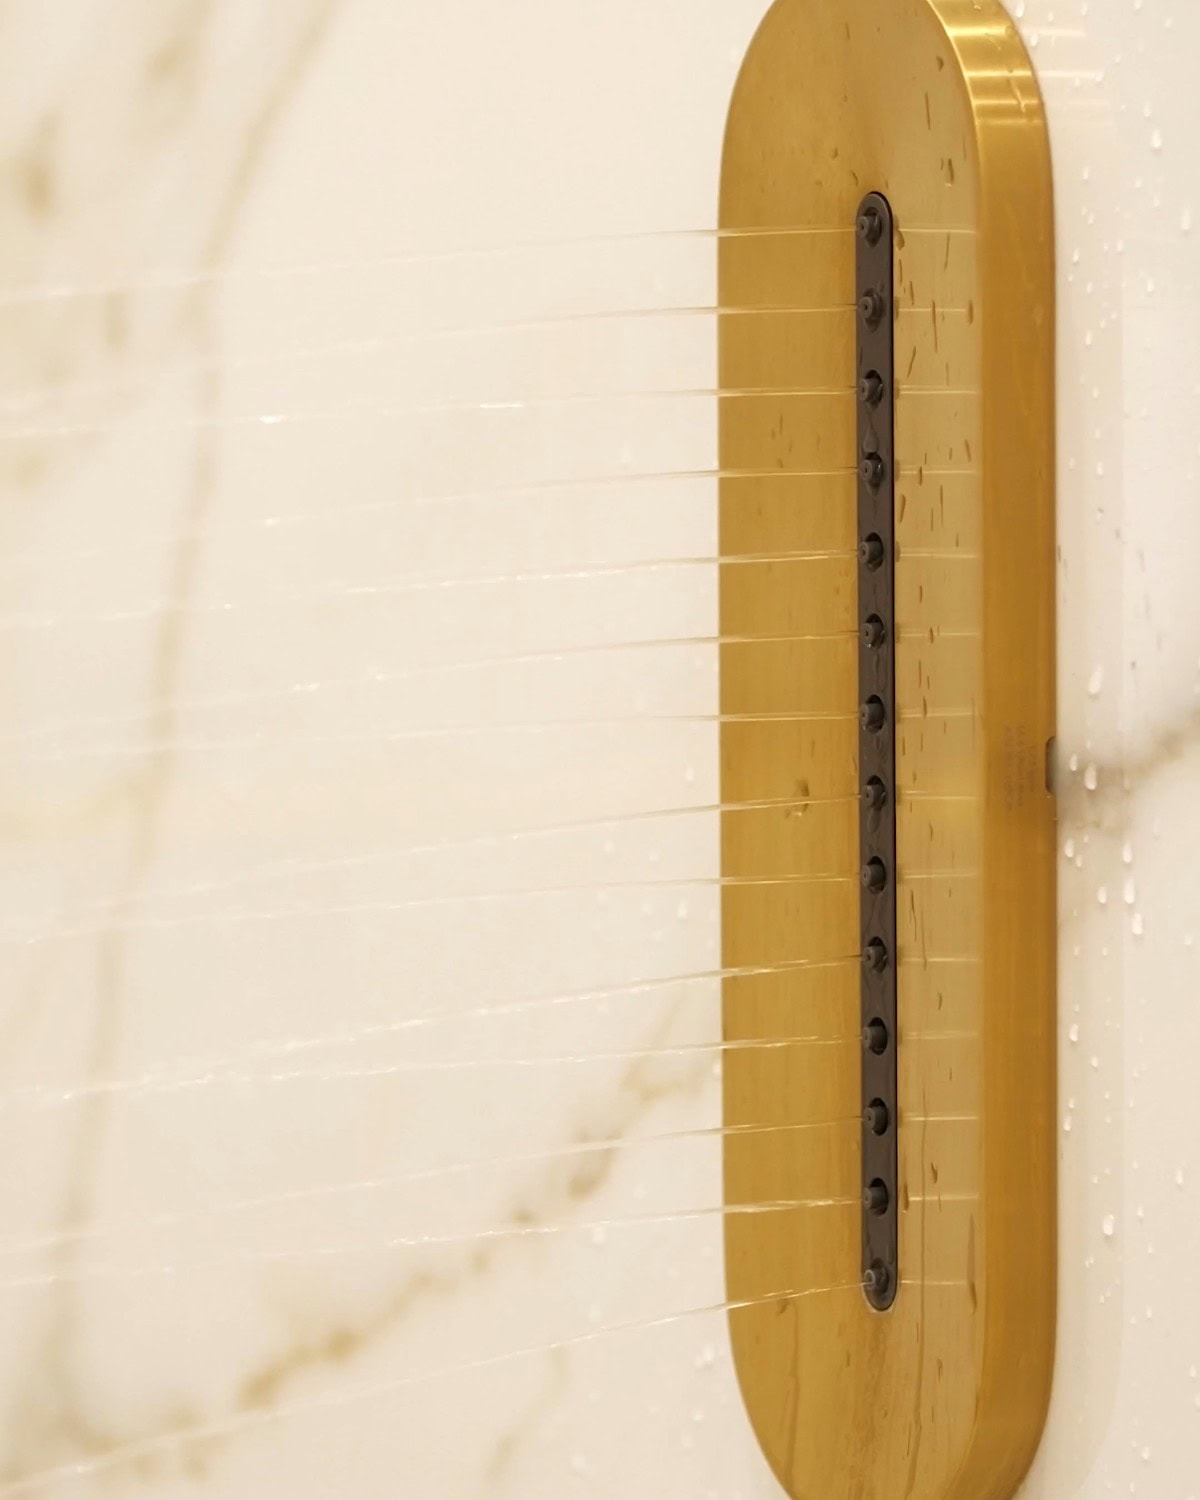
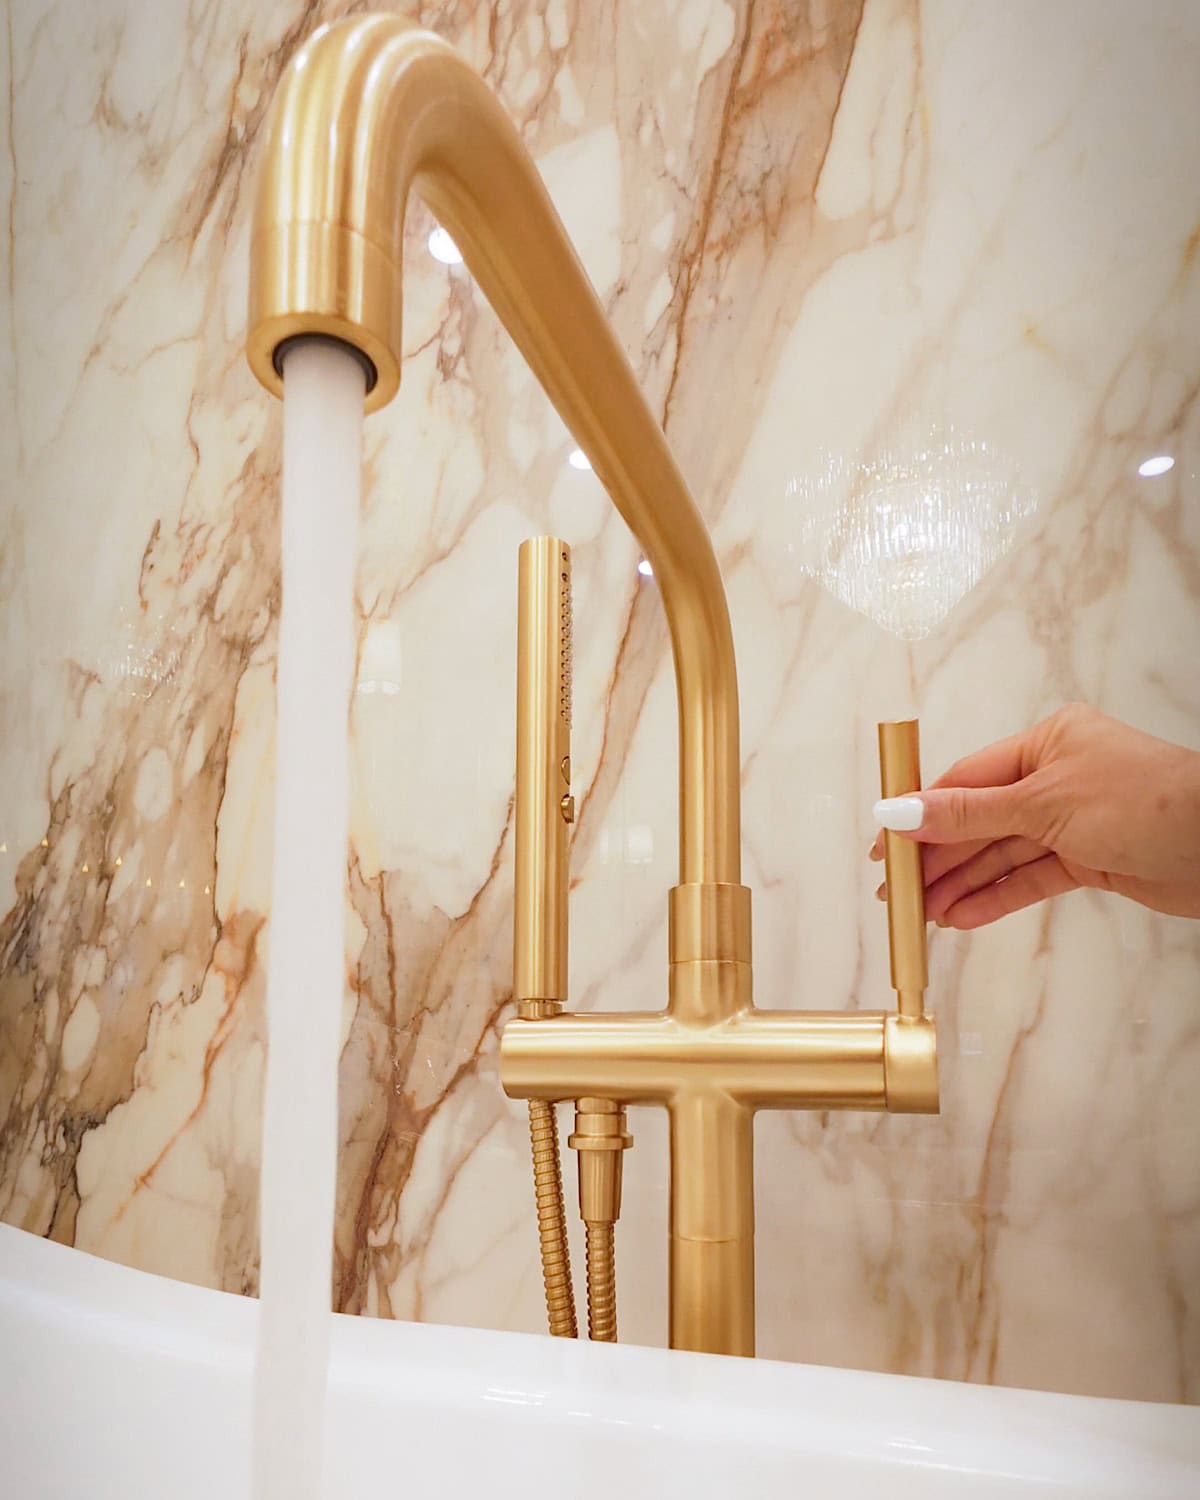
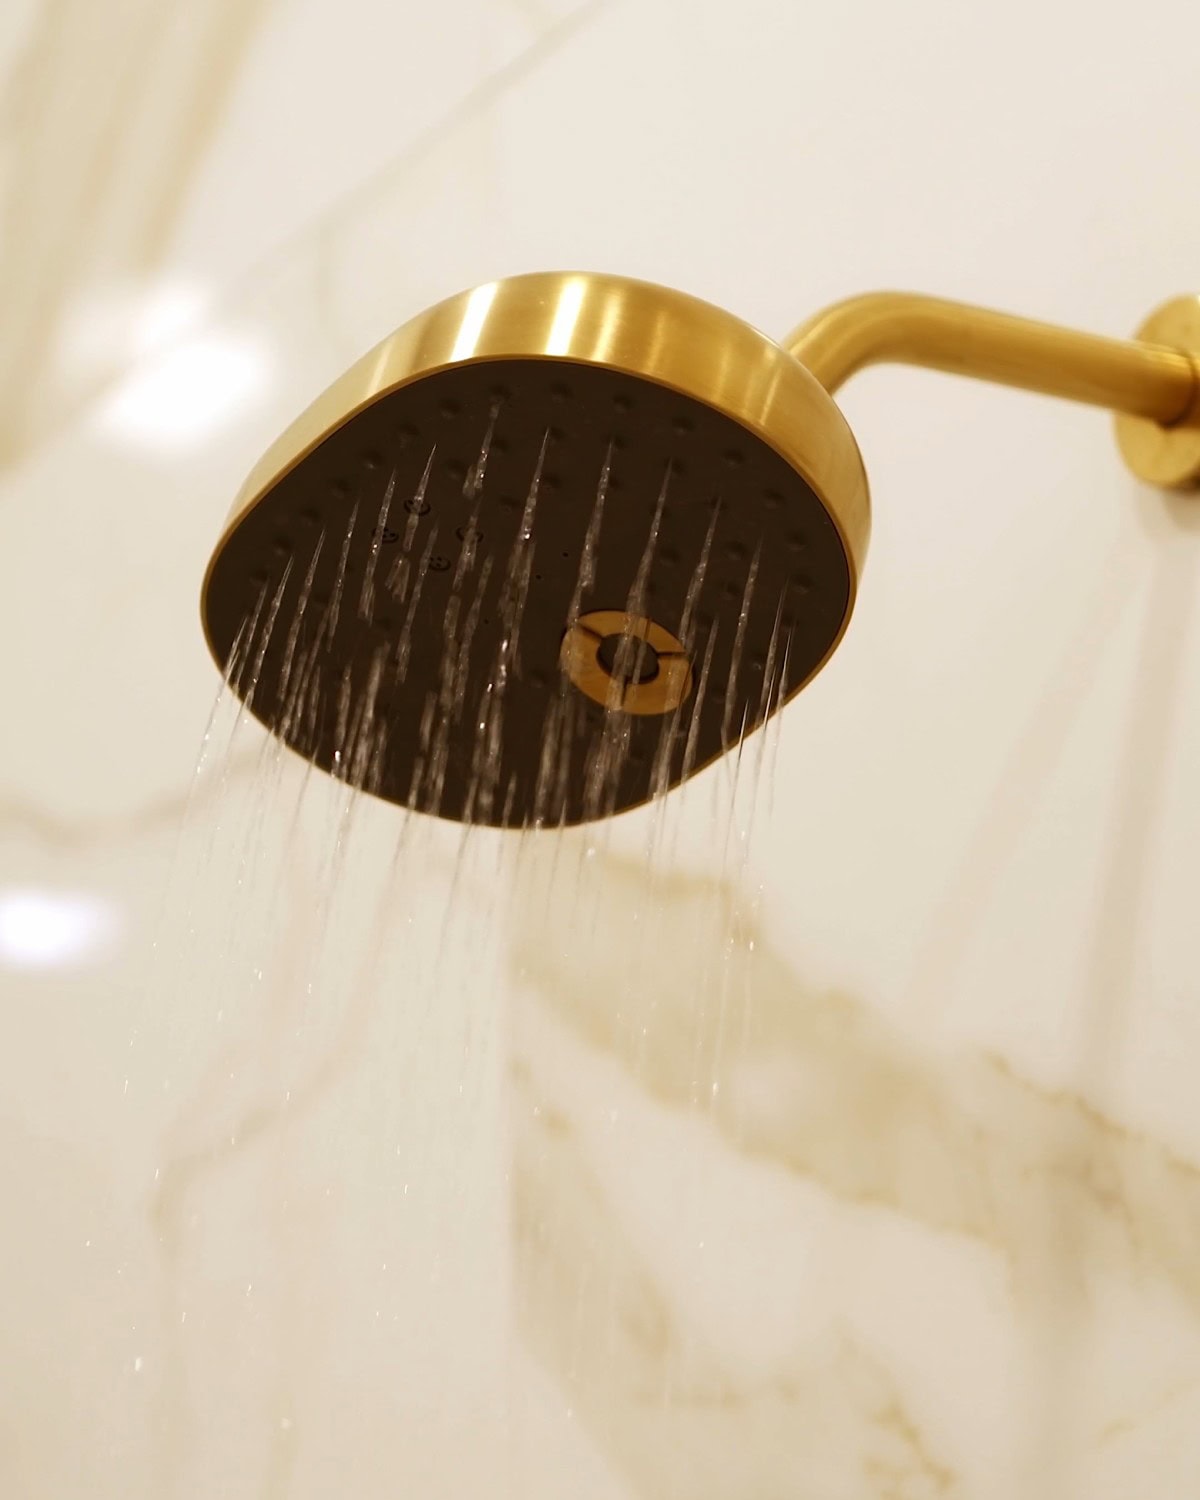
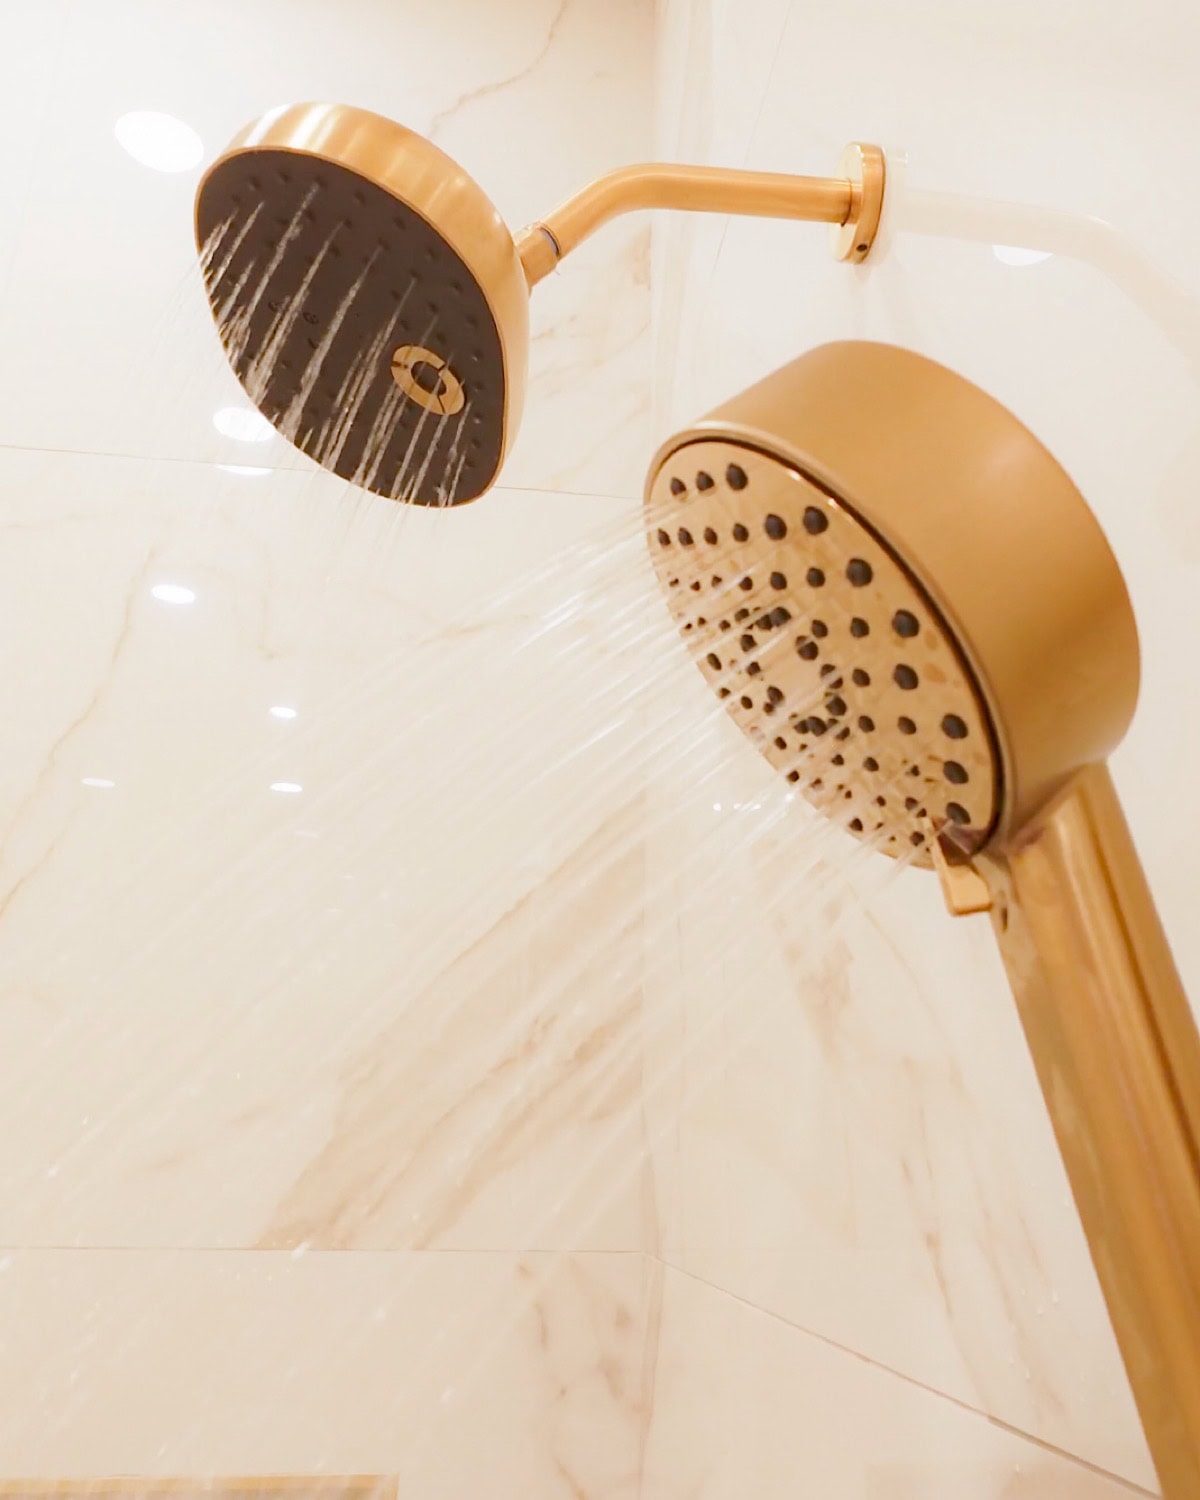
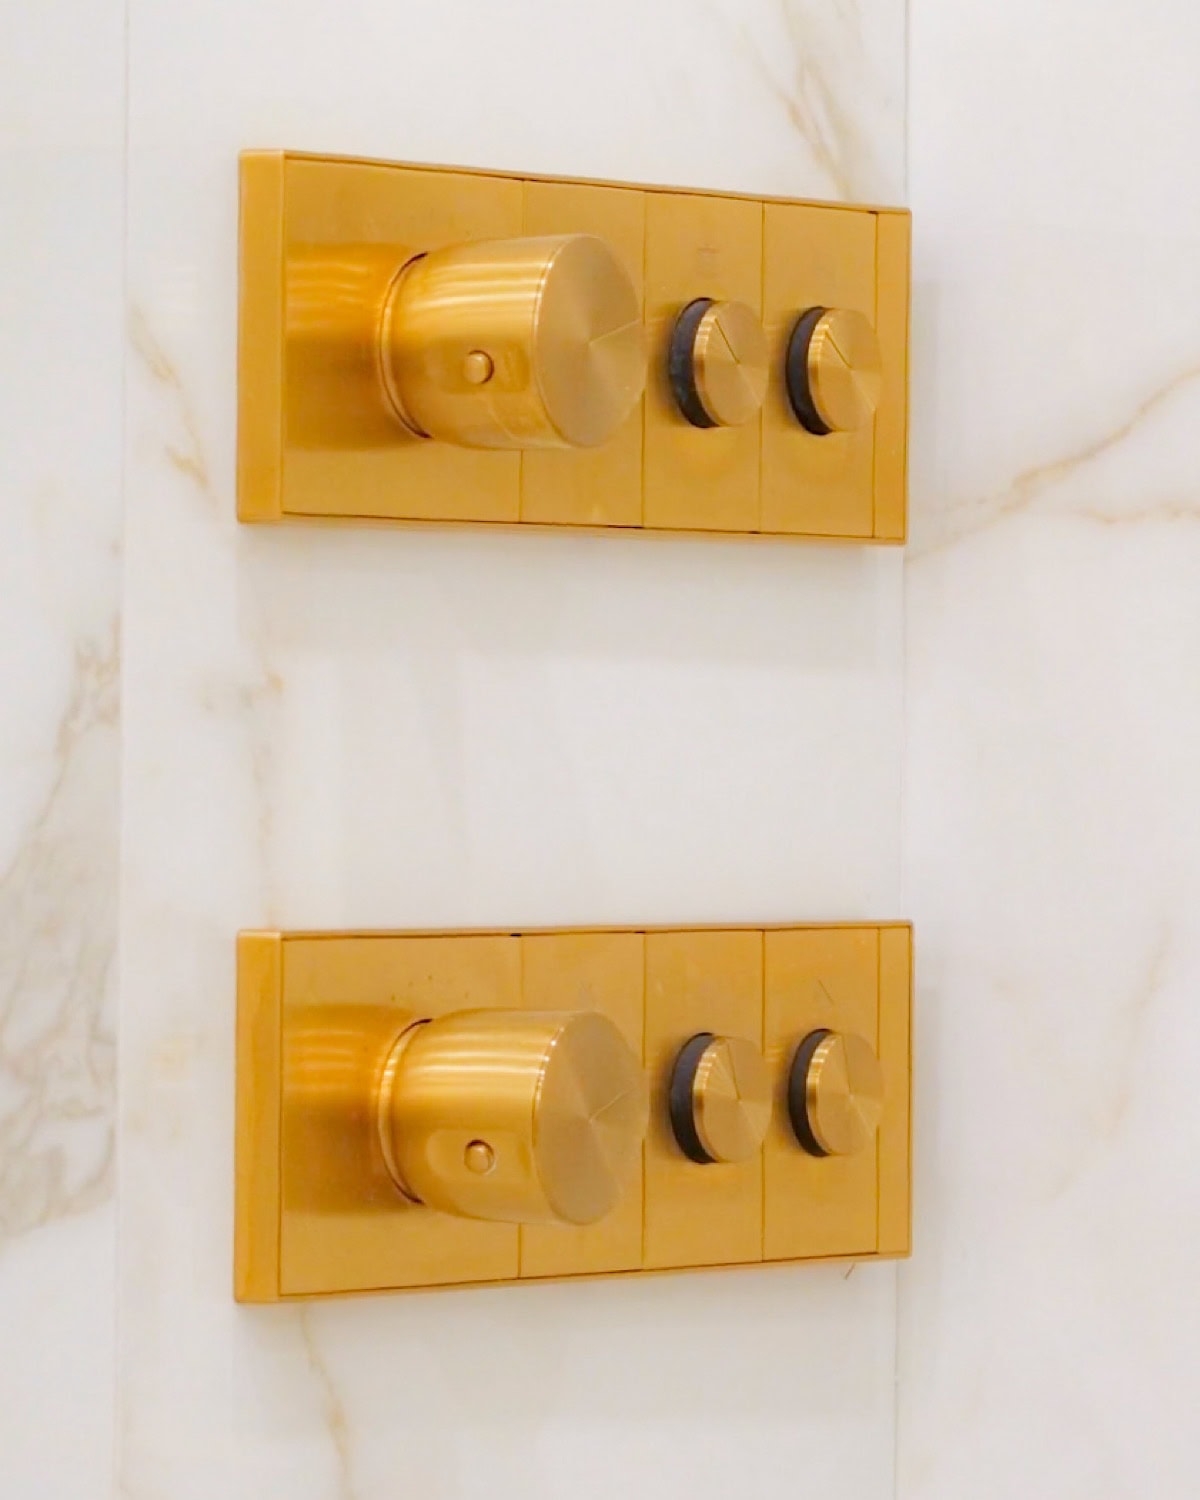
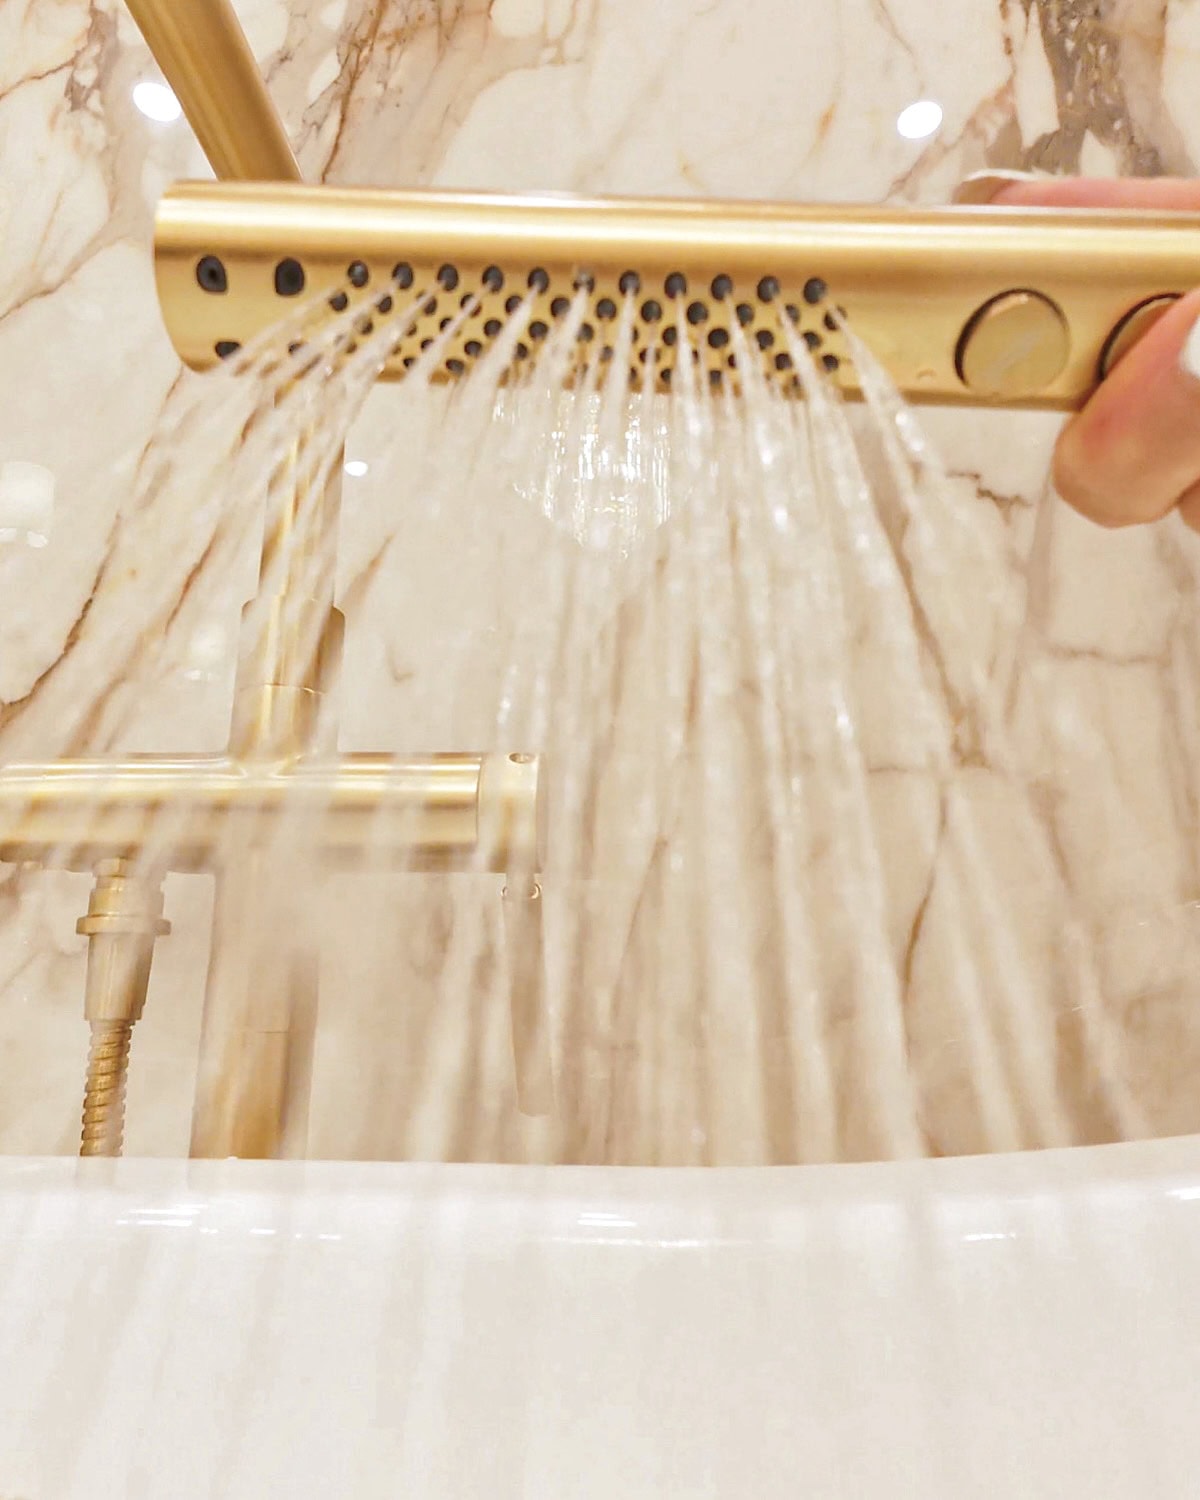
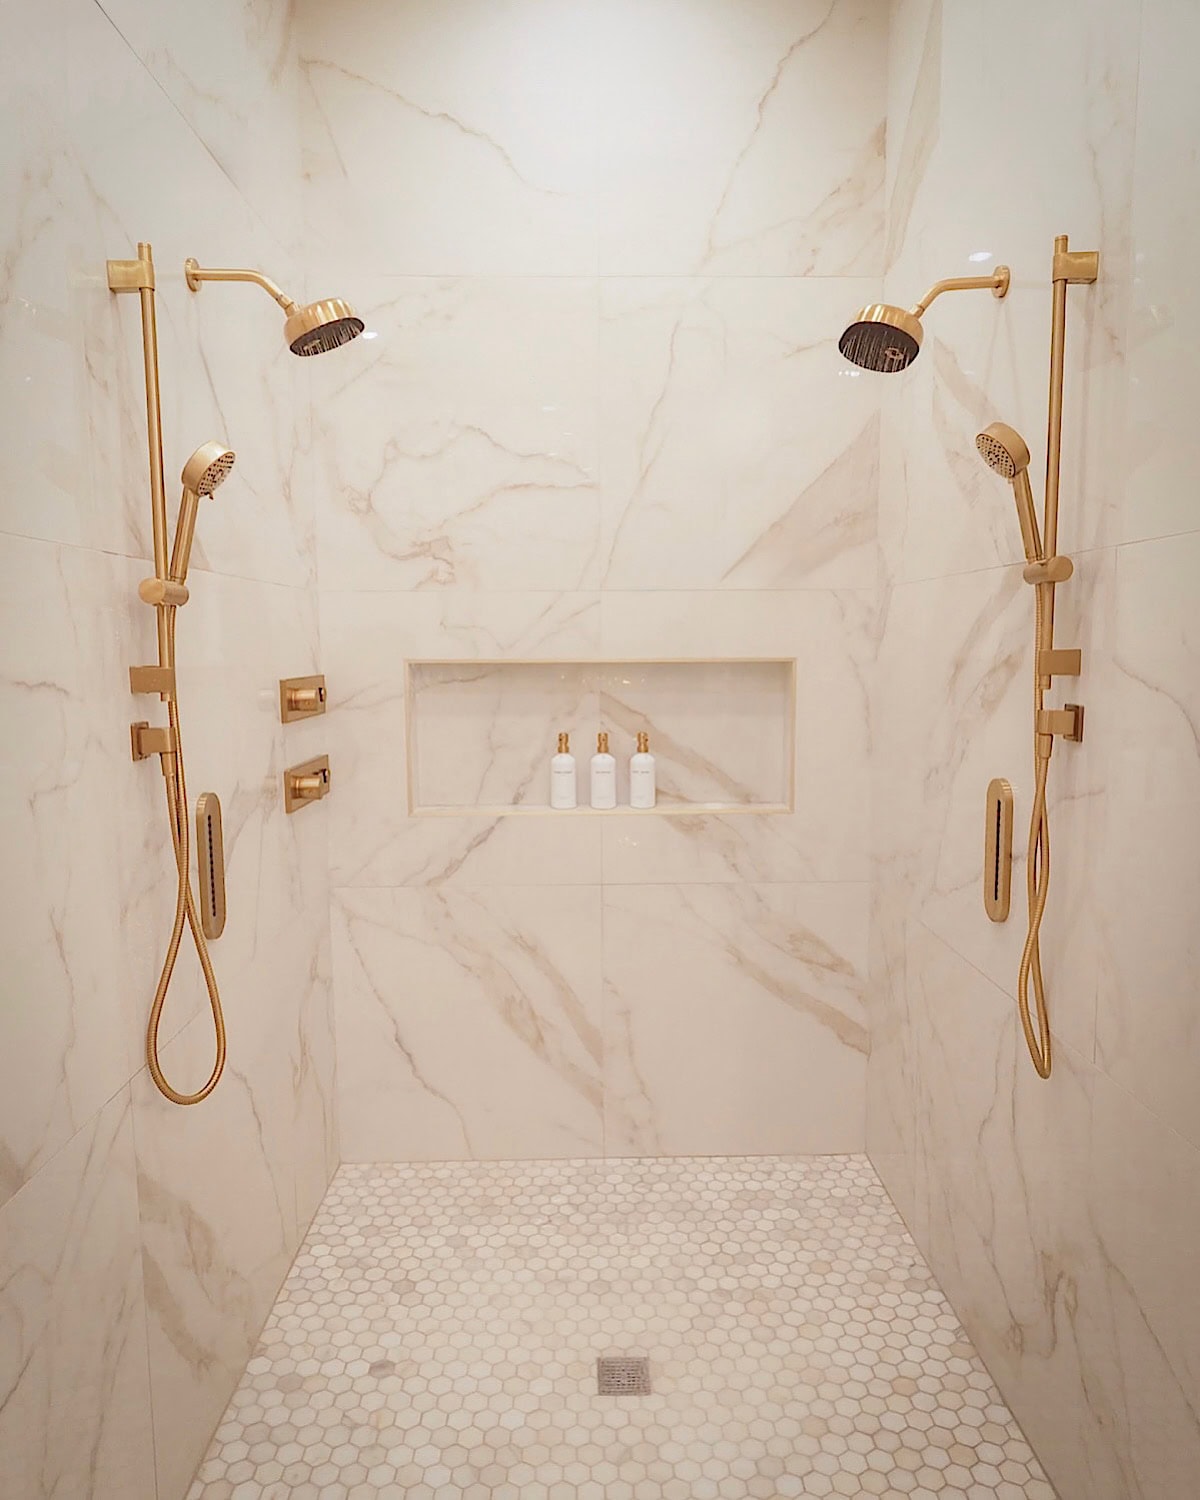
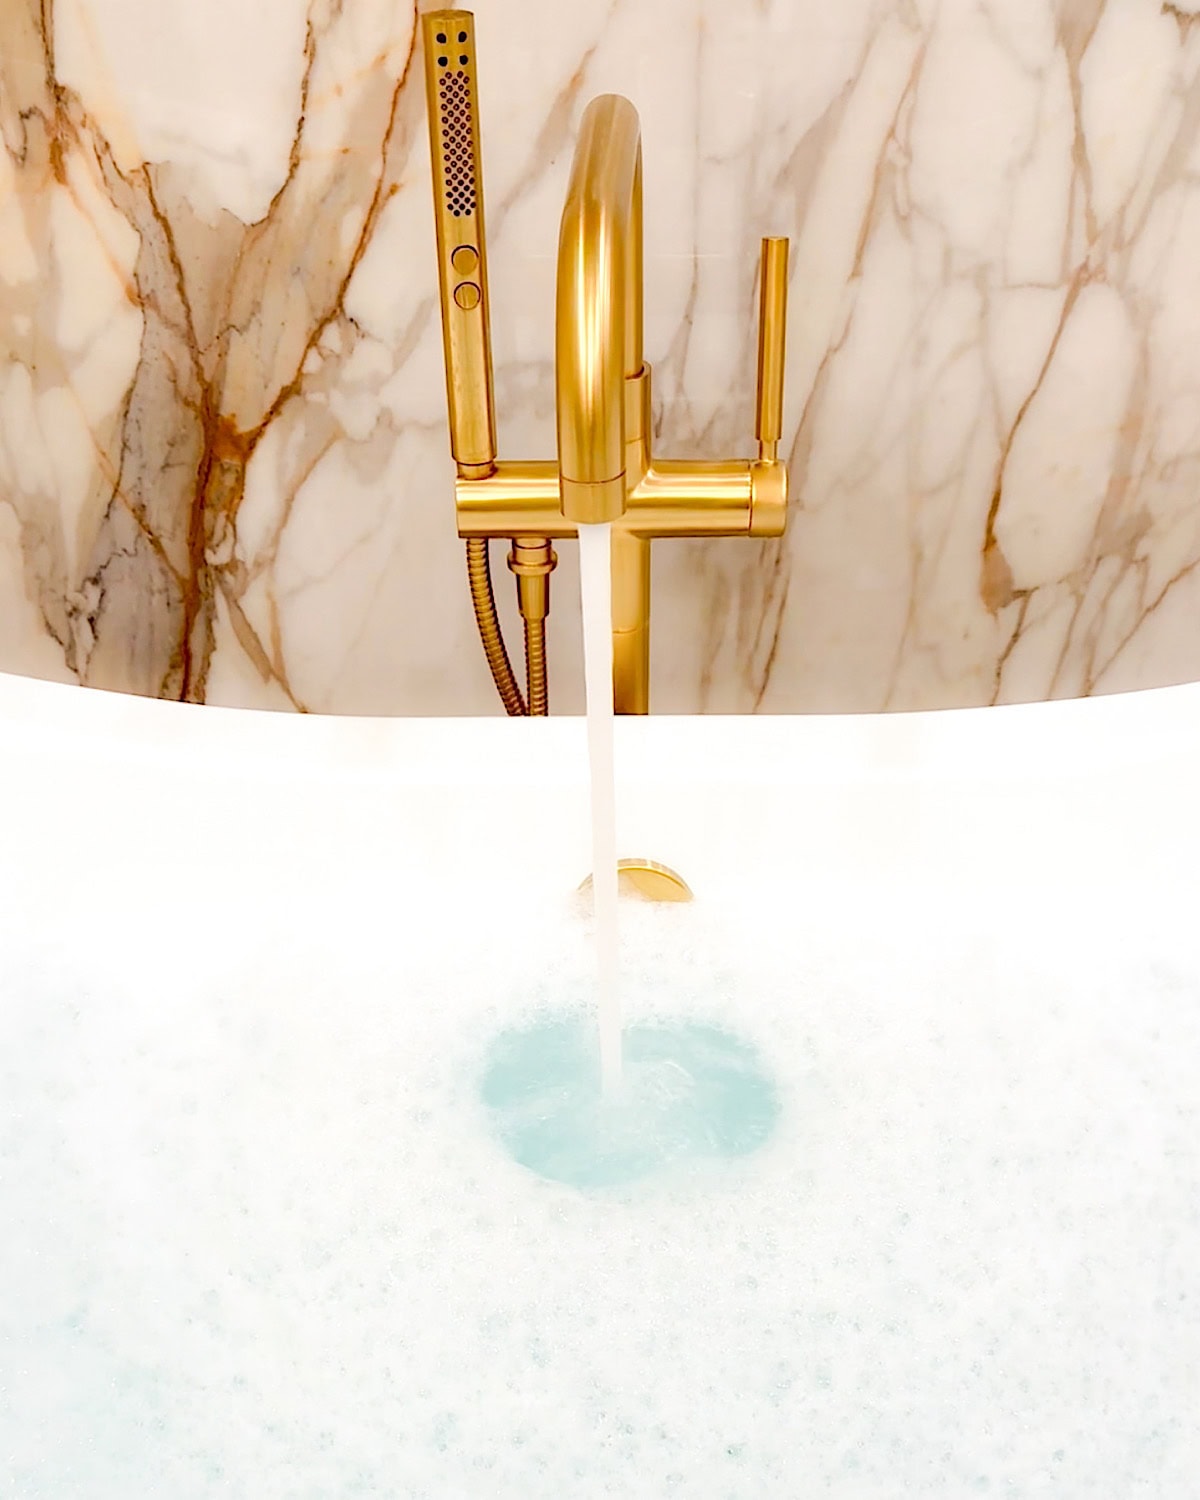
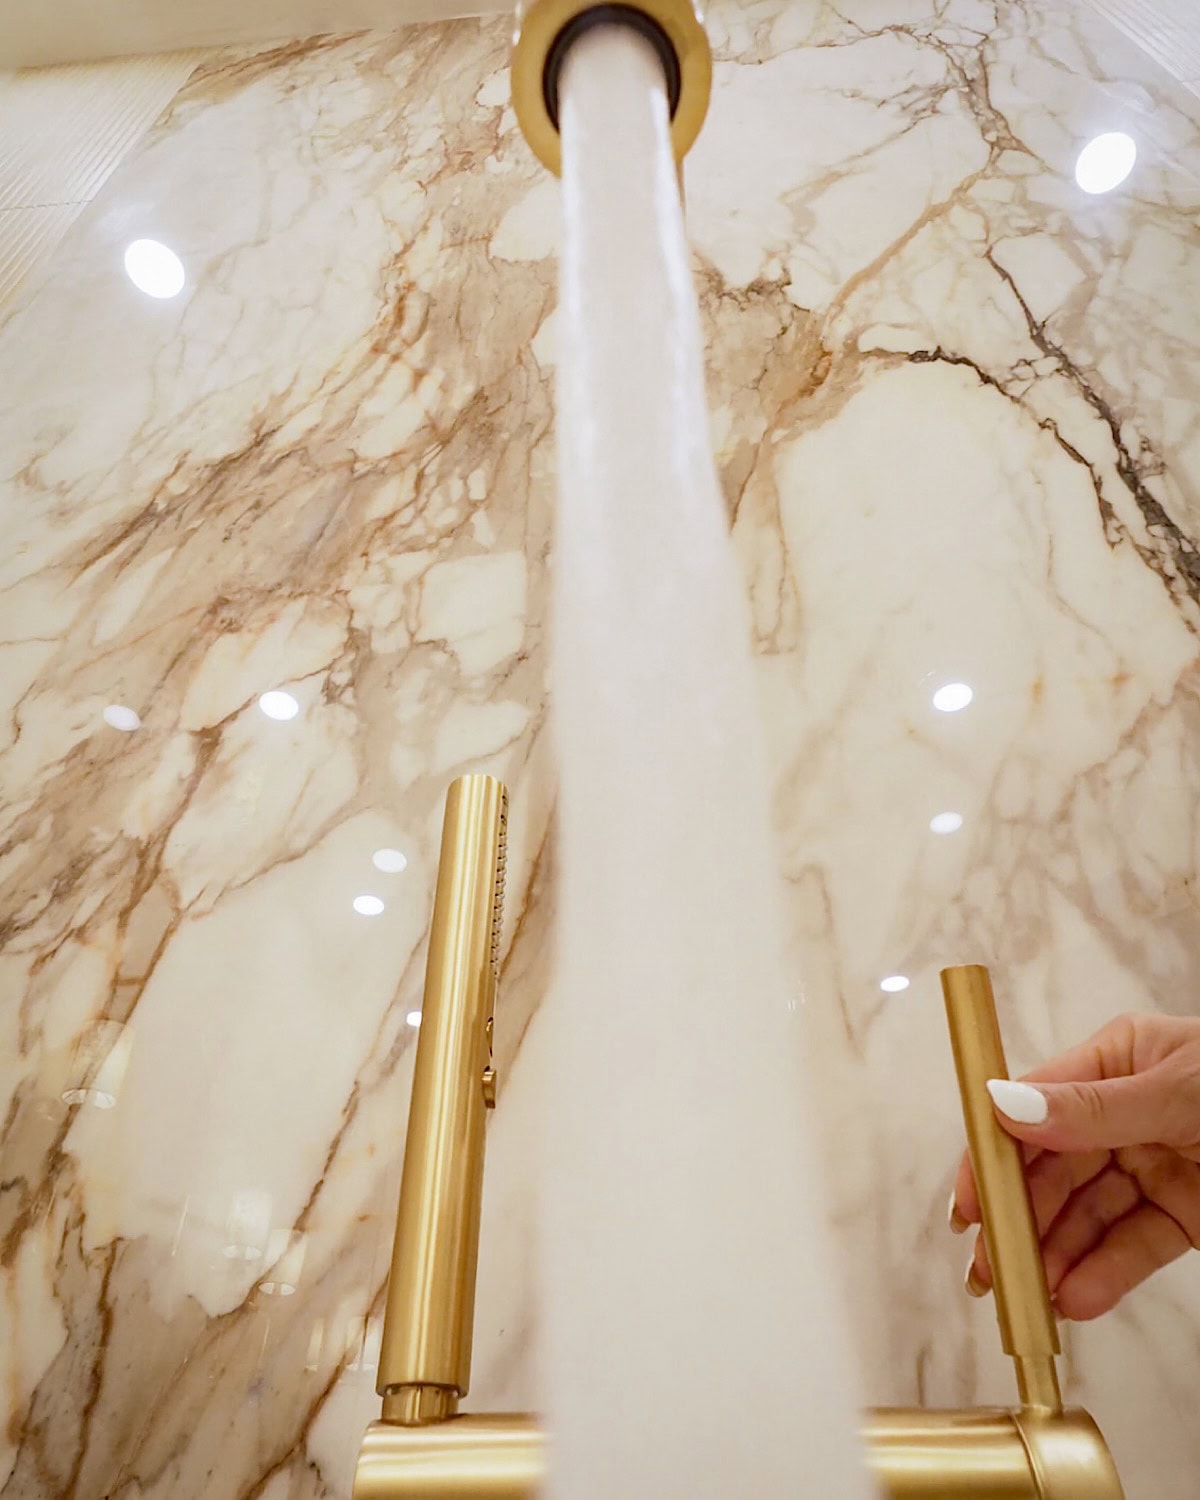
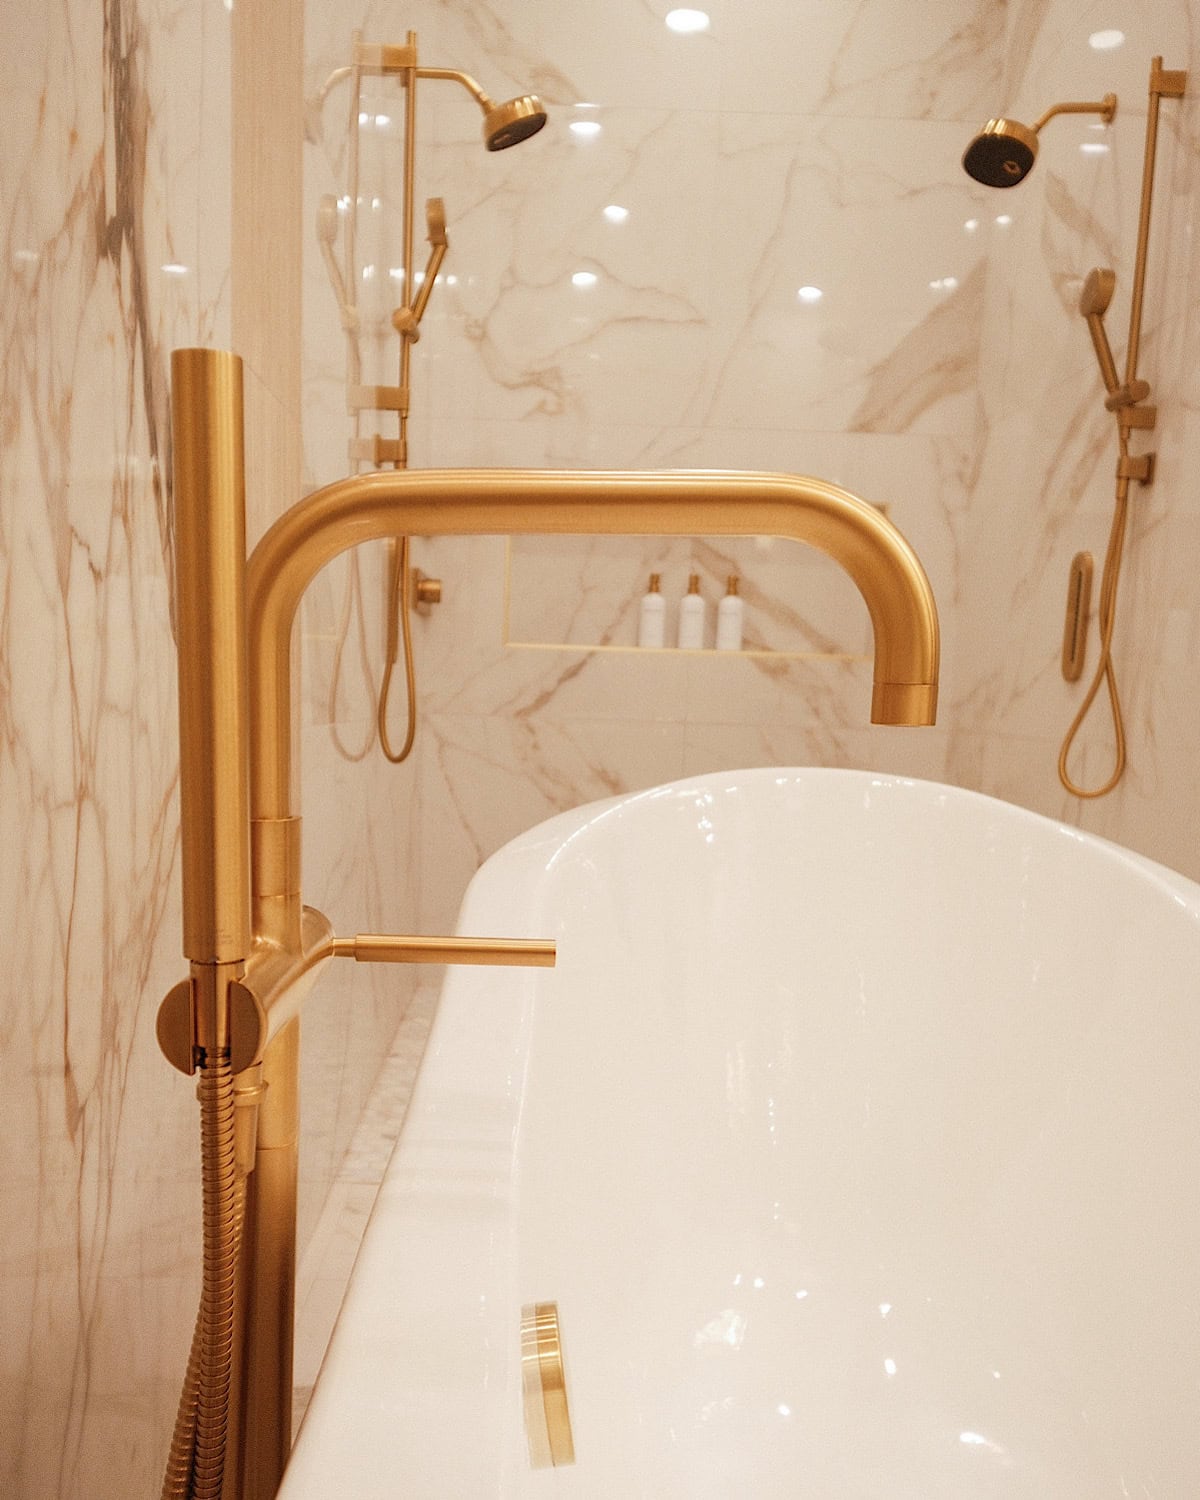
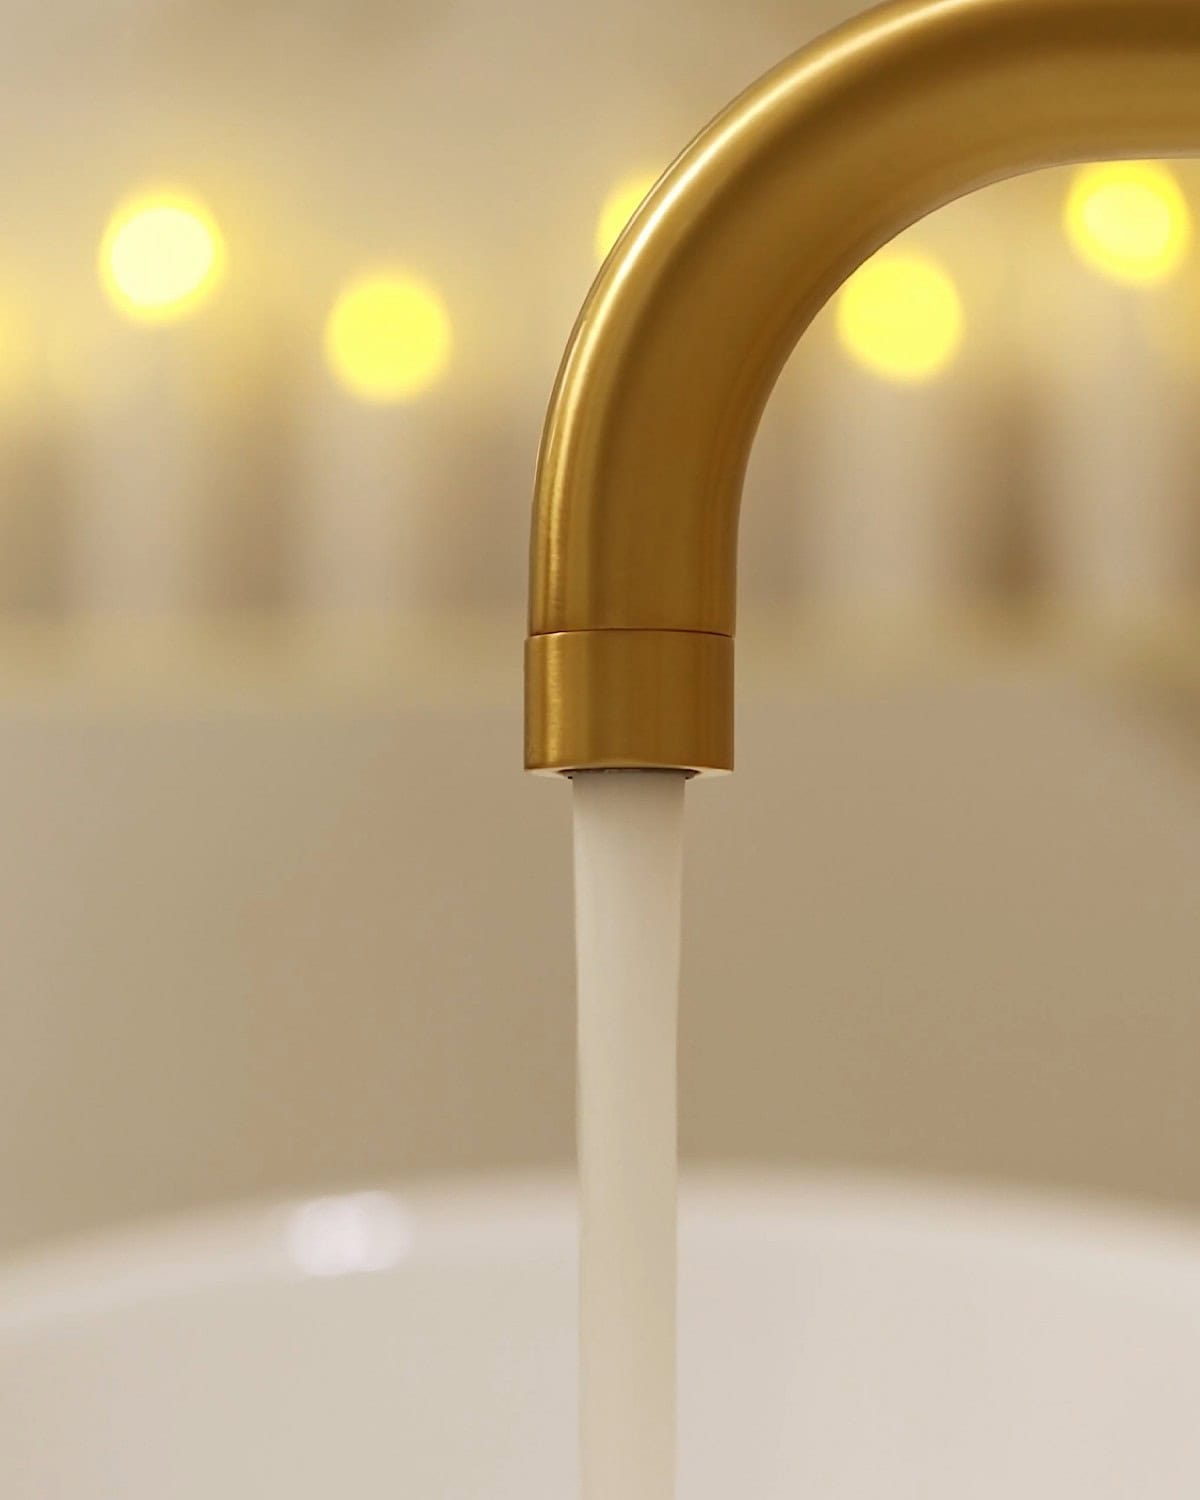
And with Kohler’s shower system, the water pressure and spray options honestly made such a big difference in creating that spa feeling. I never really paid attention to how much the shower setup matters until we installed it.
Every setting feels different…one is softer and relaxing, another is stronger for washing your hair, and they all have their own feel depending on what you need that day. It’s one of those things you don’t really notice until you’re actually standing there and you’re like, okay… this is exactly what I pictured when I wanted a wet room. It just made the whole space feel calmer and so much nicer to use every single day.
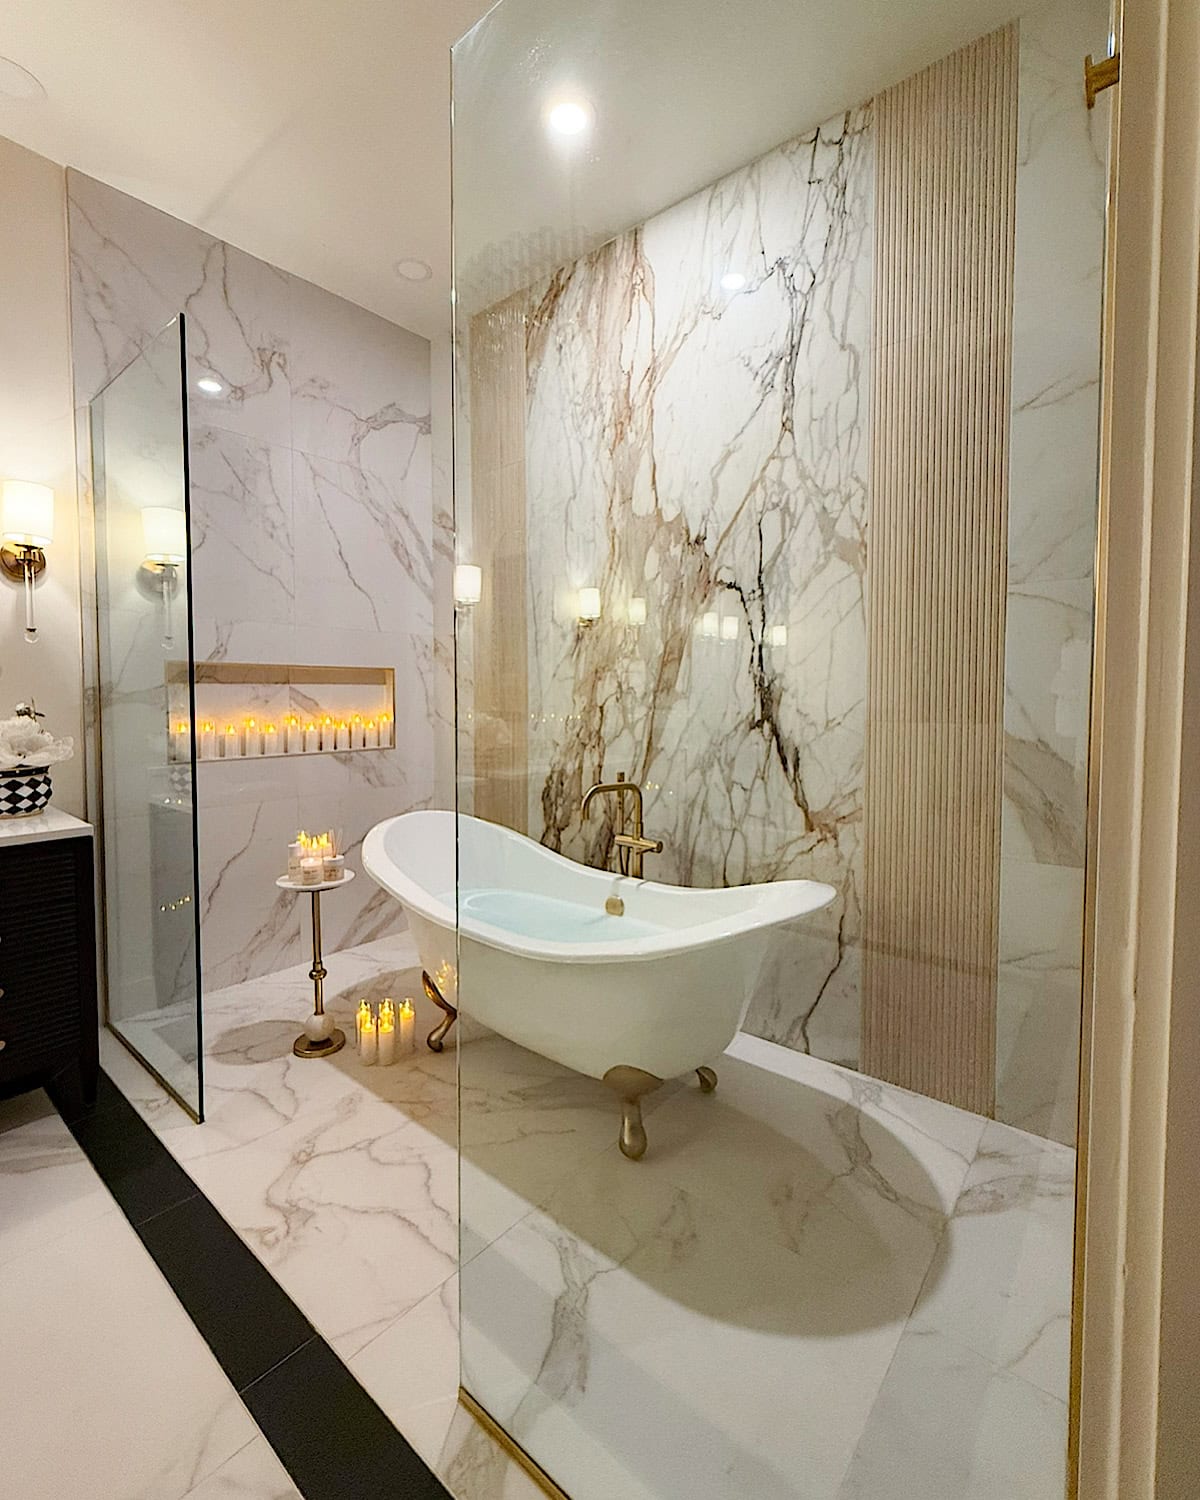
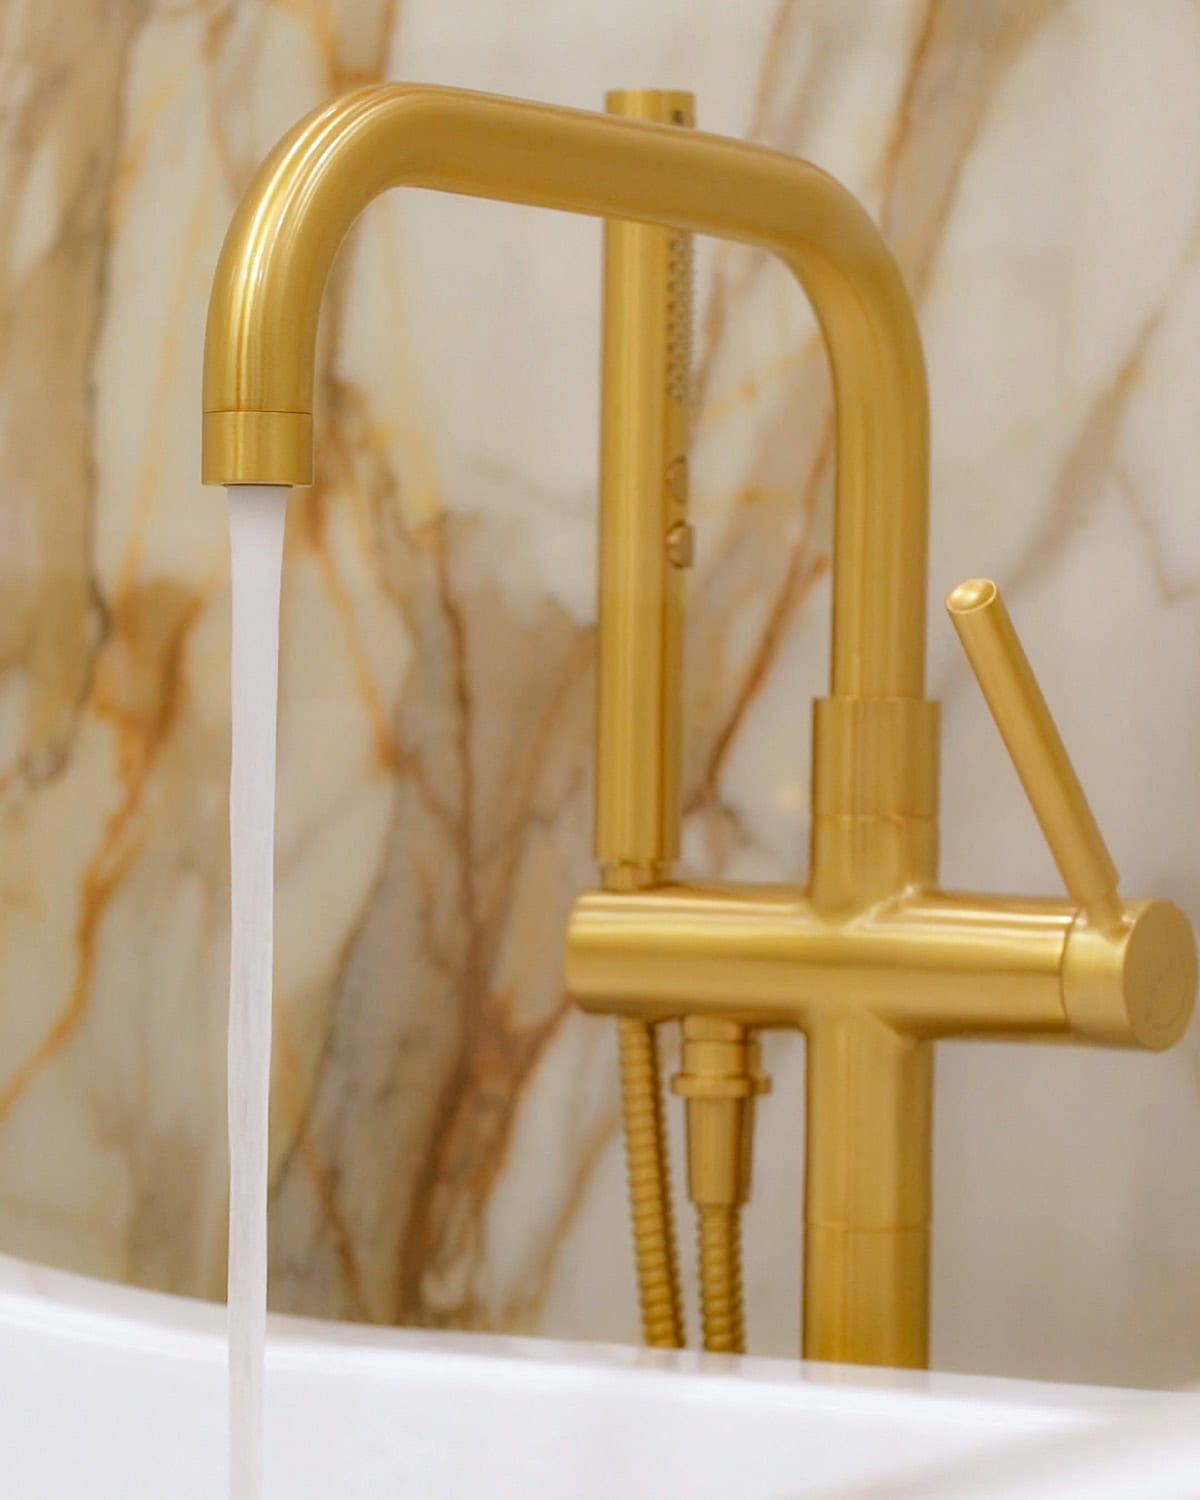
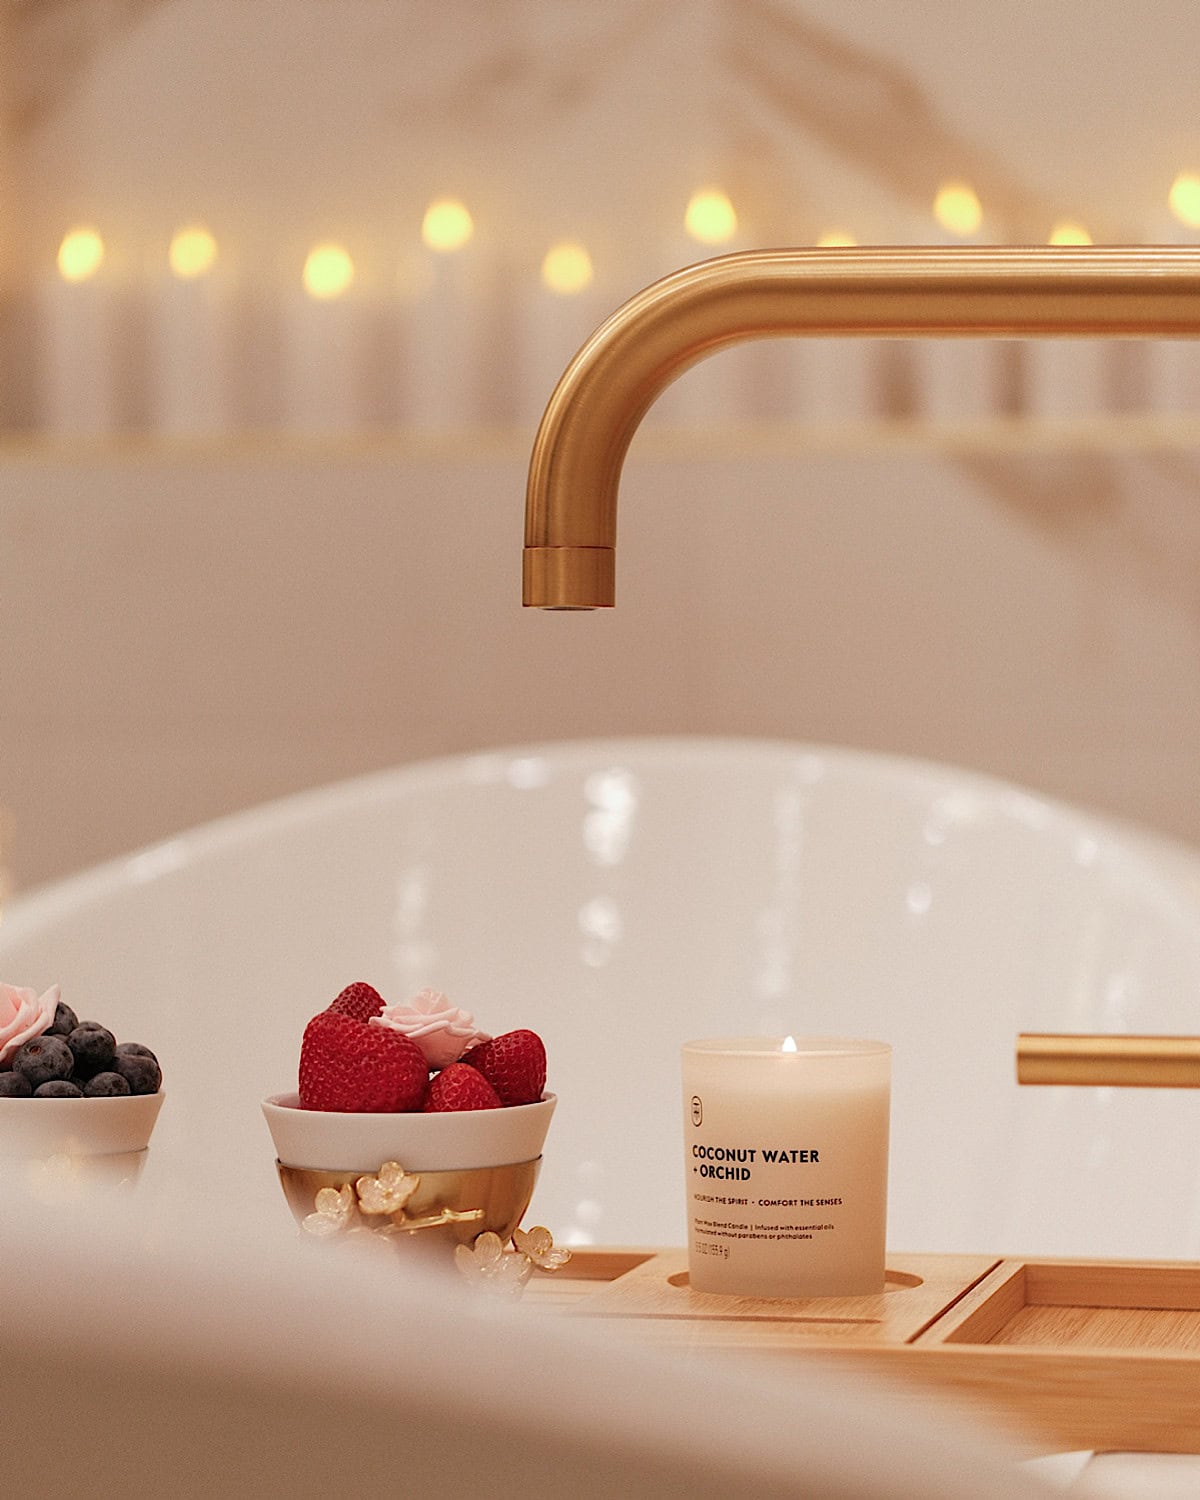
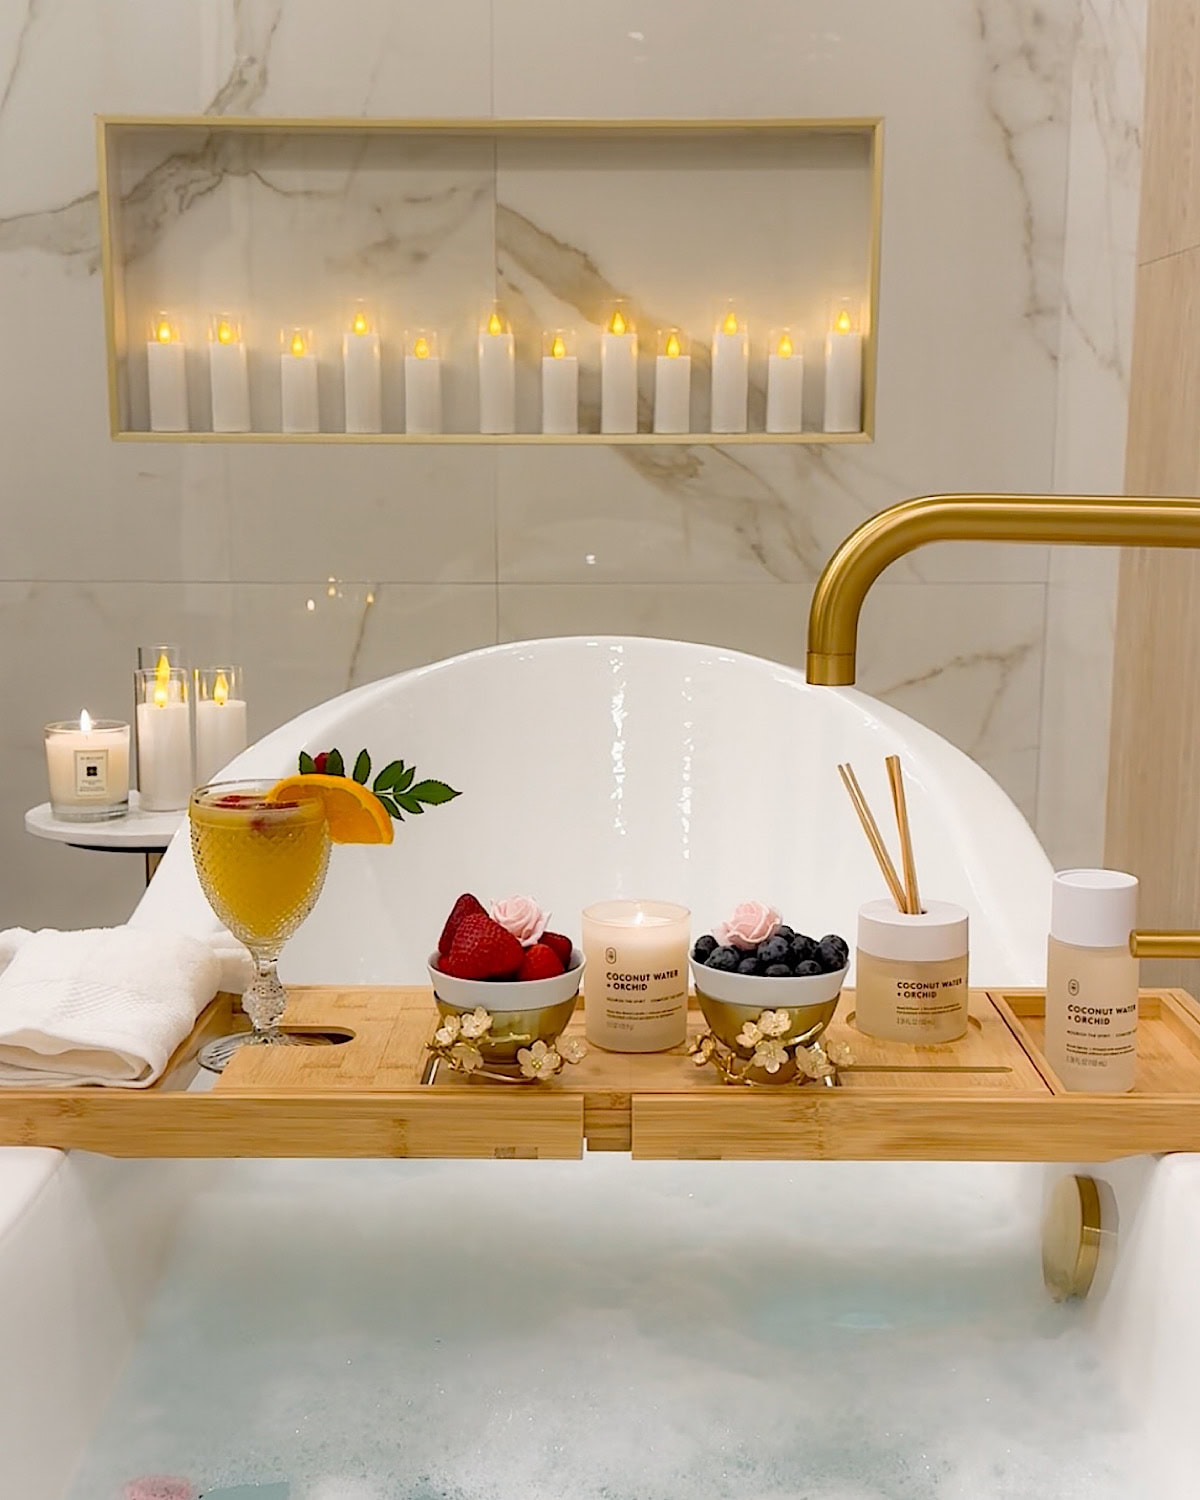
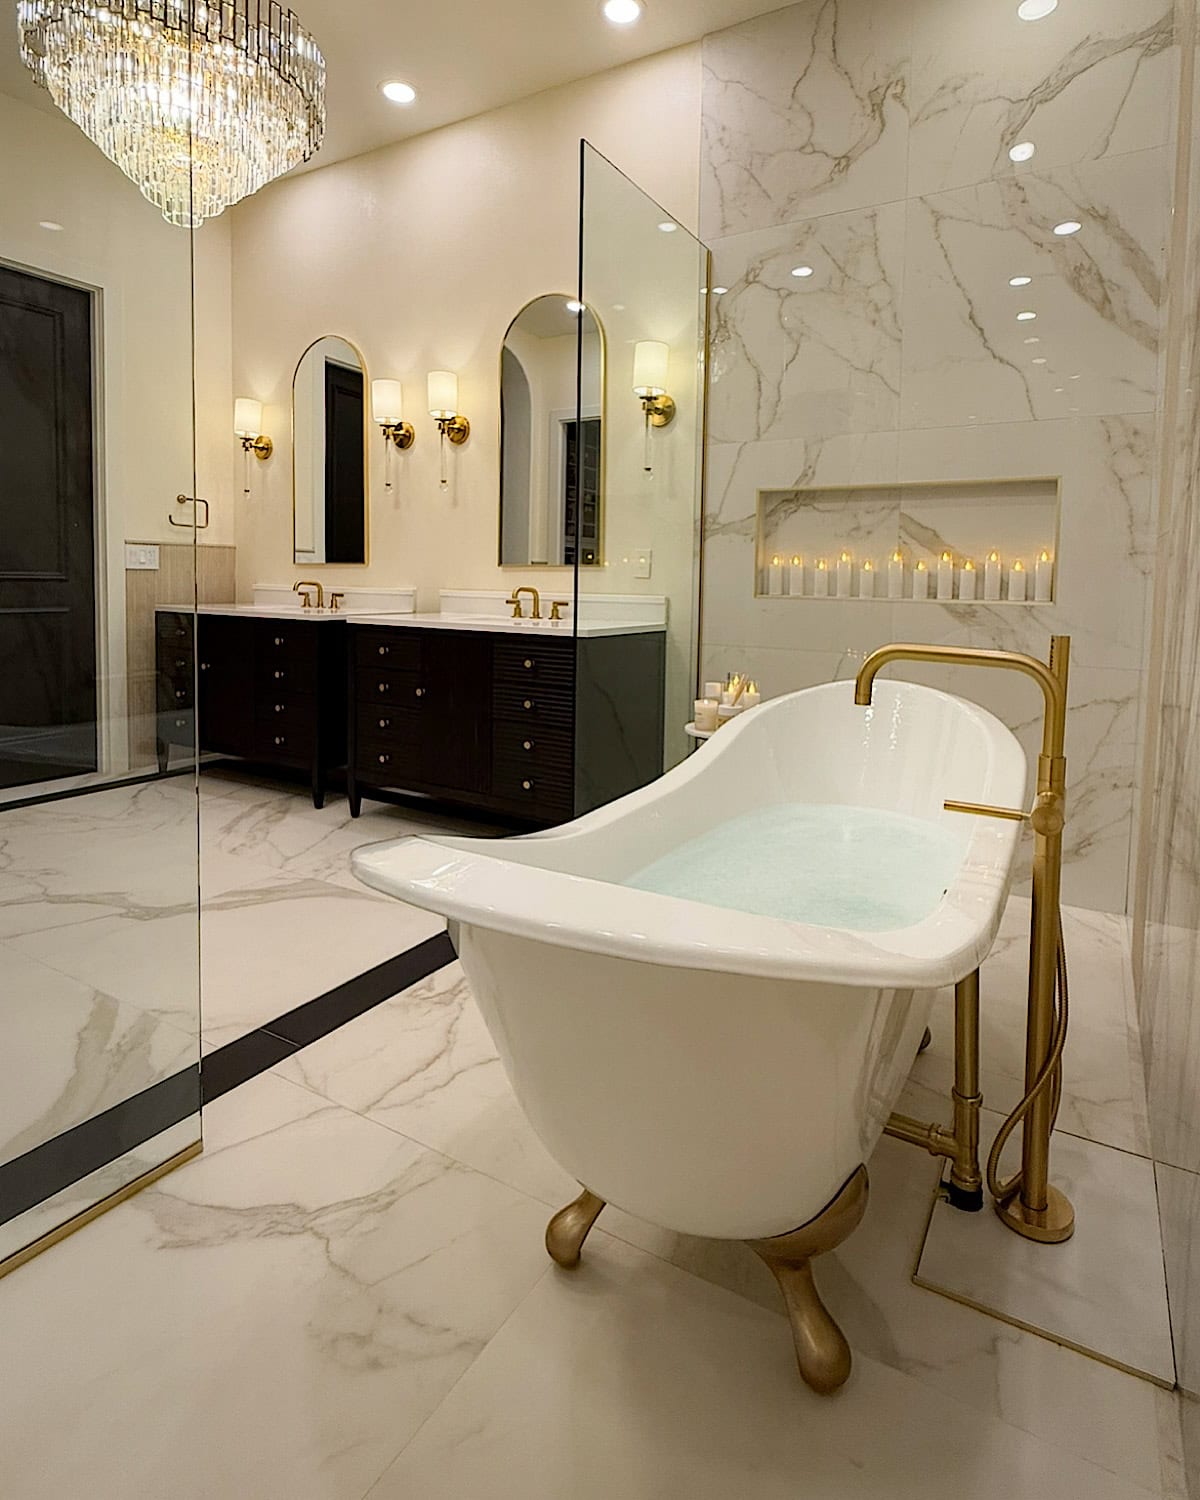
5- If Your Bathroom Has Room, Include a Bathtub Inside the Wet Room Area
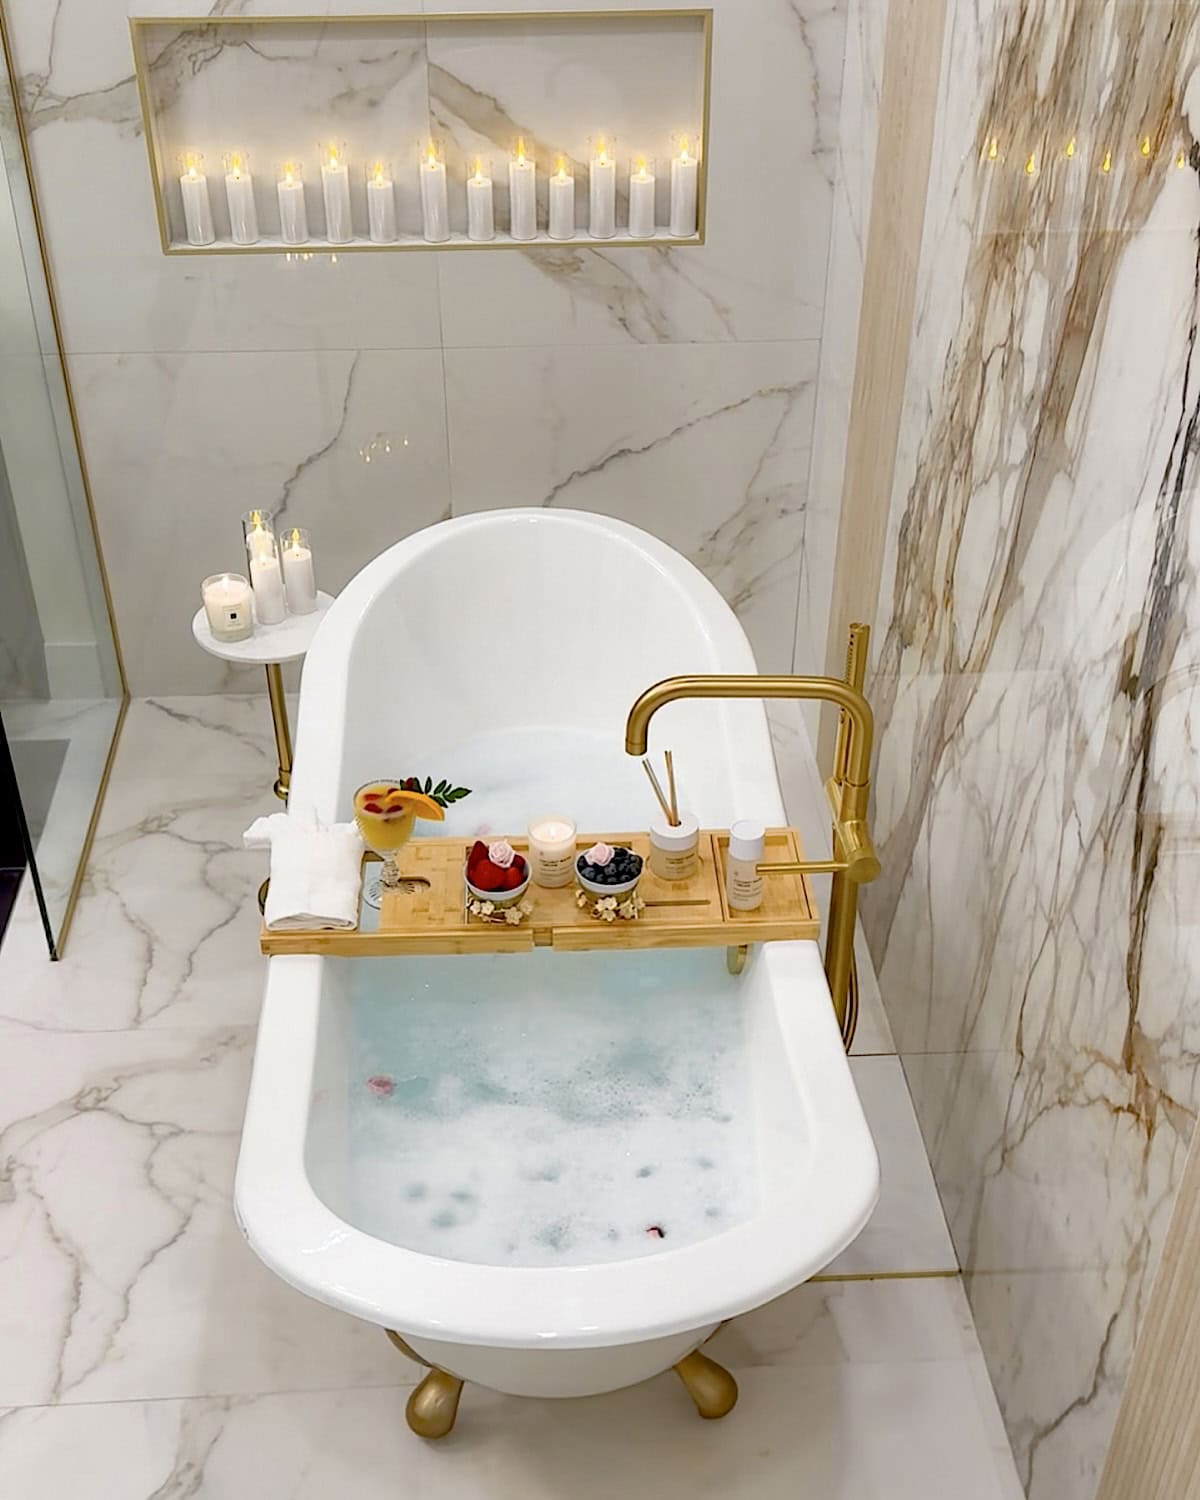
If you have space in your bathroom, adding a bathtub in the wet room is honestly one of the best decisions you can make. A tub-and-shower wet room layout not only looks gorgeous but also gives your bathroom a high-end spa feel you can enjoy every single day.
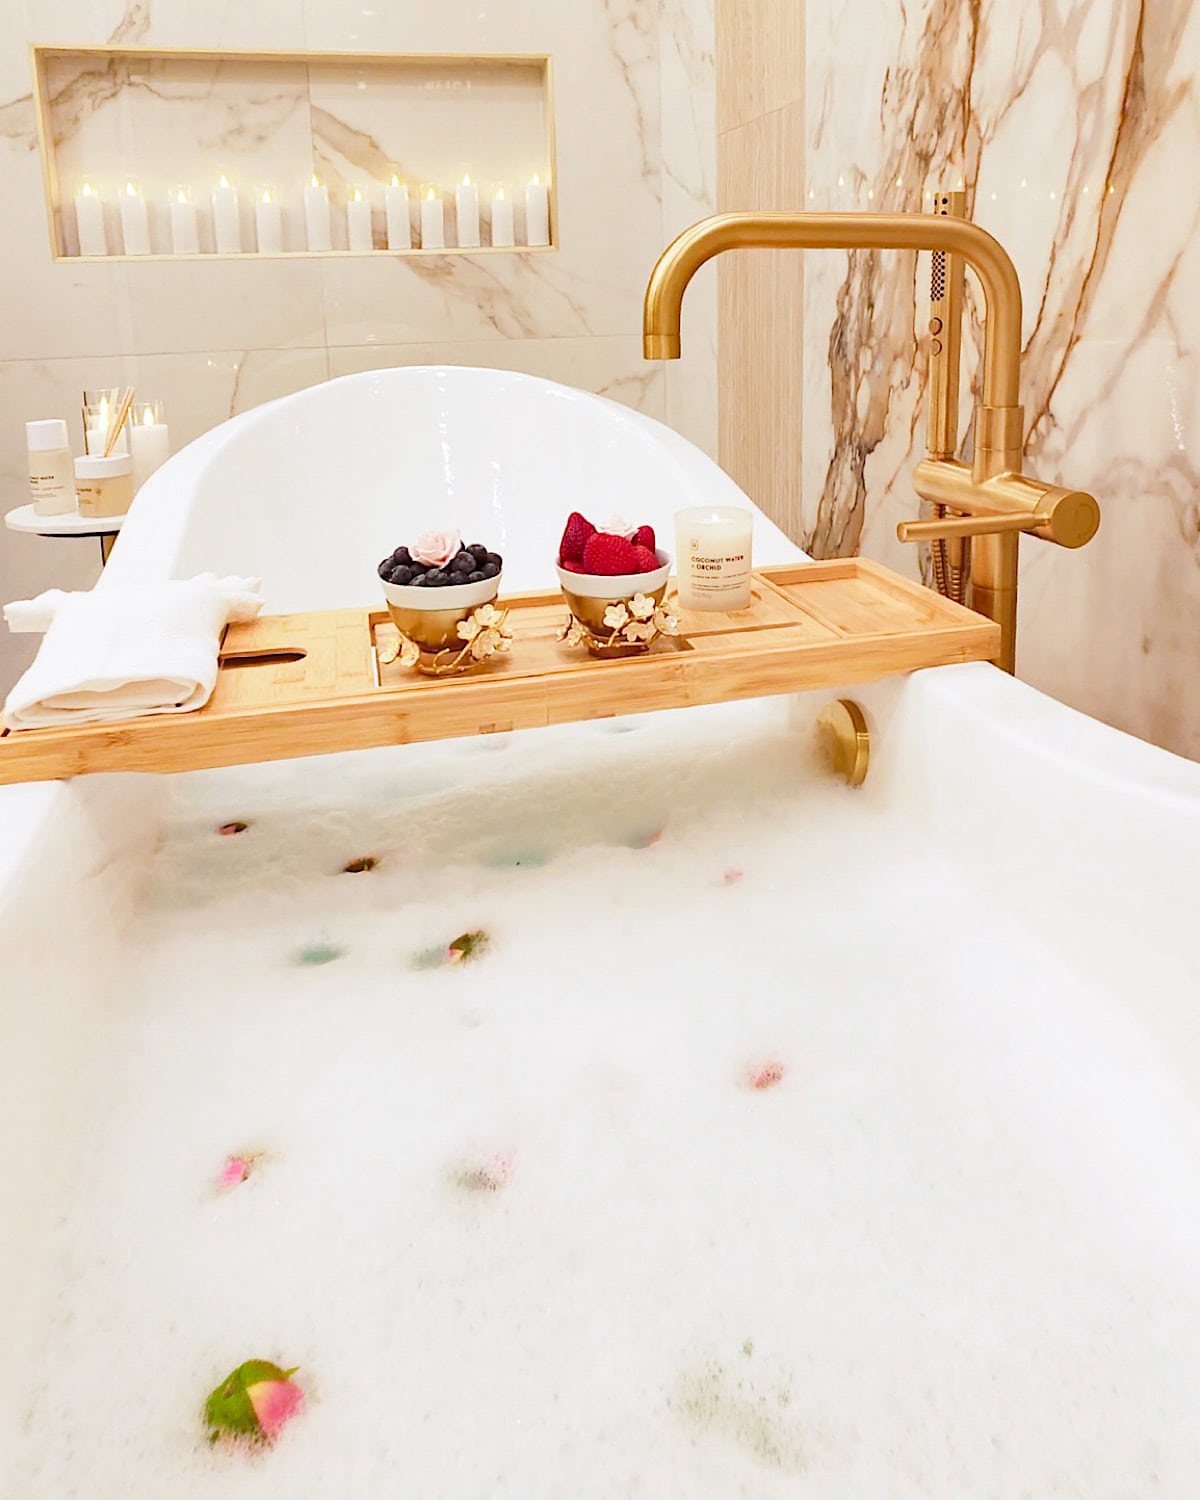
There’s just something so calming about having the bathtub right there as part of the open layout; it feels intentional, elegant, and incredibly relaxing.
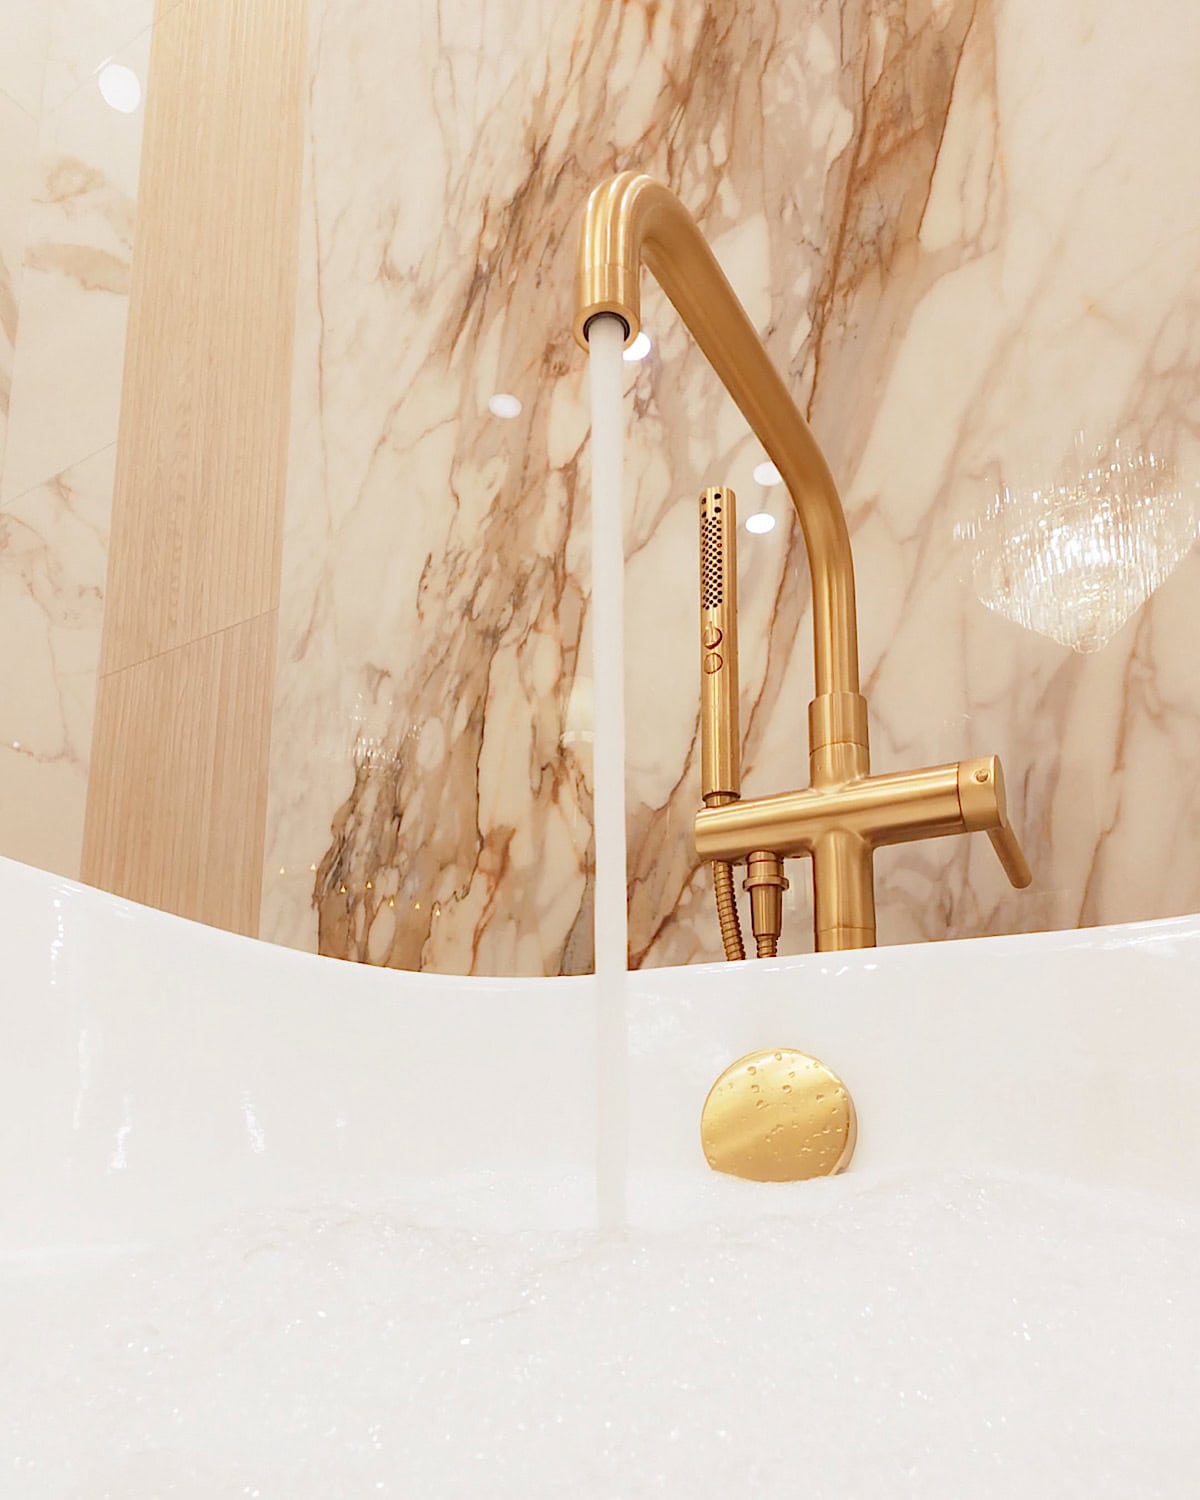
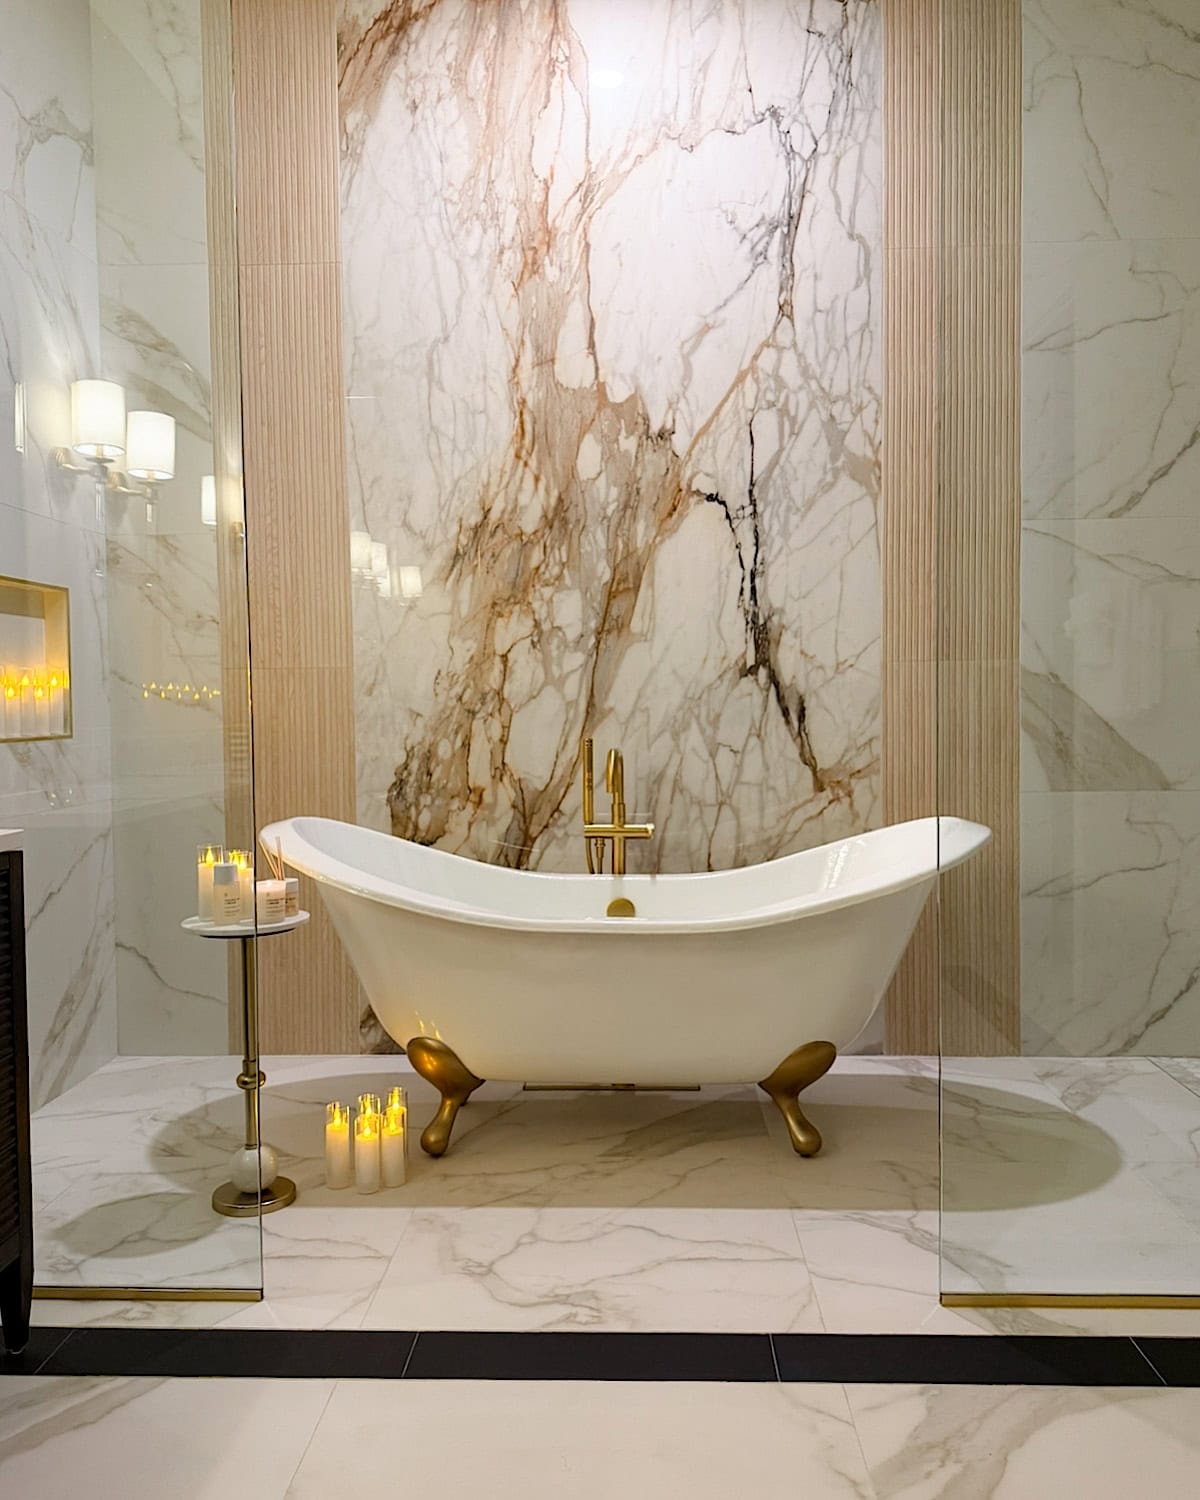
And I don’t know what it is, but lately I’ve been so into those vintage-style bathtubs, the ones that still feel modern and fresh. They’re honestly the coolest look. You get that charming, old-world vibe, but in a way that still feels clean, elevated, and current. Kohler offers so many of these styles, from vintage-inspired tubs to ultra-modern sculptural designs, making choosing much easier.

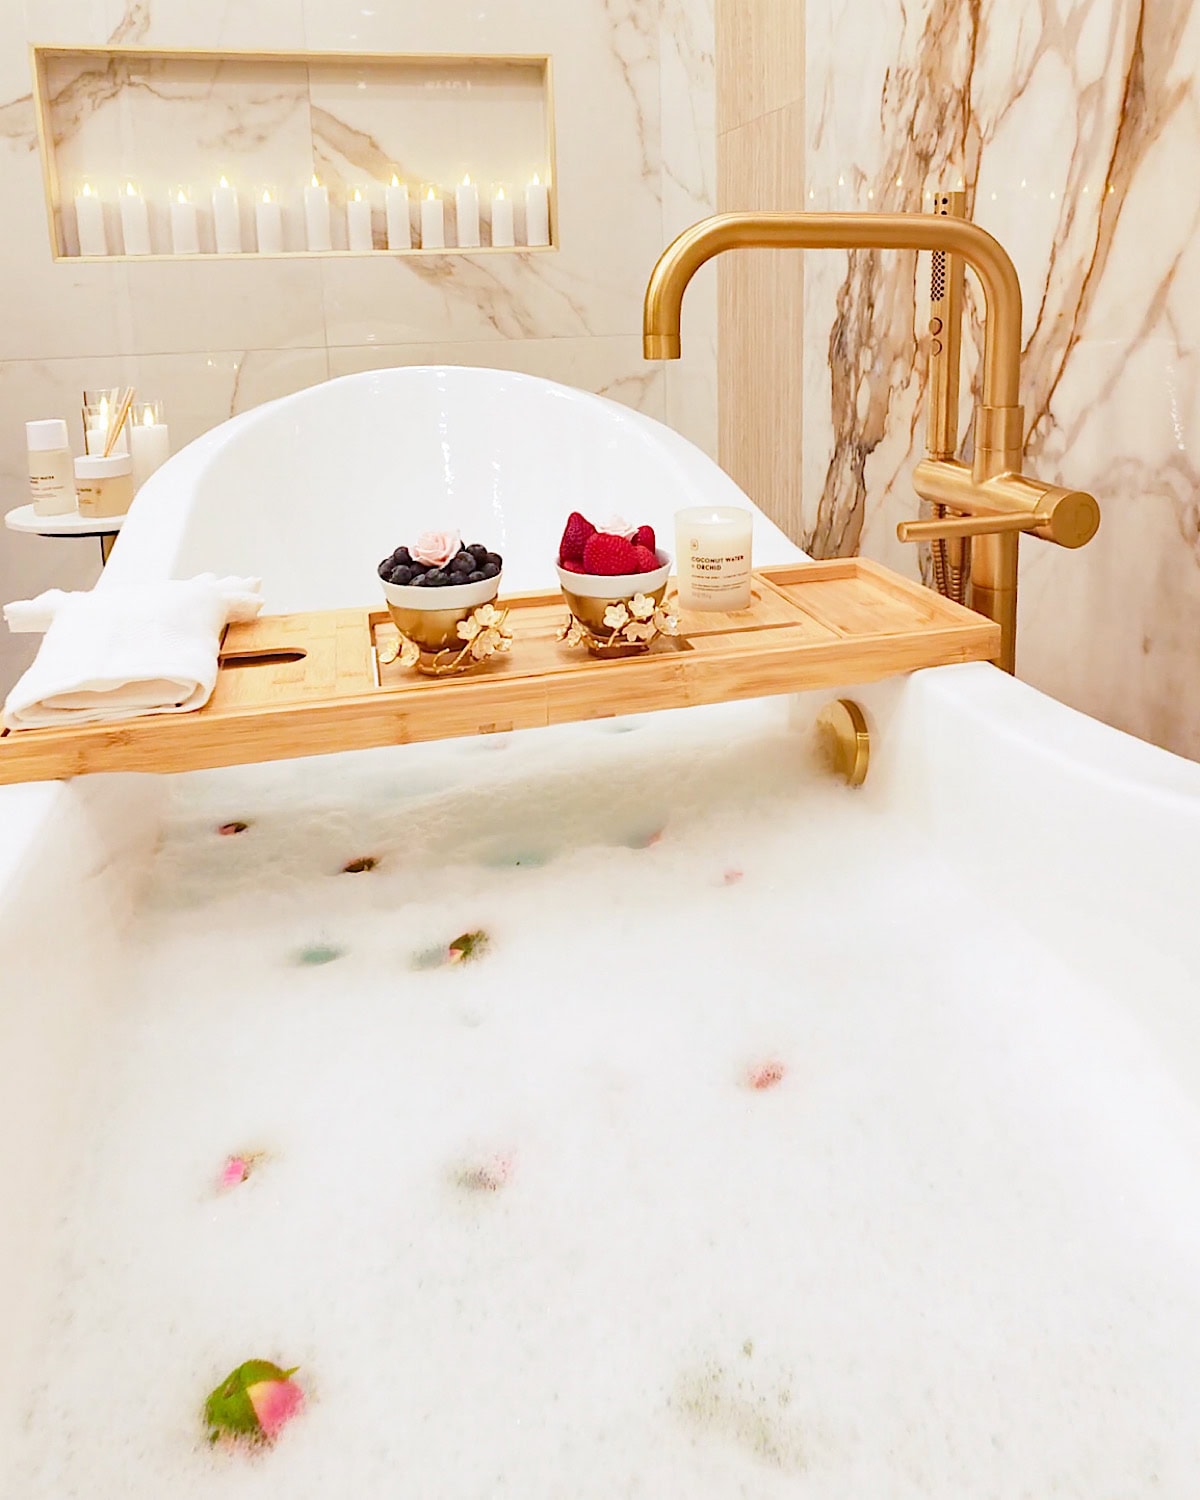
For us, having a nice bathtub was always a must-have. Even before we started the renovation, I knew I wanted a space where I could unwind at the end of the day, and having the bathtub inside the wet room just made sense. It ties the whole space together visually.
When everything is on the same level-entry floor and the bathtub sits in the same open area as the wet room shower, the bathroom feels bigger, cleaner, and more serene.
You don’t need a giant bathroom to make this work, either. With the proper layout, even medium-sized rooms can handle a tub-and-shower wet room beautifully. It’s one of those decisions that instantly elevates the whole room without making it feel overwhelming.
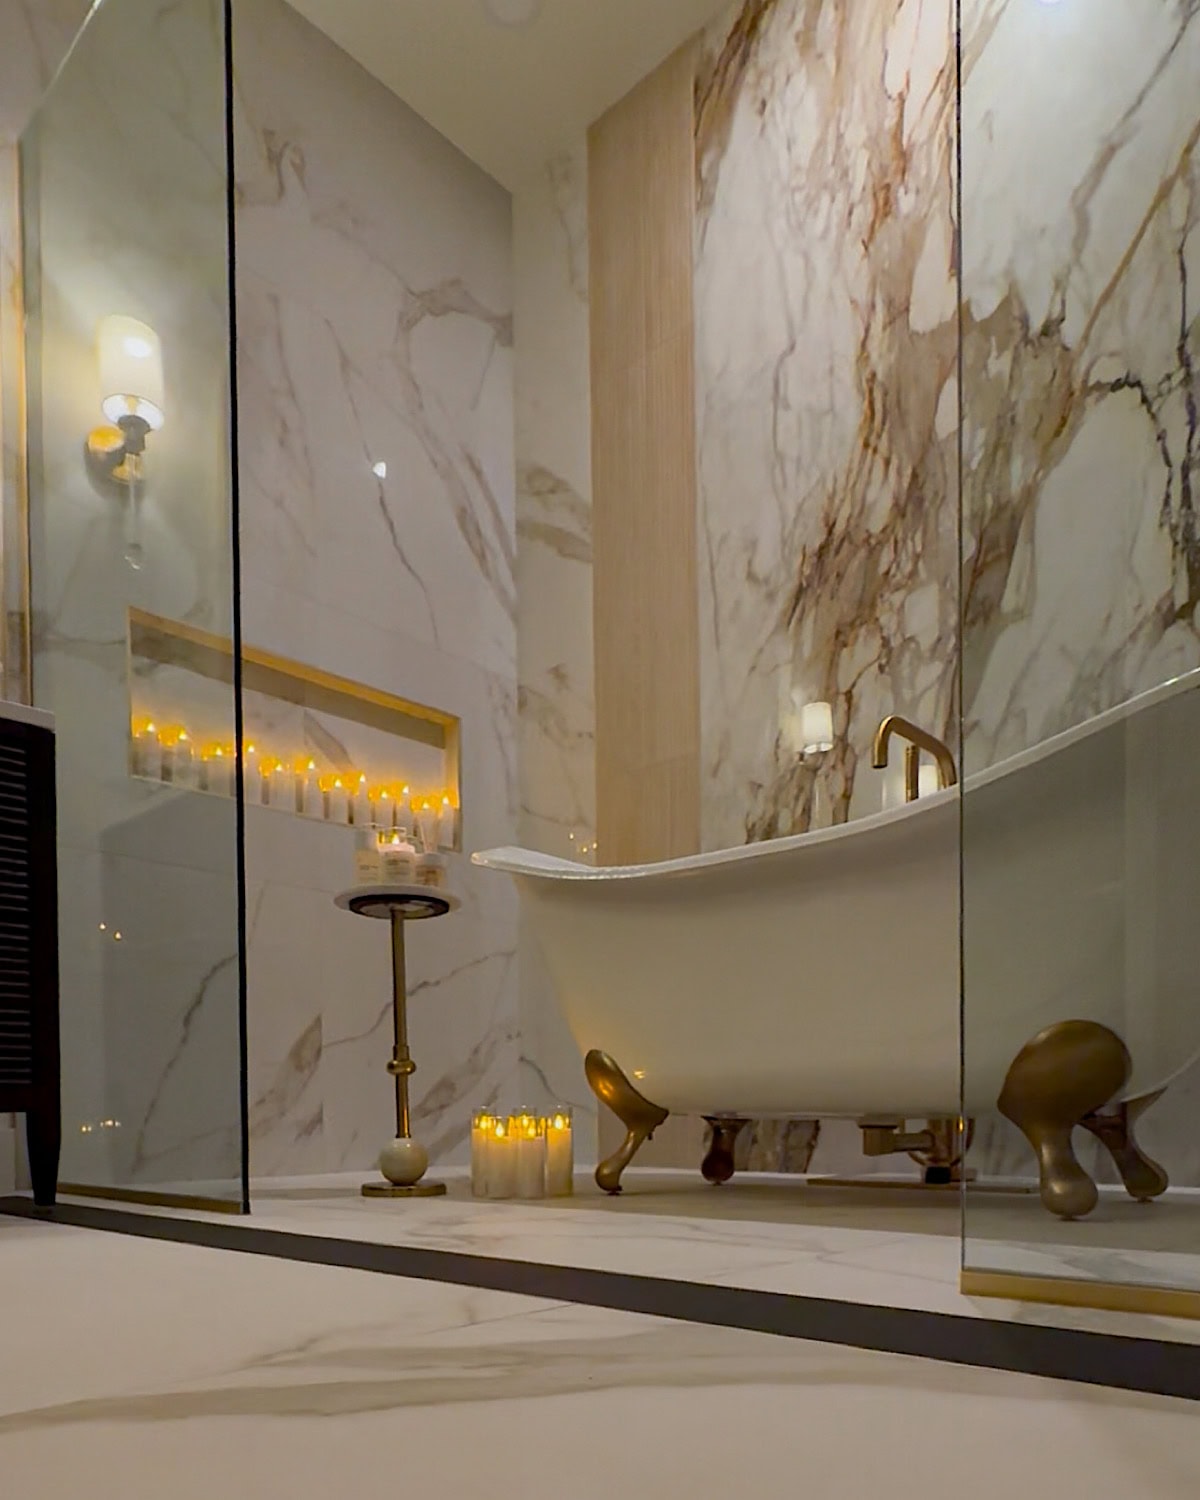
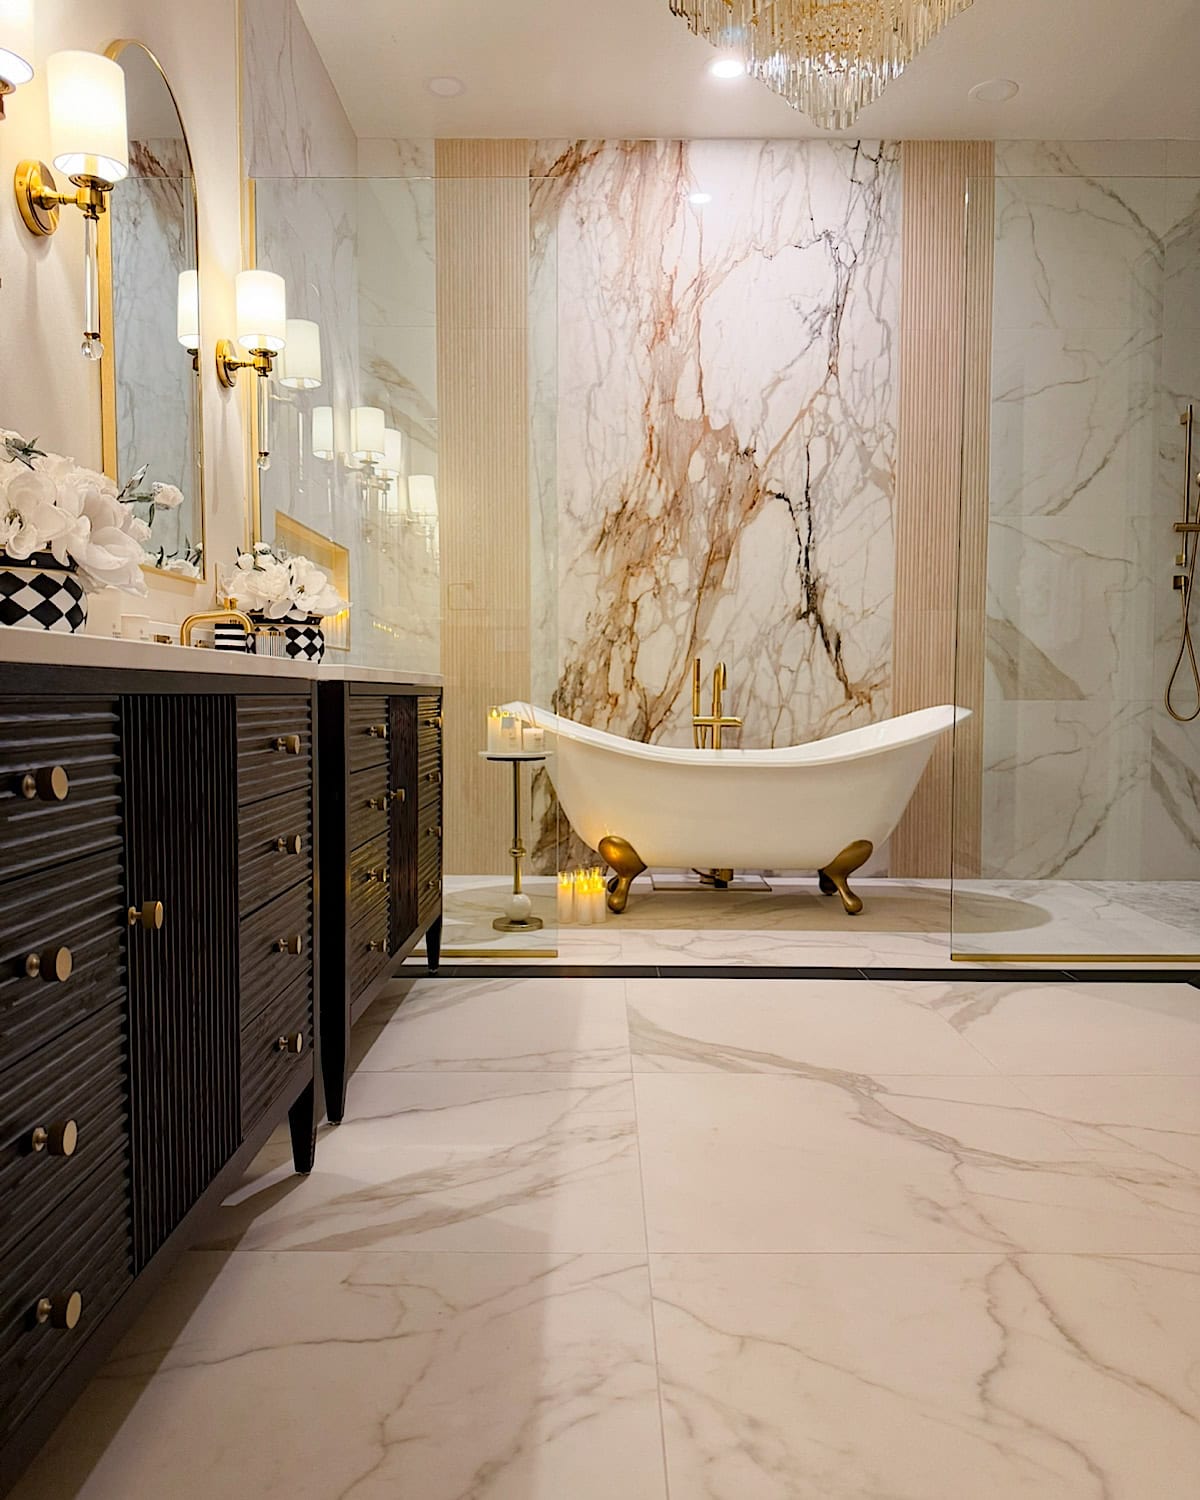
6- Turn the Bathtub Wall Into the Focal Point of the Room
One thing I always recommend, especially if you have a bathtub in your wet room, is to turn the wall behind it into a focal point. This is the first area your eyes go to when you walk in, so make it feel special. Some people love doing a full slab behind the tub, which is honestly one of my favorite looks. Matt and I both really loved that clean, seamless feeling, so that’s the route we took. It instantly makes the whole room look more polished and intentional.
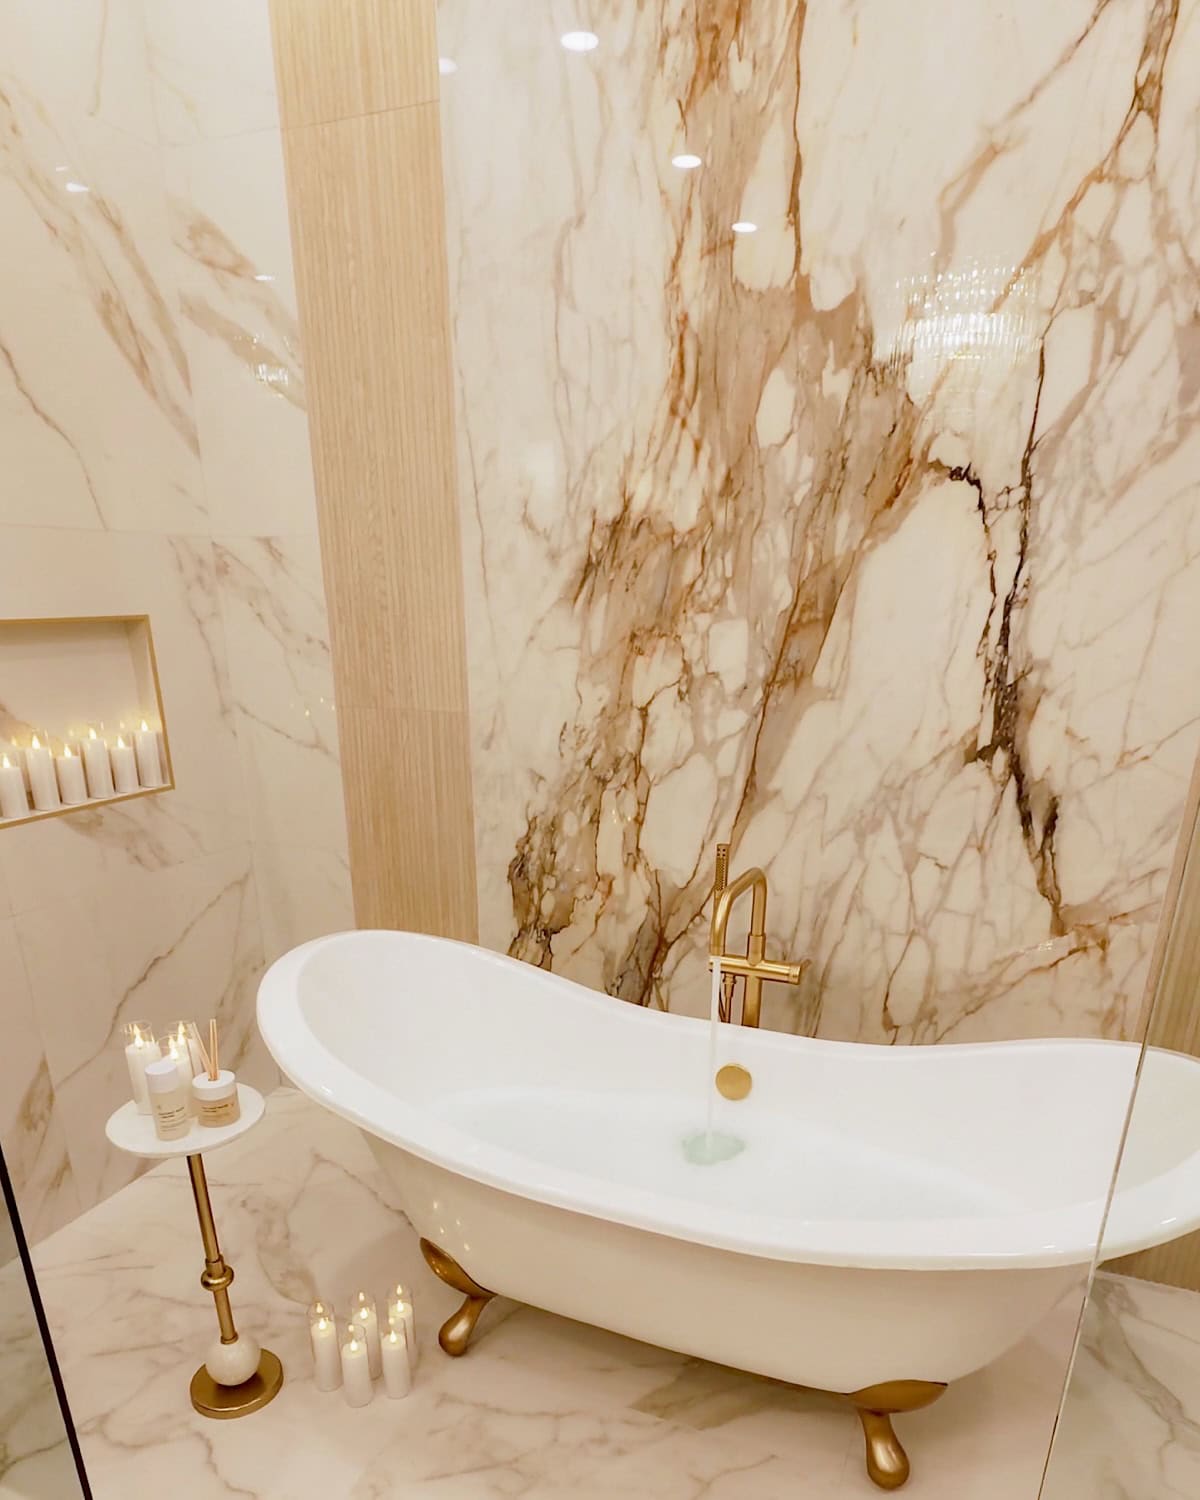
You can also create a focal point with a bold tile design or even a pop of contrast. Some people use waterproof wallpaper, but personally, I’m not a big fan of it in areas that get a lot of moisture. Even the “waterproof” ones might need to be replaced down the road, and since it’s a wet room, you know it’s going to get splashed.
A beautiful stone slab or a pretty tile pattern just holds up so much better and still gives you that spa-like vibe. Whatever style you choose, just make sure that the wall has its “moment”. A well-designed backdrop behind the bathtub instantly pulls the whole bathroom together and makes the space feel more high-end and relaxing without trying too hard.
7- Keep the Glass Slim and Minimal (Full height for steam, shorter for airflow)
When it comes to the glass in a wet room, I always recommend keeping it as slim and minimal as possible. One clean, modern panel usually gives the bathroom that calm, spa-like feel without adding any clutter.
But honestly, the number of panels really depends on your layout and the shape of your bathroom. Some bathrooms look great with just one panel, and others (like ours) work better with two.
We went with two modern glass panels (one on each side) because we placed the bathtub right in the middle. That layout just made the whole room flow better while still keeping everything open and relaxing.
If you love that full steam-room feel, you can take the glass all the way up to the ceiling. However, just keep in mind that a real steam room needs an entirely different ventilation system. It’s not as simple as just raising the glass. Your contractors have to redo the ventilation, seal certain areas, and sometimes even open up the ceiling to adjust the airflow.
For us, that meant a lot more ceiling work than we wanted to deal with, so we chose not to go that route. But again, it totally depends on your space and what you’re going for. Either way, whether you choose one panel, two panels, tall, or short, keeping the glass sleek and modern is what gives the bathroom that peaceful, spa-like vibe.
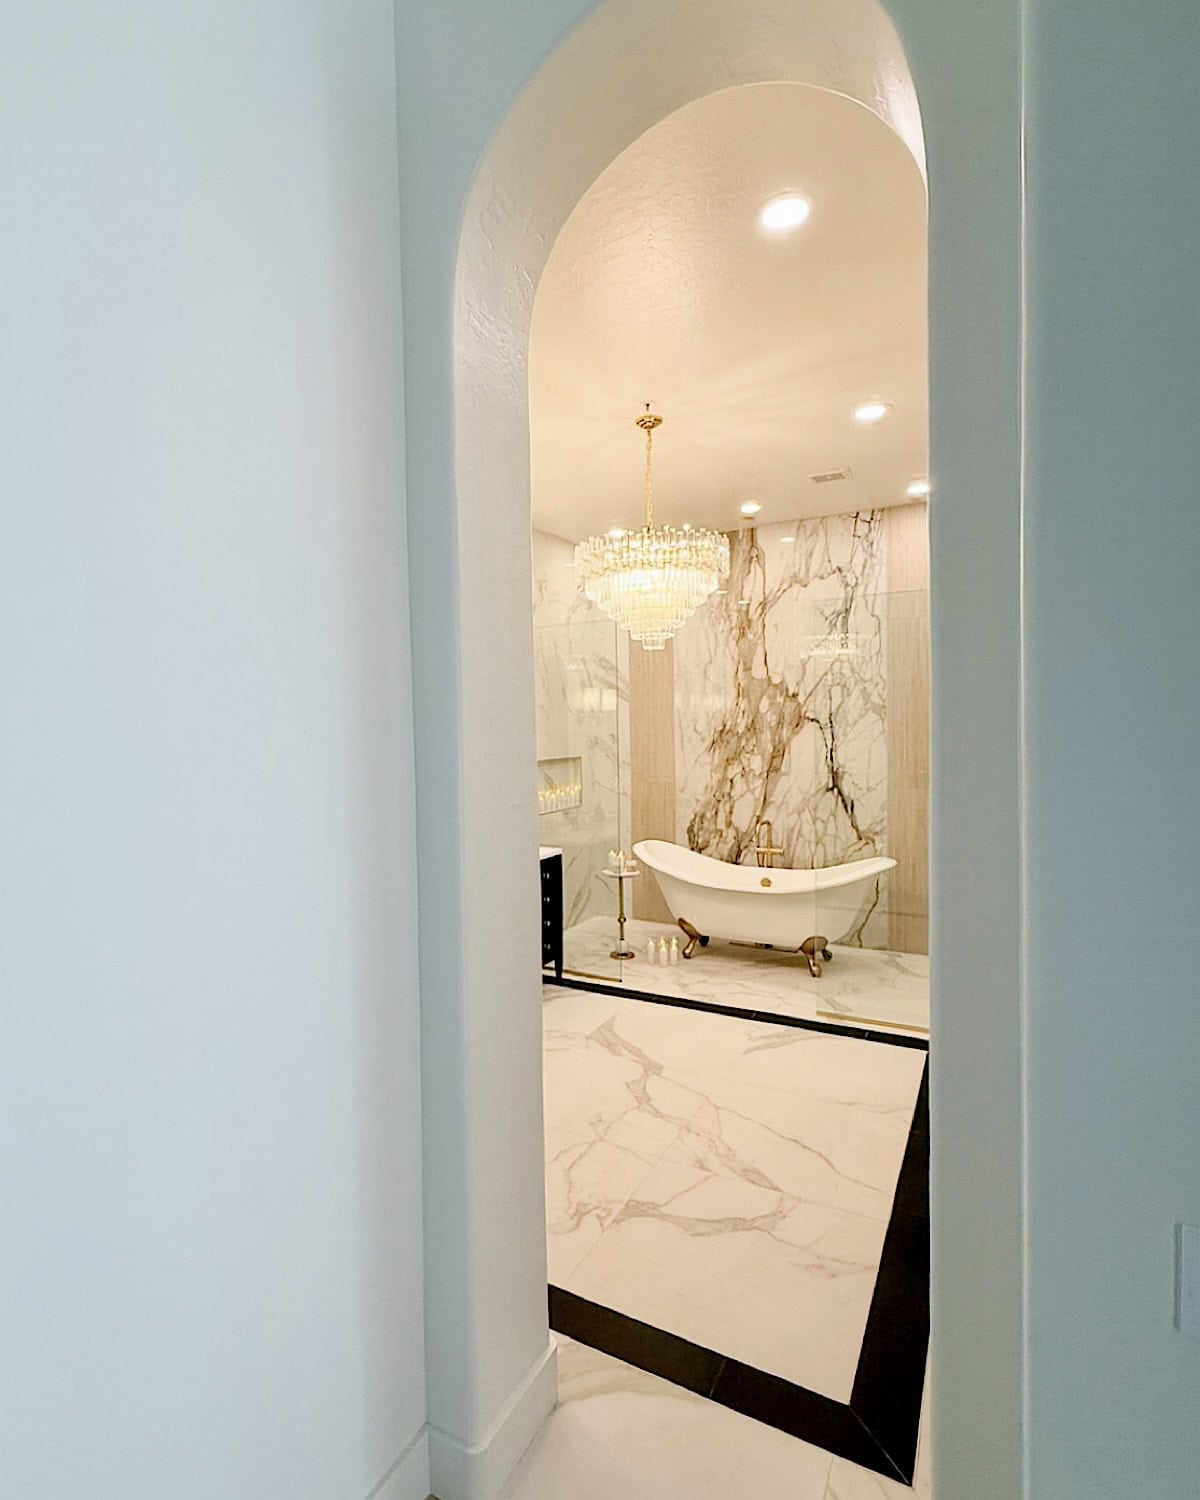
8- Pick a Bold Chandelier While Keeping the Bathroom Clean and Minimal
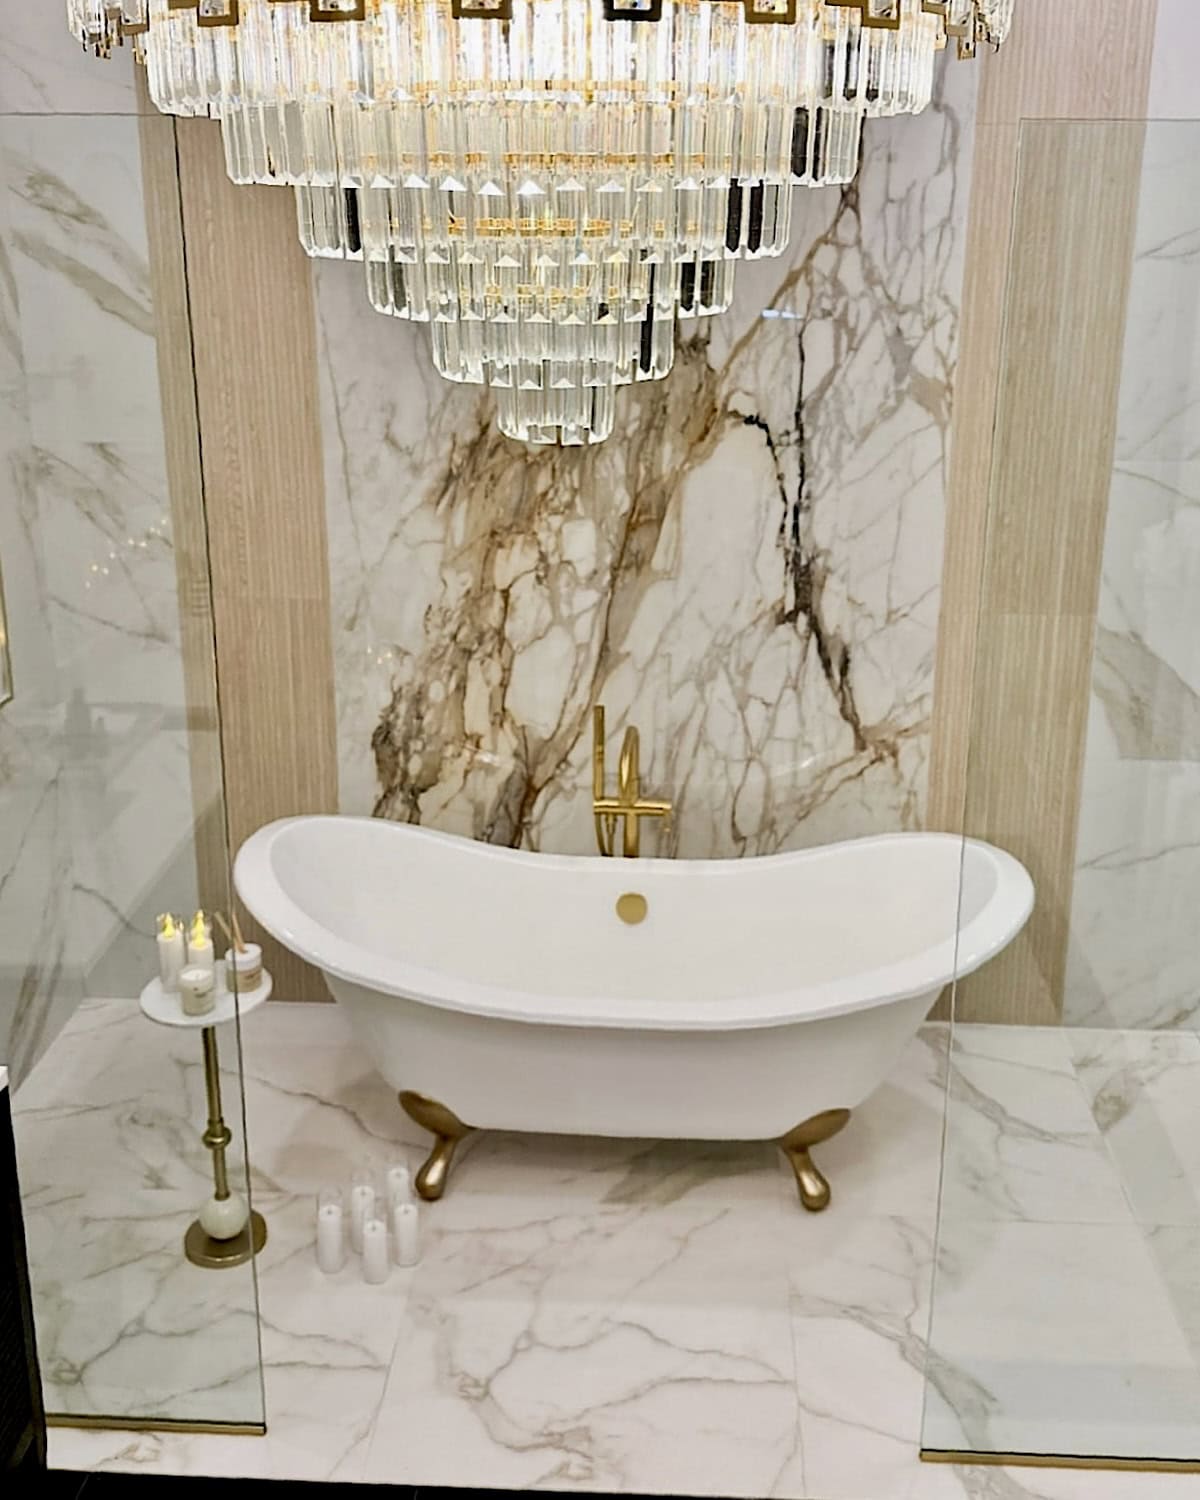
When we were designing our wet room and master bathroom, we really tried to keep things balanced. That’s the main reason we chose to put a single slab behind the bathtub. It felt clean and intentional, and it gave the tub area a nice focal point without making the room feel heavy or dramatic.
Since we already had that slab and a chandelier in the center, we kept everything else much more subtle: simple tile, calm colors, and no strong patterns. The goal was not to create a dramatic bathroom; it was to avoid a space that felt busy or overwhelming.
We also made a conscious choice to have only two things stand out in the entire room: the slab behind the bathtub and the chandelier. Those were our main design moments, and everything else needed to stay quiet so nothing would visually compete. It’s such a simple approach, but it really helps the room feel more organized and easier on the eyes.

If you’re designing your own space, this is something I highly recommend keeping in mind. Choose one or two focal points first, and let the rest of the room stay calm and neutral. It creates a cleaner look, it’s easier to decorate around, and it keeps the bathroom feeling relaxing rather than overwhelming.
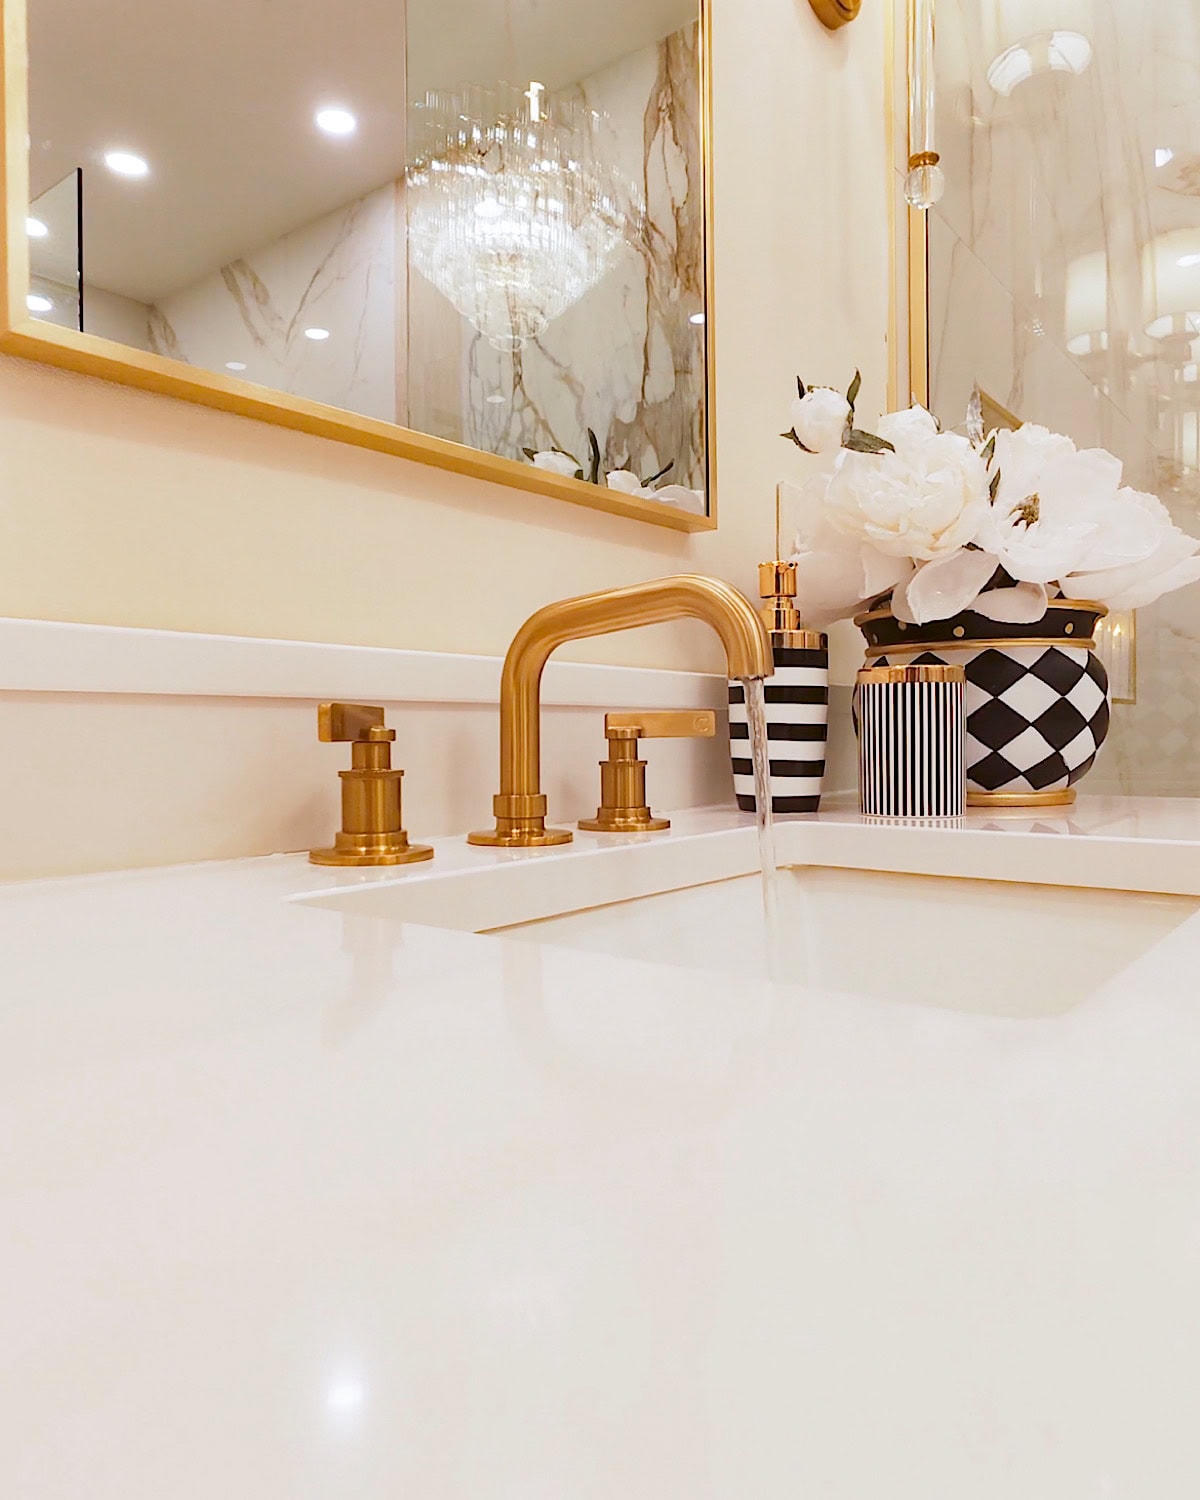
9- Pick a Double Vanity or Separate “His-and-Hers” for a More Modern Look
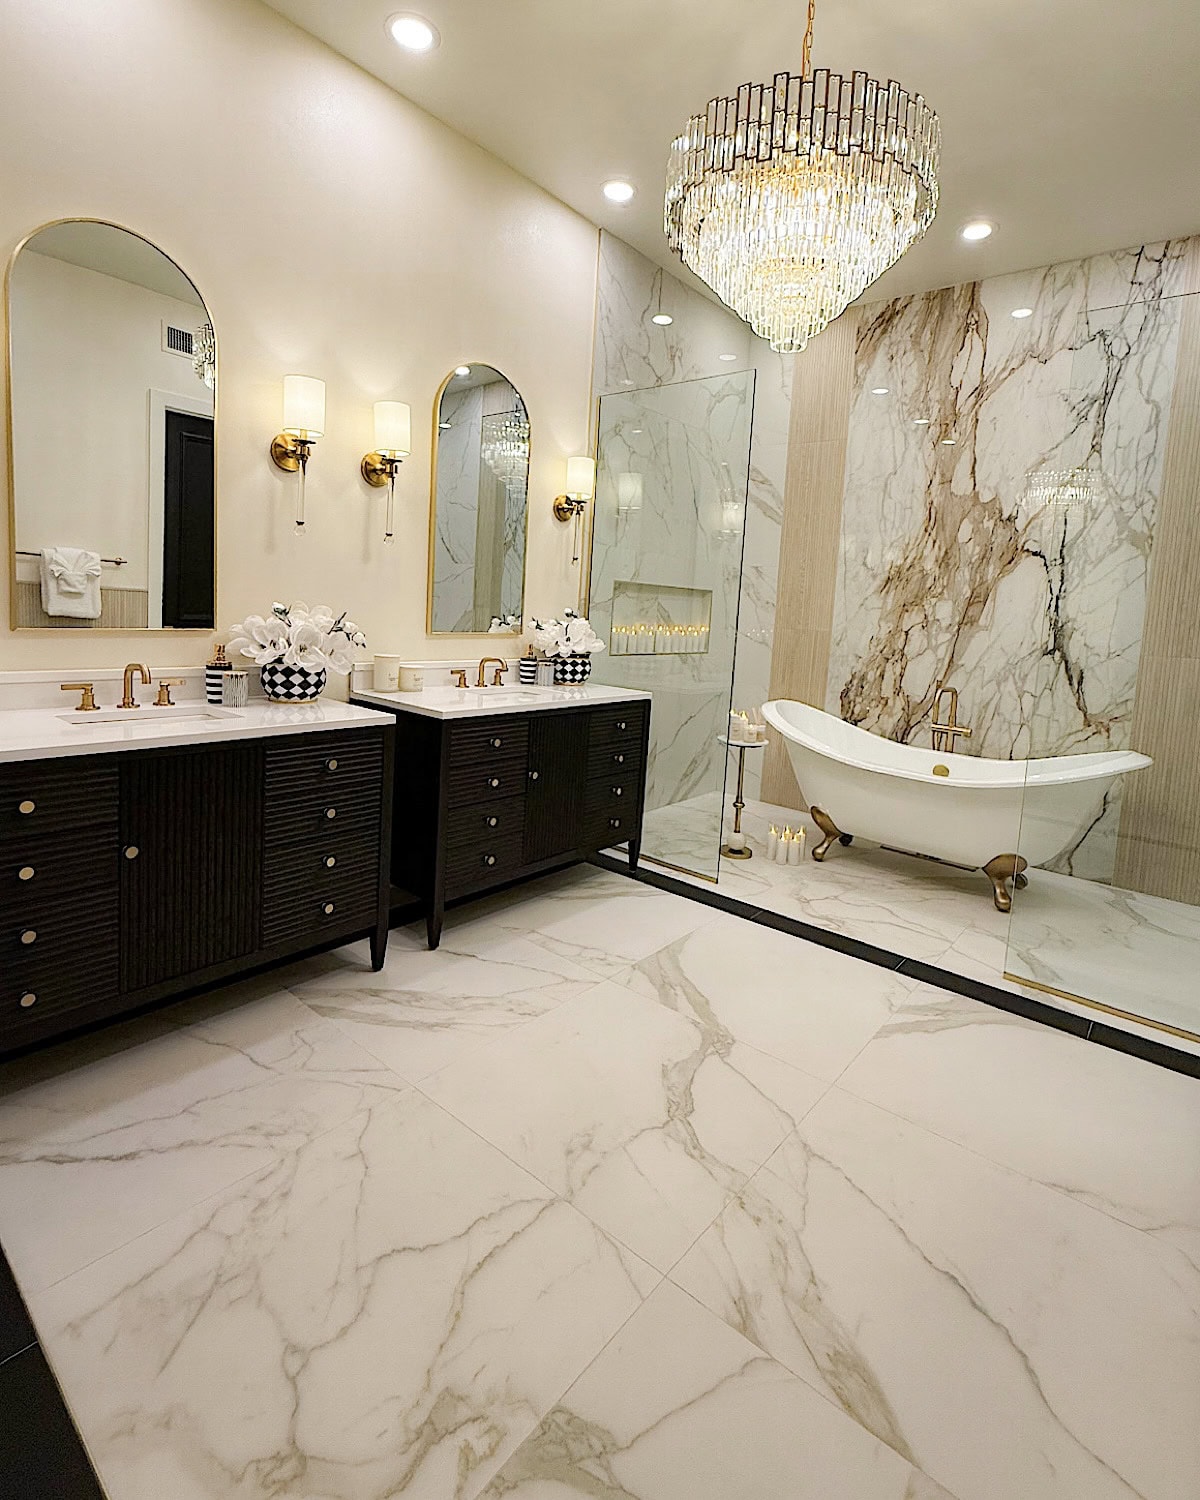
Before our renovation, we had one oversized double vanity, the typical setup in most master bathrooms. It worked fine and gave us plenty of counter space, but when we started planning our new wet room and master bathroom, I really wanted to try the his-and-hers look. It felt a little cleaner, a little more modern, and I thought it would help keep the whole bathroom looking calm and uncluttered.
Now that I’ve lived with both styles, here’s my honest opinion: the his-and-hers setup definitely adds to that spa-like feel because everything looks balanced and separated. There’s less visual noise, and each side feels like its own little station. But one long double vanity gives you more actual counter space, which is great if you have a lot of products or like everything out and easy to grab.
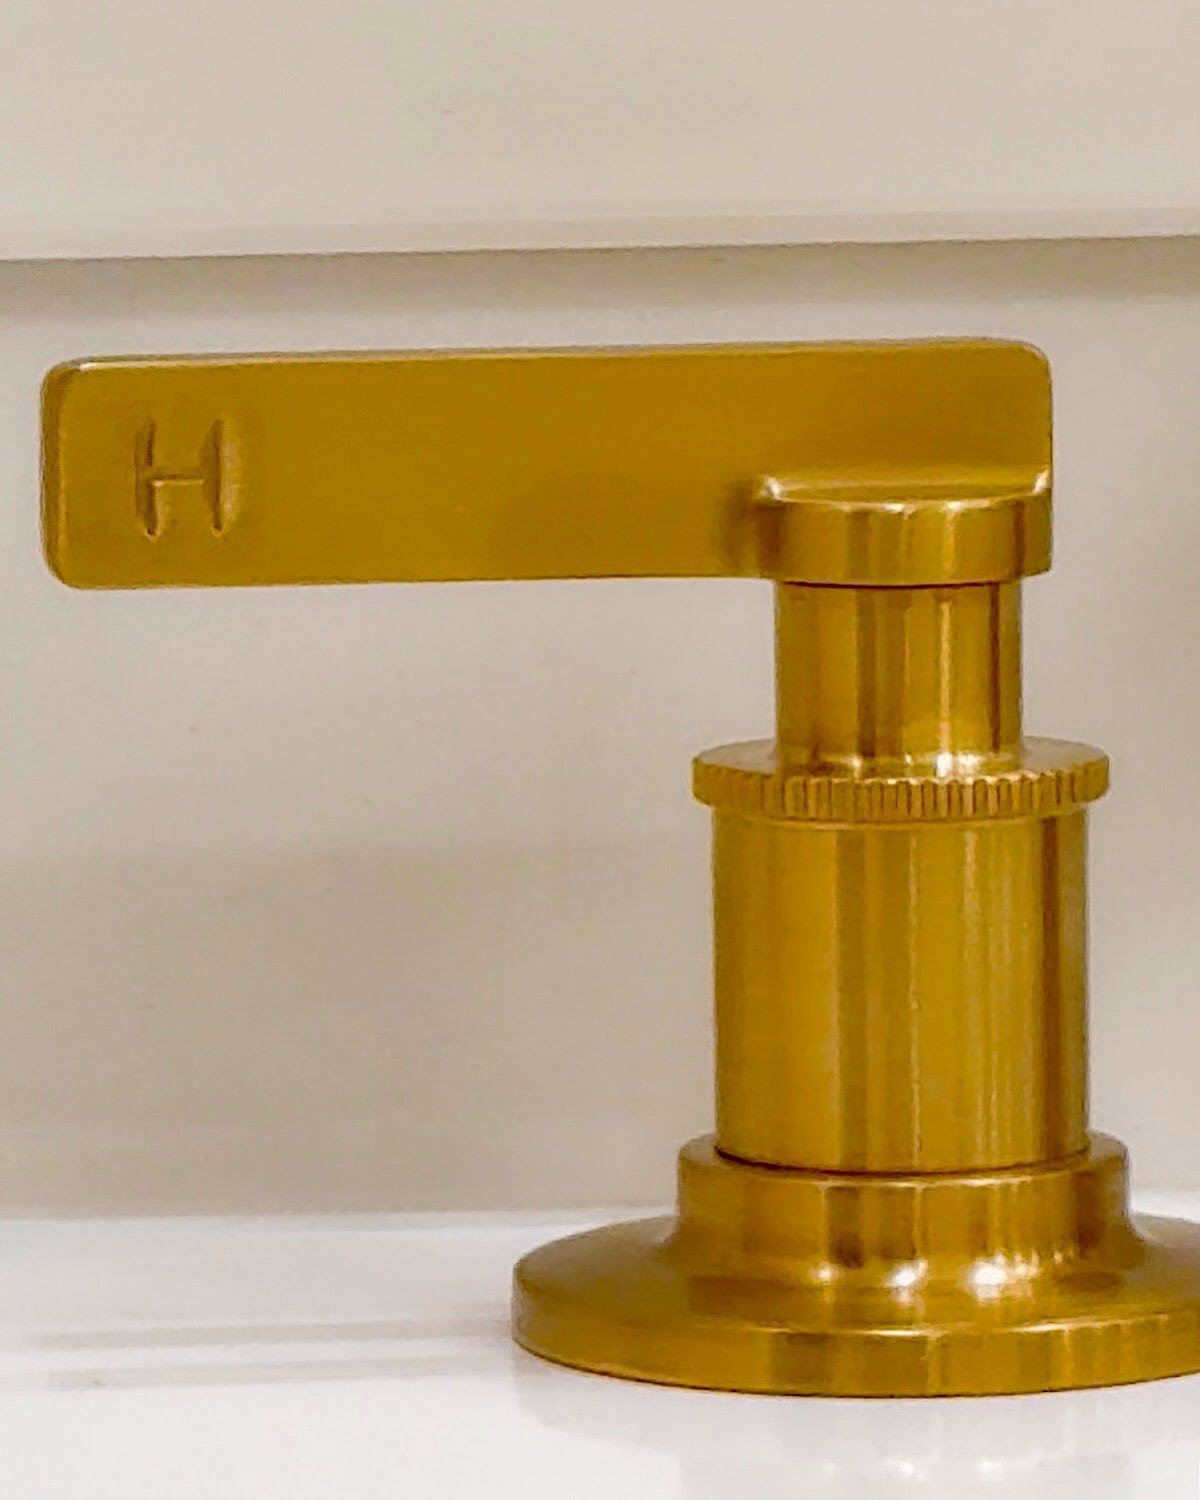
And this is where fixtures really matter, having two separate Kohler faucets made each vanity area feel like its own little calm corner without trying too hard.
For a spa-style bathroom, the goal is to keep things simple, organized, and easy on the eyes. So whichever option you choose, make sure it supports that feeling. If you want a cleaner, more modern look with less clutter, his-and-hers is beautiful.
If you need more room to spread things out but still want a calm vibe, one long double vanity might be a better fit. It really comes down to what makes your daily routine feel peaceful instead of chaotic.
10- Choose Simple Mirrors for a Modern, Spa-Like Feel
One small change that makes a huge difference in creating a modern, spa-like bathroom is choosing two separate mirrors instead of one giant wall-to-wall mirror. Even if you have one big double vanity, breaking it up with two mirrors instantly makes the space feel cleaner and more intentional. It gives your bathroom a more updated look without doing anything dramatic.
Before the renovation, we also had two mirrors above our old double vanity, which is pretty standard. It worked fine, but the mirrors were larger and had a heavier look that didn’t really match the calm, spa vibe we wanted. Switching to two simple, clean-lined mirrors made such a difference. The space immediately felt lighter, more organized, and much more modern without doing anything dramatic.

Two mirrors also help create that spa-like balance; everything looks symmetrical, softer, and less overwhelming on the eyes. It frames each vanity area nicely, whether you’re doing a his-and-hers setup or even a long double vanity with two sinks. And paired with clean fixtures like the Kohler faucets we used, it really pulled everything together.
11- Go With Side Sconces for an Elegant and Spa-Like Feel
If you have the room for it, adding sconces on each side of your mirrors makes such a big difference. It instantly transforms the vanity area and gives the whole bathroom a softer, more relaxing glow. Side sconces bring a level of calmness and elegance that overhead lighting alone can’t.
In our bathroom, the sconces helped frame each mirror and made the space feel more balanced. Everything looked cleaner and more intentional without adding any visual clutter. It’s one of those small details that really changes how the room feels, especially if you’re going for that spa-like vibe.
Soft, warm lighting from sconces is also much more flattering and gentle in the mornings and evenings. It makes your daily routine feel calmer, and it’s such an easy upgrade if you want your bathroom to feel more pulled together without doing a full renovation.
Bottom Line
Honestly, renovation is never easy. It comes with headaches, delays, and surprises you don’t plan for. But every time I walk into our new bathroom, whether I’m taking a quick shower, enjoying a slow weekend bath, or just getting ready at night when the house is quiet, I’m reminded that it was all worth it.
Having fixtures we truly loved (like our Kohler shower system and faucets) made such a difference in pulling the whole look together. But more than anything, there’s something so calming about having a space that feels clean, peaceful, and exactly how you imagined it. Even with all the renovation stress, moments like that make everything feel so rewarding.
I hope you found these tips helpful if you’re planning a renovation, tackling a small DIY, or even building a brand-new home.
Love,
Sherry XOXO